


New ArrivalsBack in stock


gps fence for dogs
 4
(369件)
4
(369件)
 Limited Time Sale
Until the end
00
00
00
Free shipping on orders over 999 ※)
If you buy it for 999 or more, you can buy it on behalf of the customer. There is no material for the number of hands.
If you buy it for 999 or more, you can buy it on behalf of the customer. There is no material for the number of hands.
There is stock in your local store.
Please note that the sales price and tax displayed may differ between online and in-store. Also, the product may be out of stock in-store.


Coupon giveaway!
| Control number |
New :D313606351 second hand :D313606351 |
Manufacturer | gps fence | release date | 2025-05-15 | List price | $44 | ||
|---|---|---|---|---|---|---|---|---|---|
| prototype | fence for | ||||||||
| category | |||||||||
Pet Smart Hardware#Wearable Devices

doge-treasury-payment-system-injunction

are-strawberries-good-for-dogs
Having a dog is a wonderful experience, but it can also be a bit challenging when it comes to ensuring their safety and keeping them within a certain area. A GPS fence for dogs is a great solution for pet owners who want to give their furry friends some freedom to roam while still keeping them safe. In this article, we will discuss the benefits of using a GPS fence for dogs, the components needed to set up a DIY GPS fence, and the step-by-step process to create one.
Benefits of a GPS Fence for Dogs
1. Enhanced Safety: A GPS fence allows your dog to roam within a designated area while keeping them safe from potential hazards such as busy roads, other aggressive animals, or getting lost.
2. Increased Exercise and Mental Stimulation: Dogs need regular exercise and mental stimulation to stay healthy and happy. A GPS fence gives them the freedom to explore and play within a secure area, promoting better overall health.
3. Peace of Mind: Knowing that your dog is safely contained within a GPS fence can give you peace of mind when you're at work or away from home.
4. Cost-Effective: Setting up a DIY GPS fence can be more affordable than purchasing a pre-made system, allowing you to customize it to your specific needs and budget.
Components Needed for a DIY GPS Fence
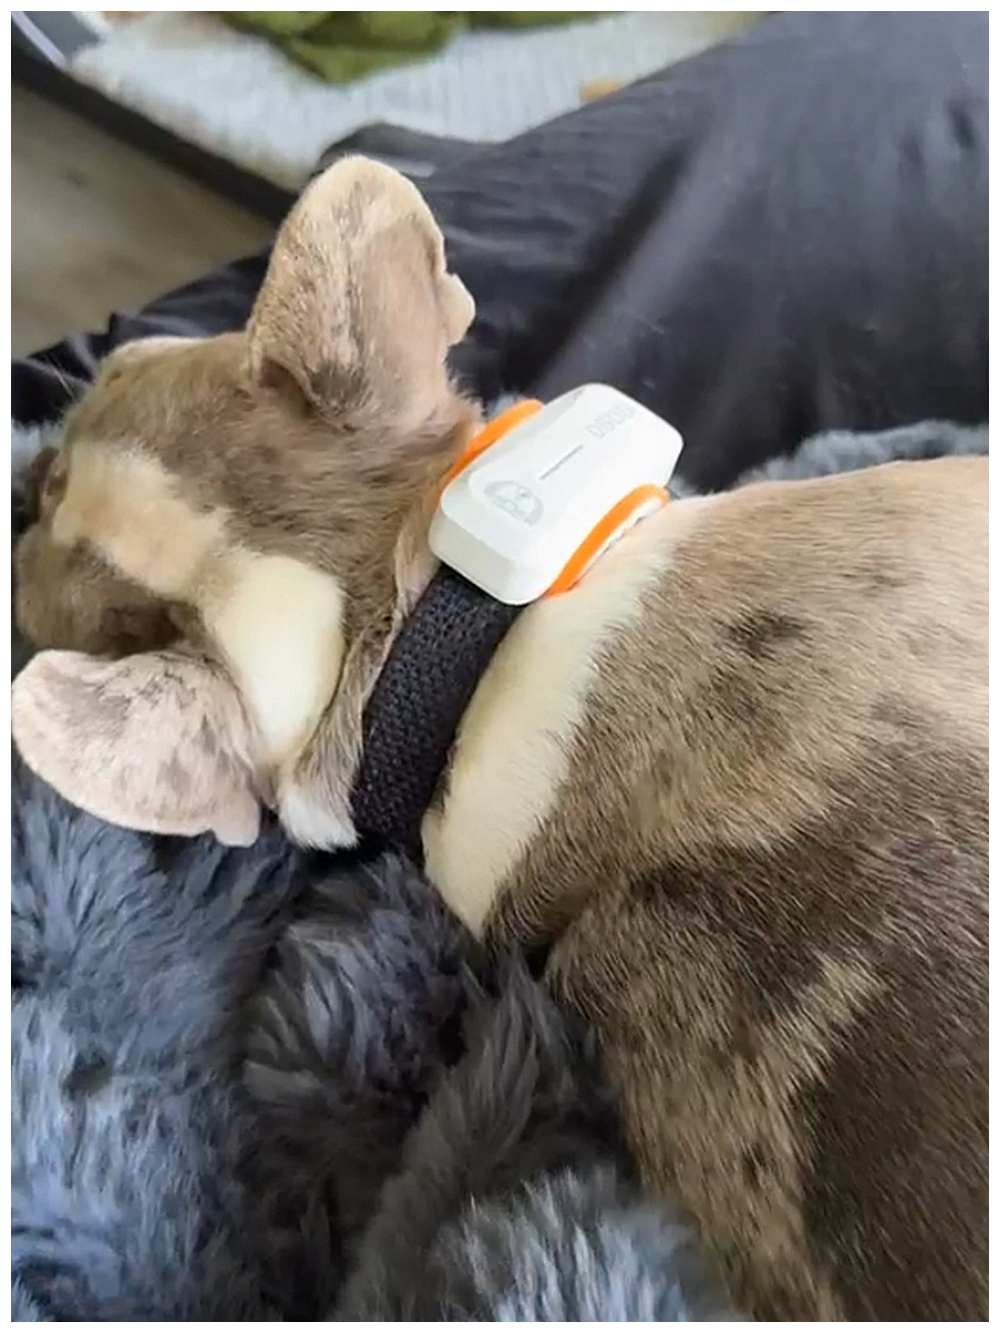
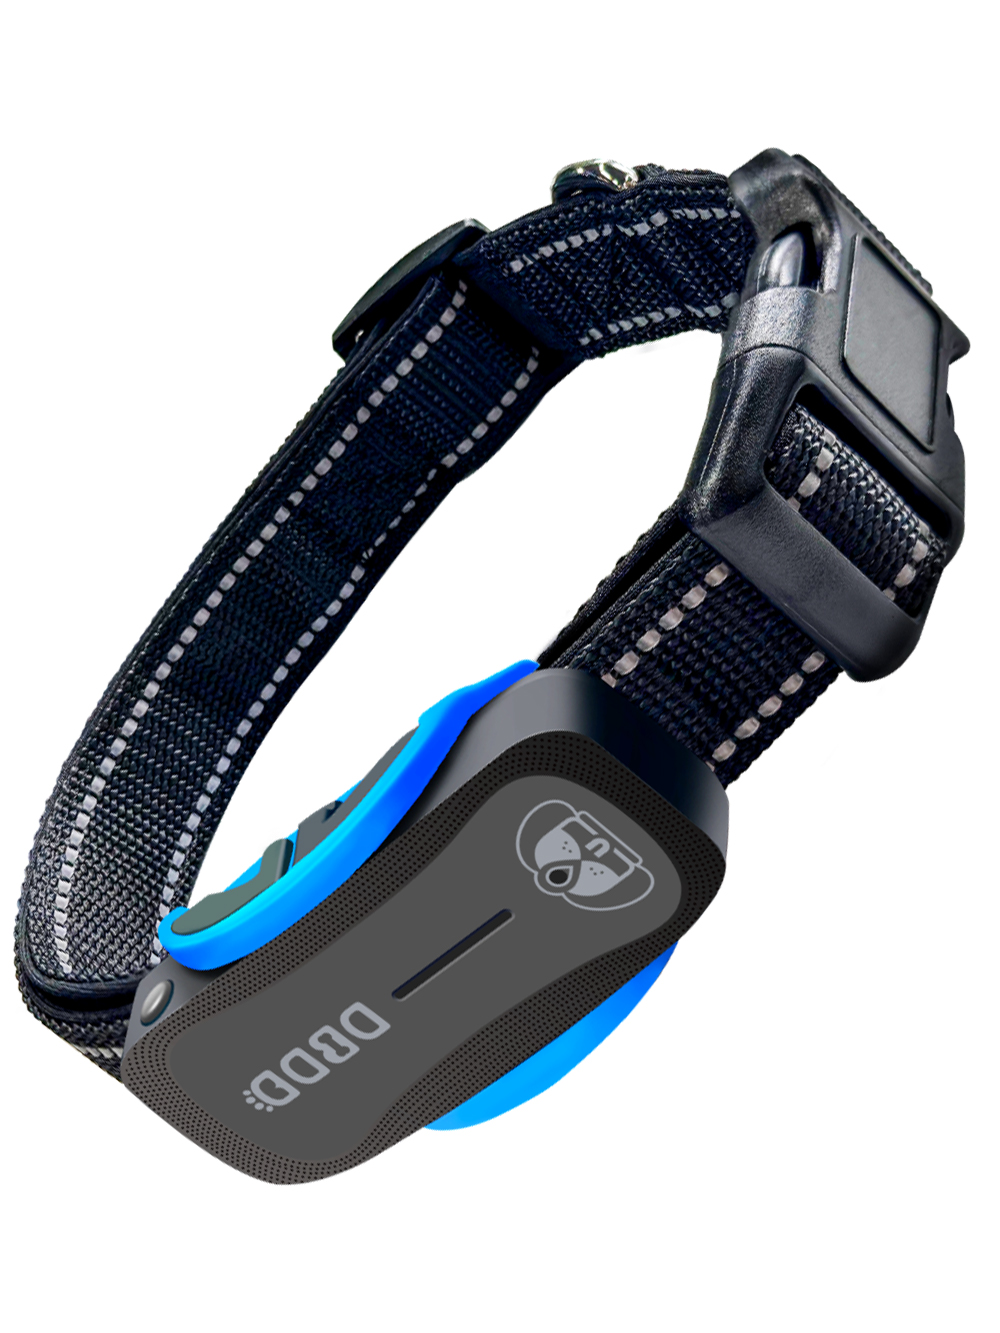
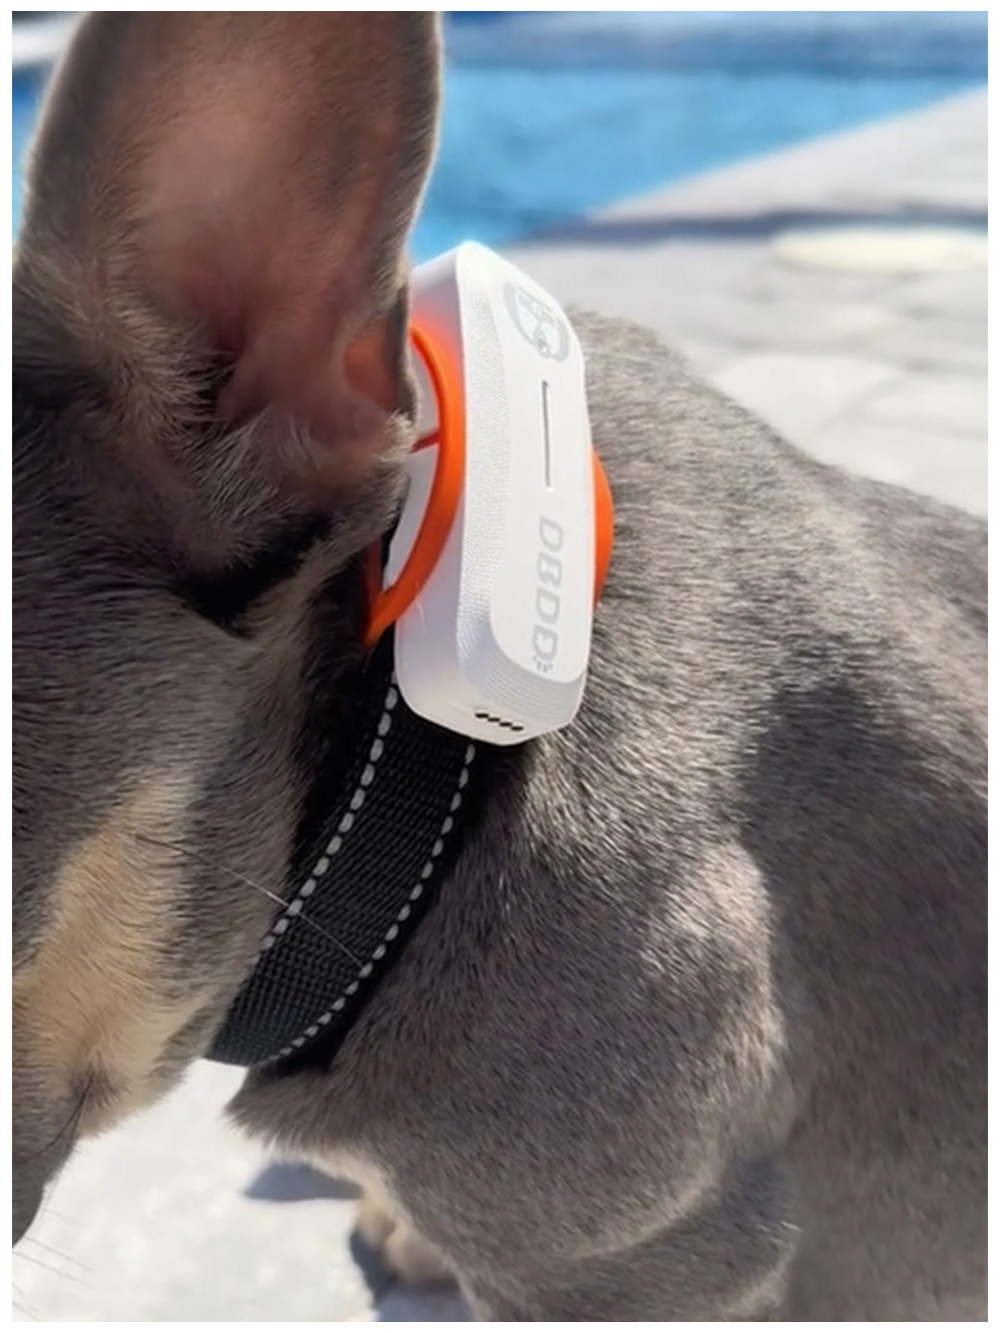
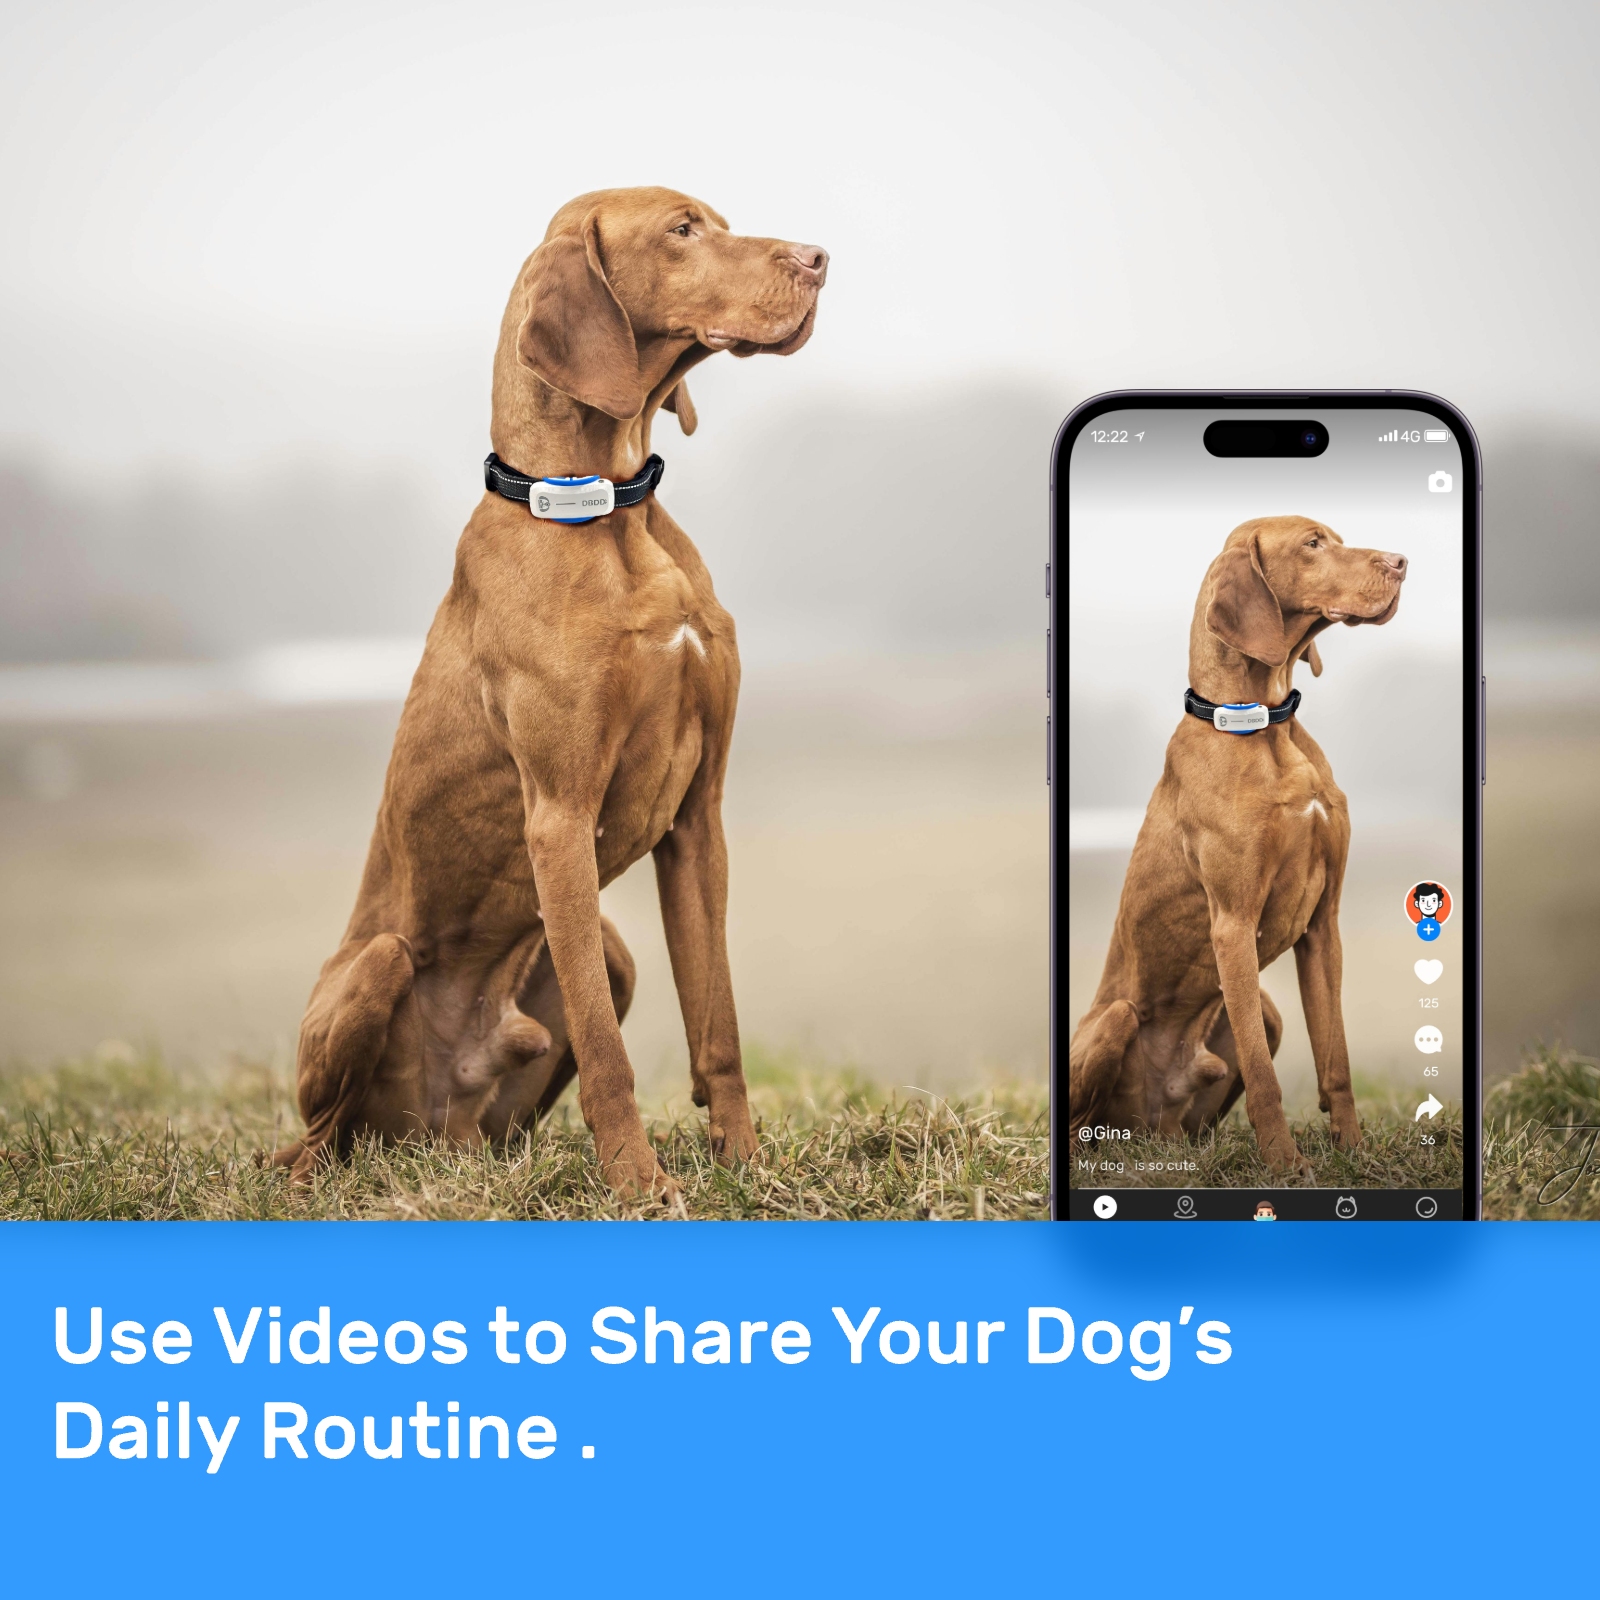
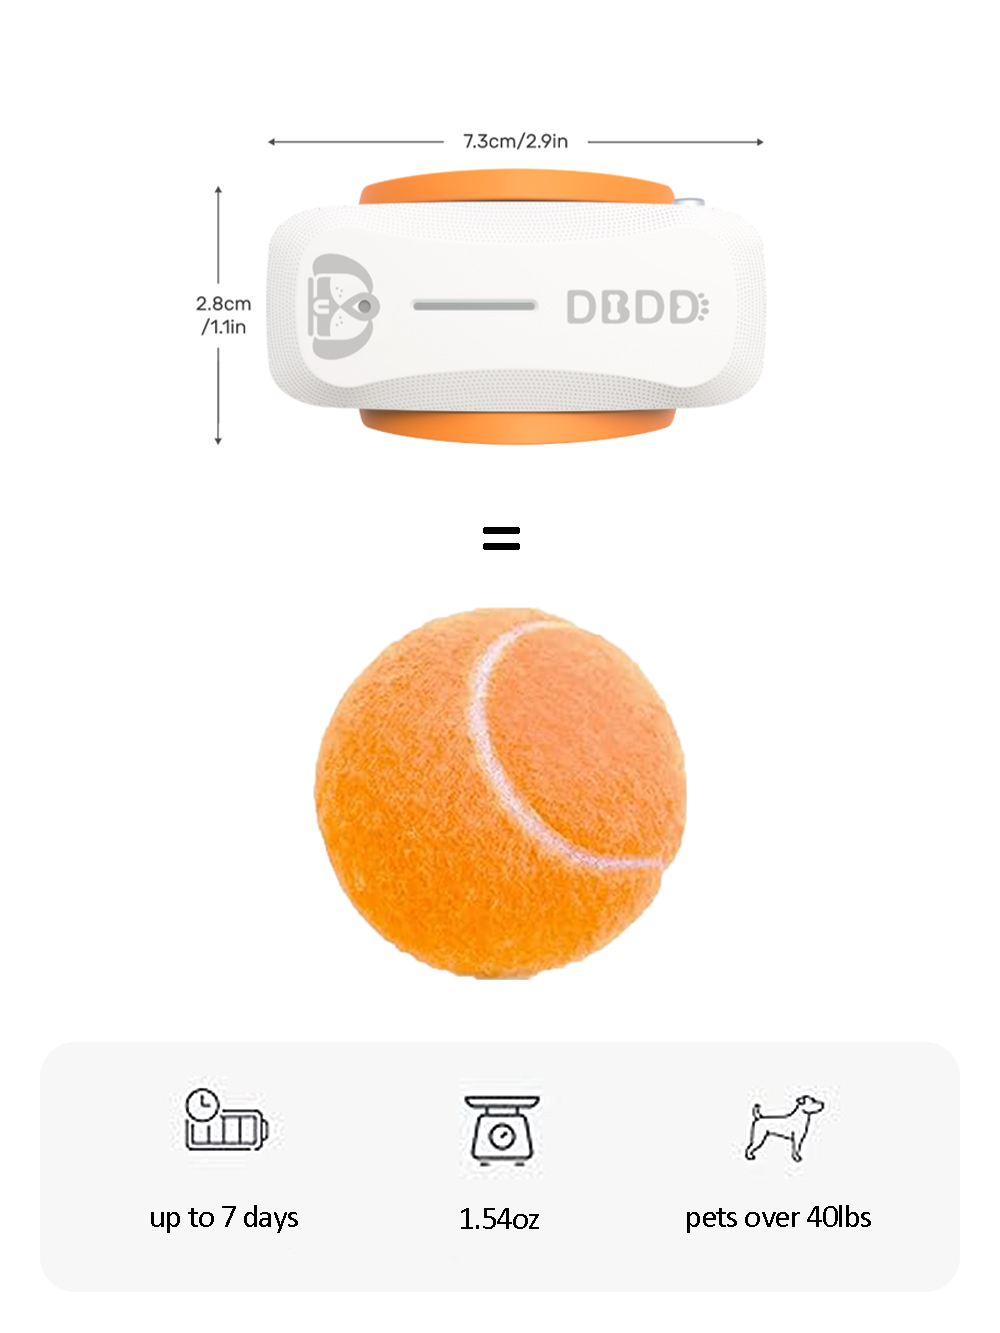
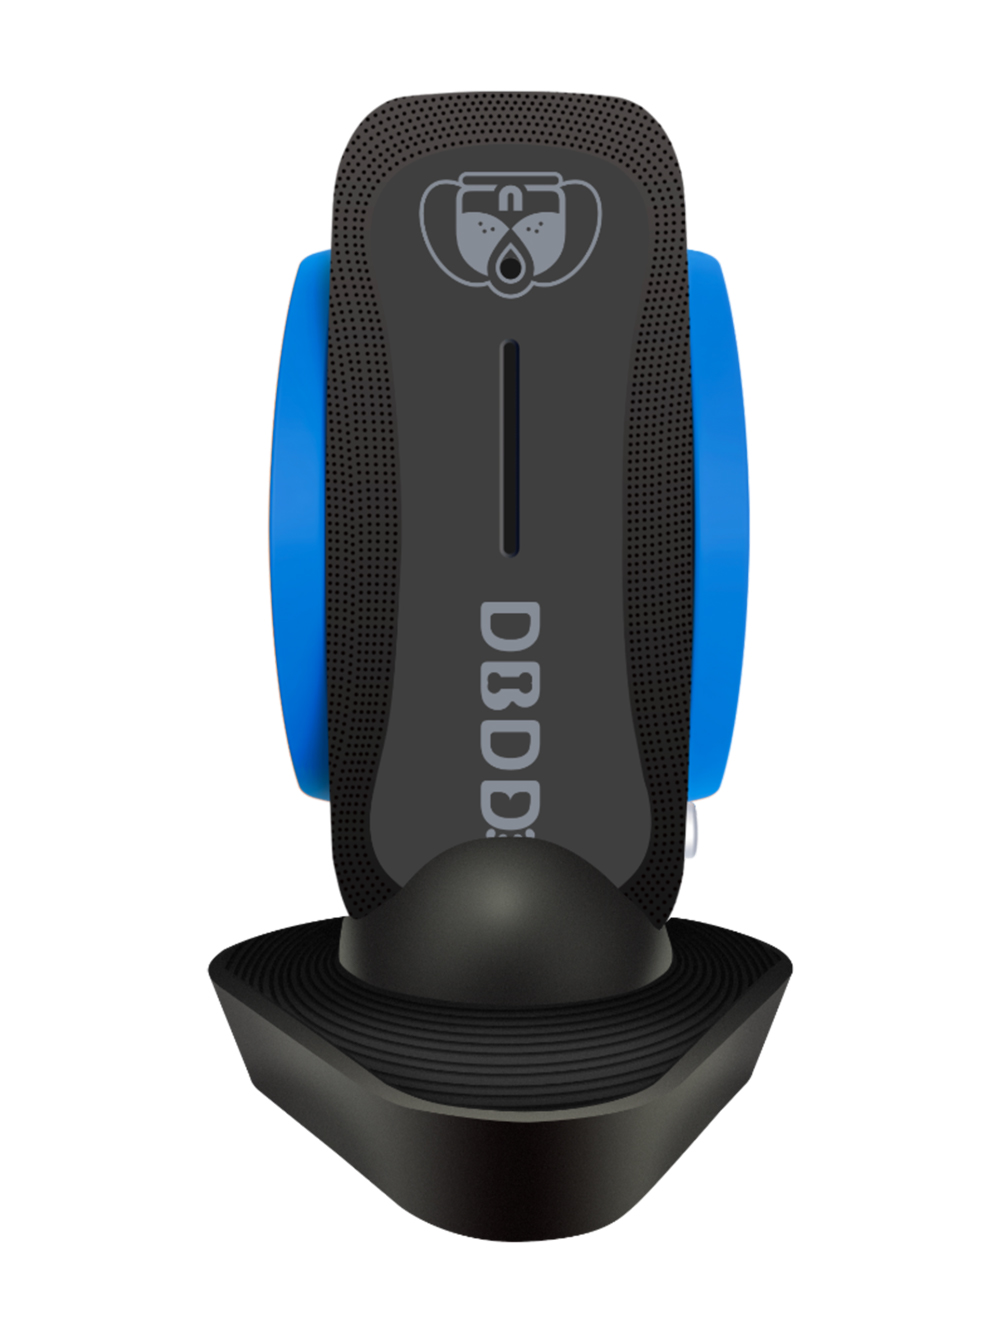
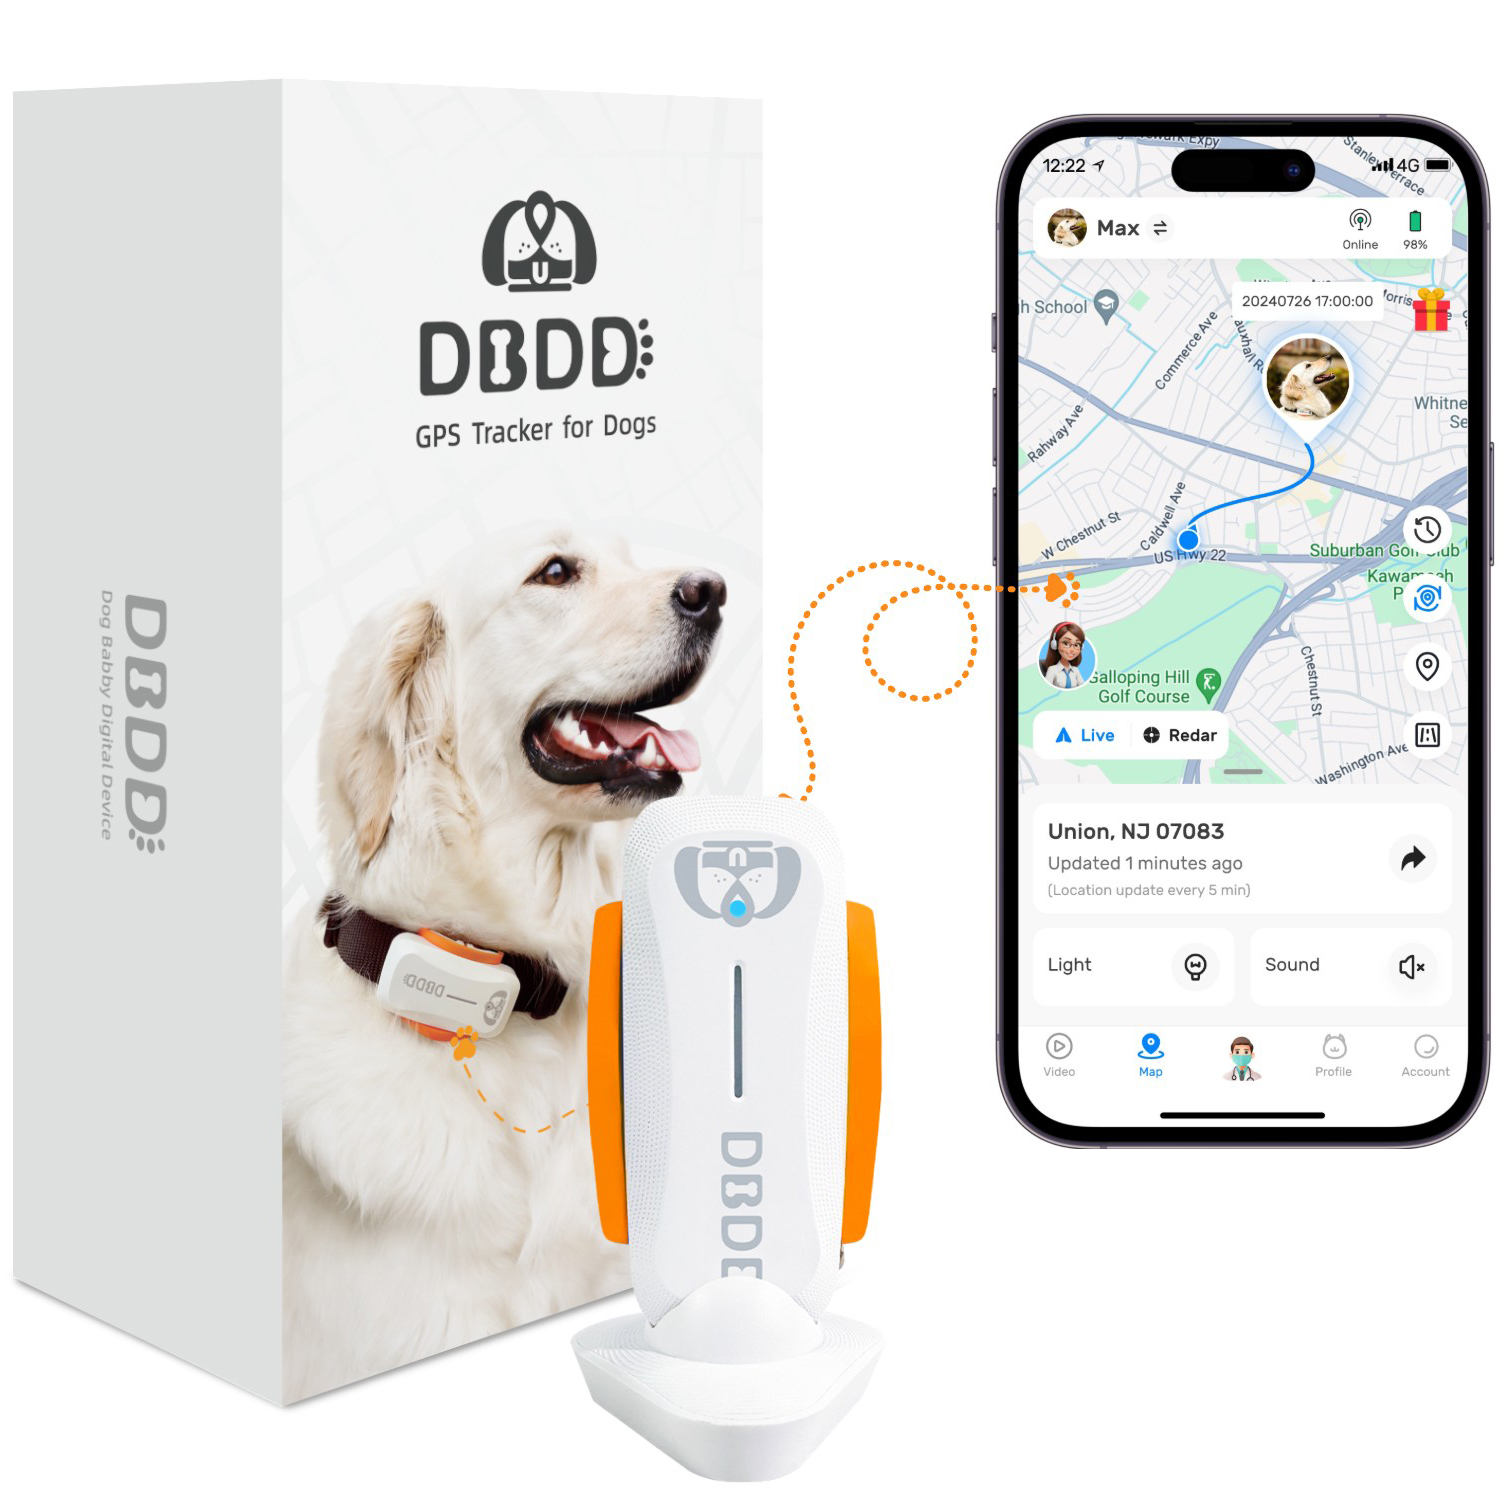
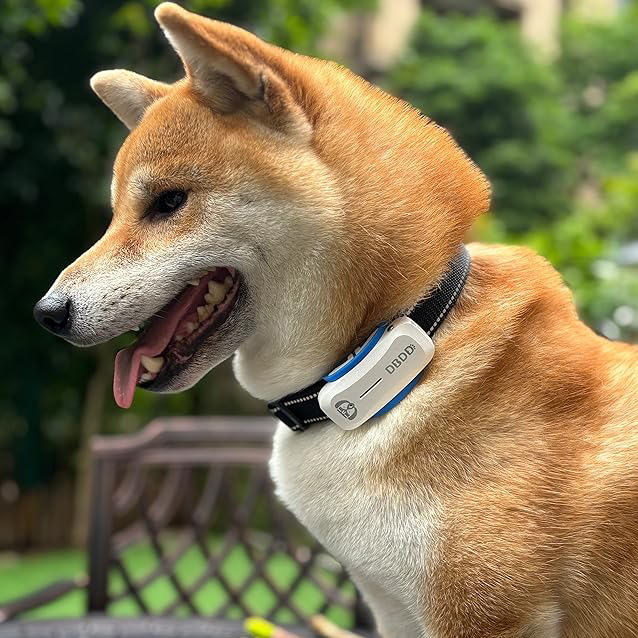
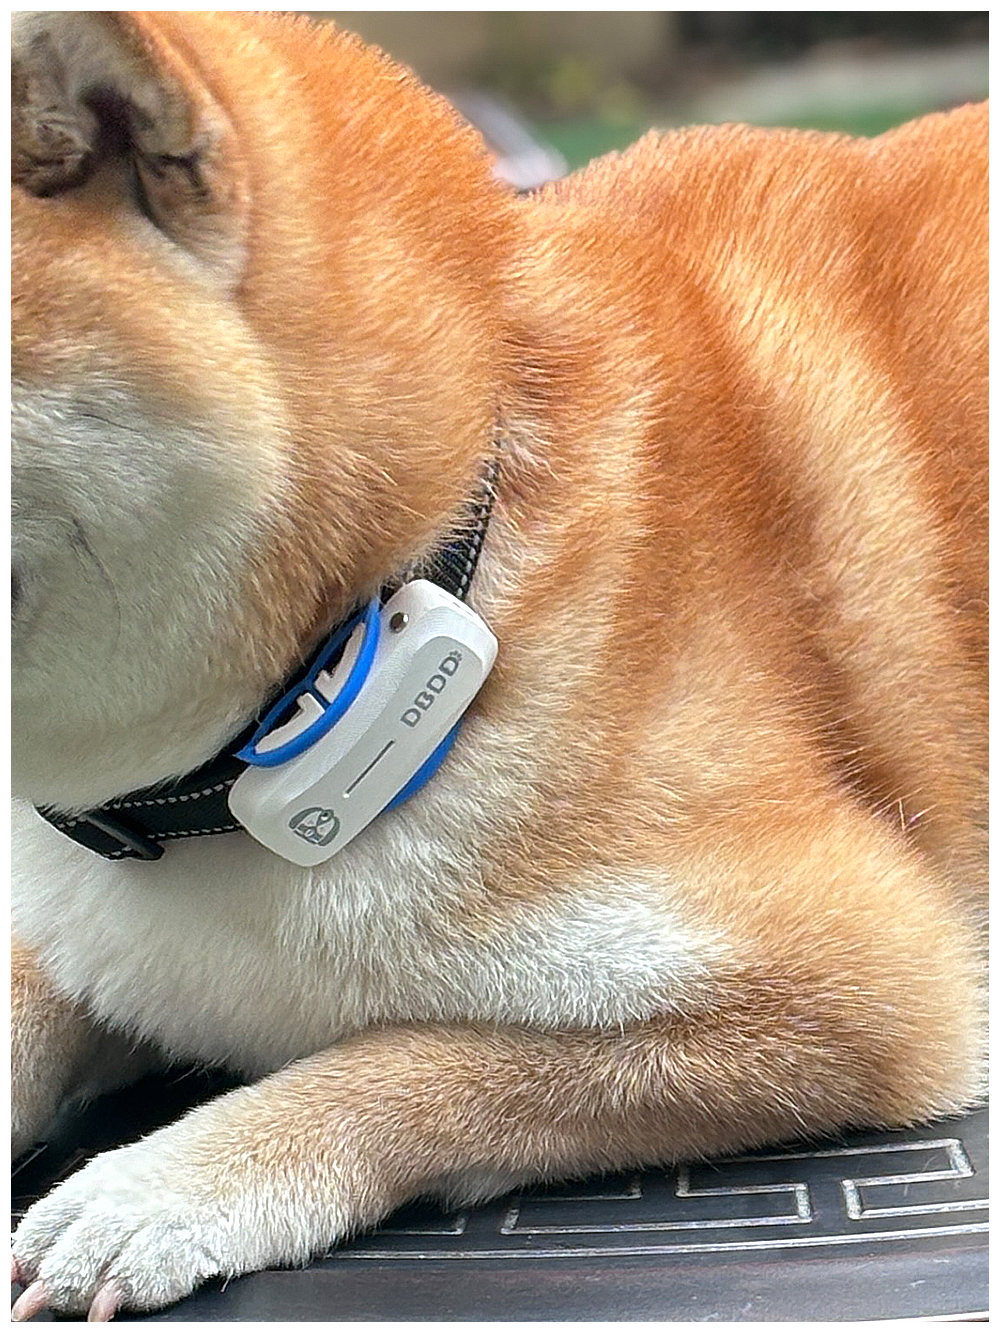
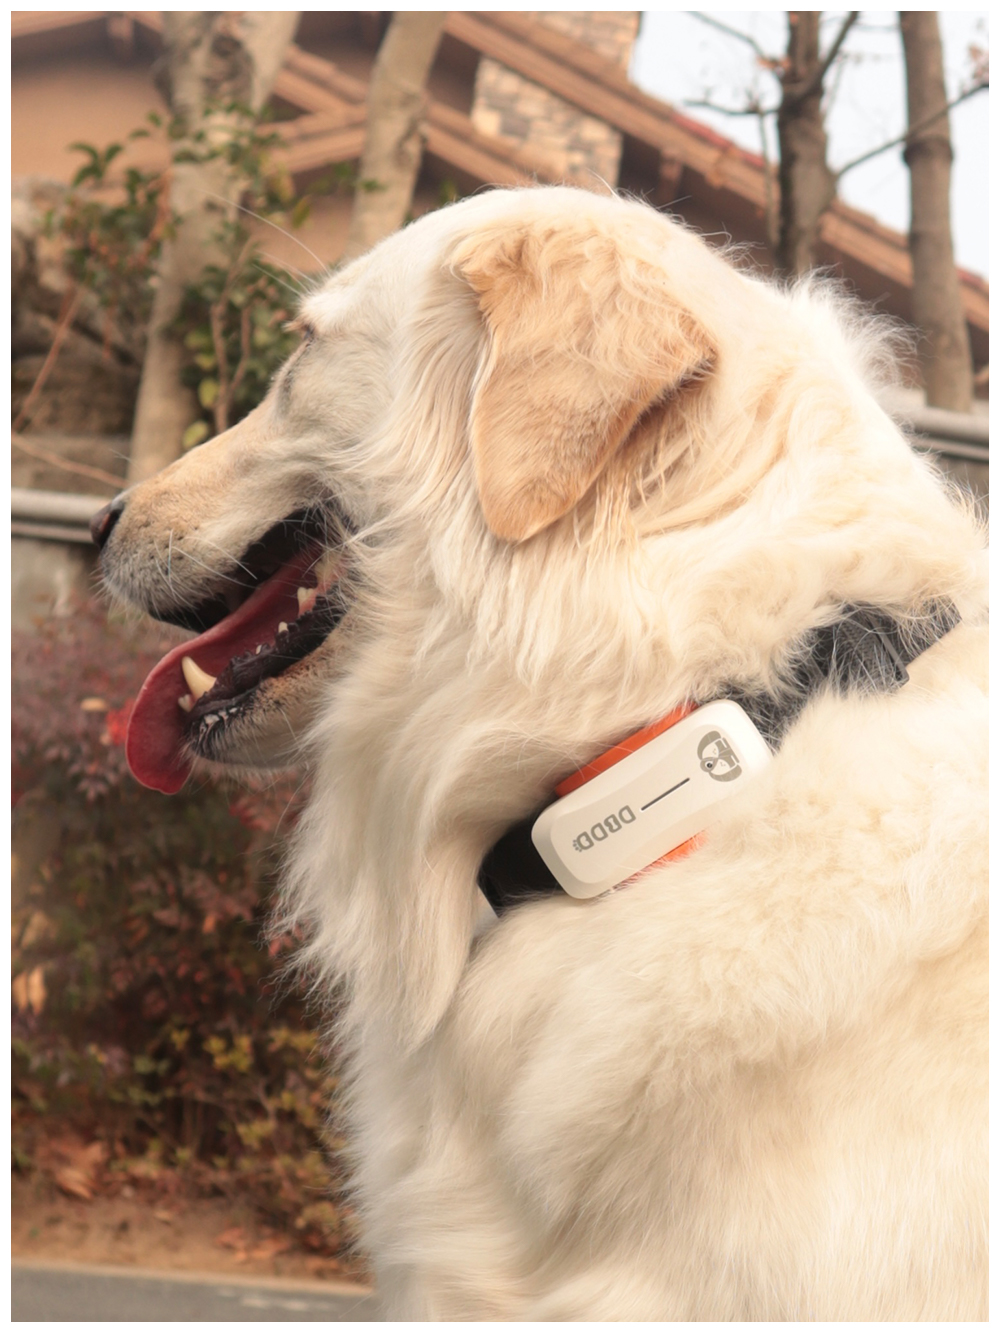
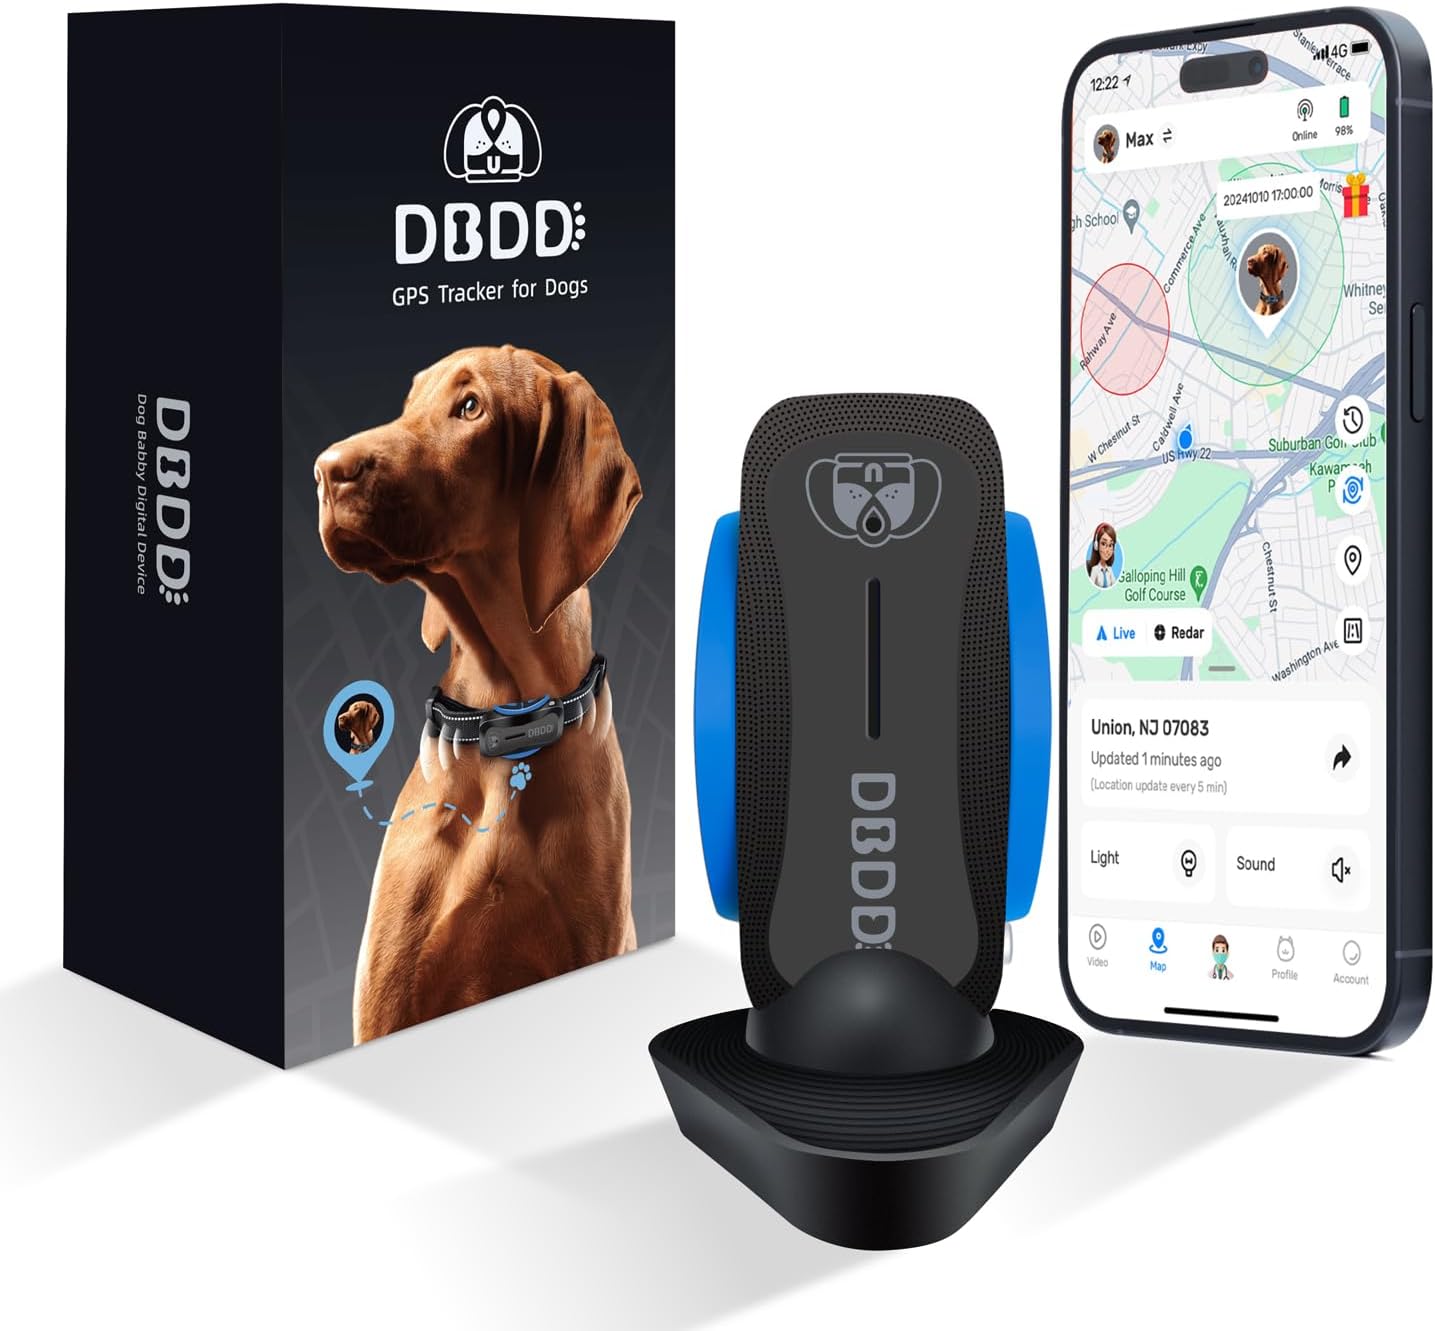
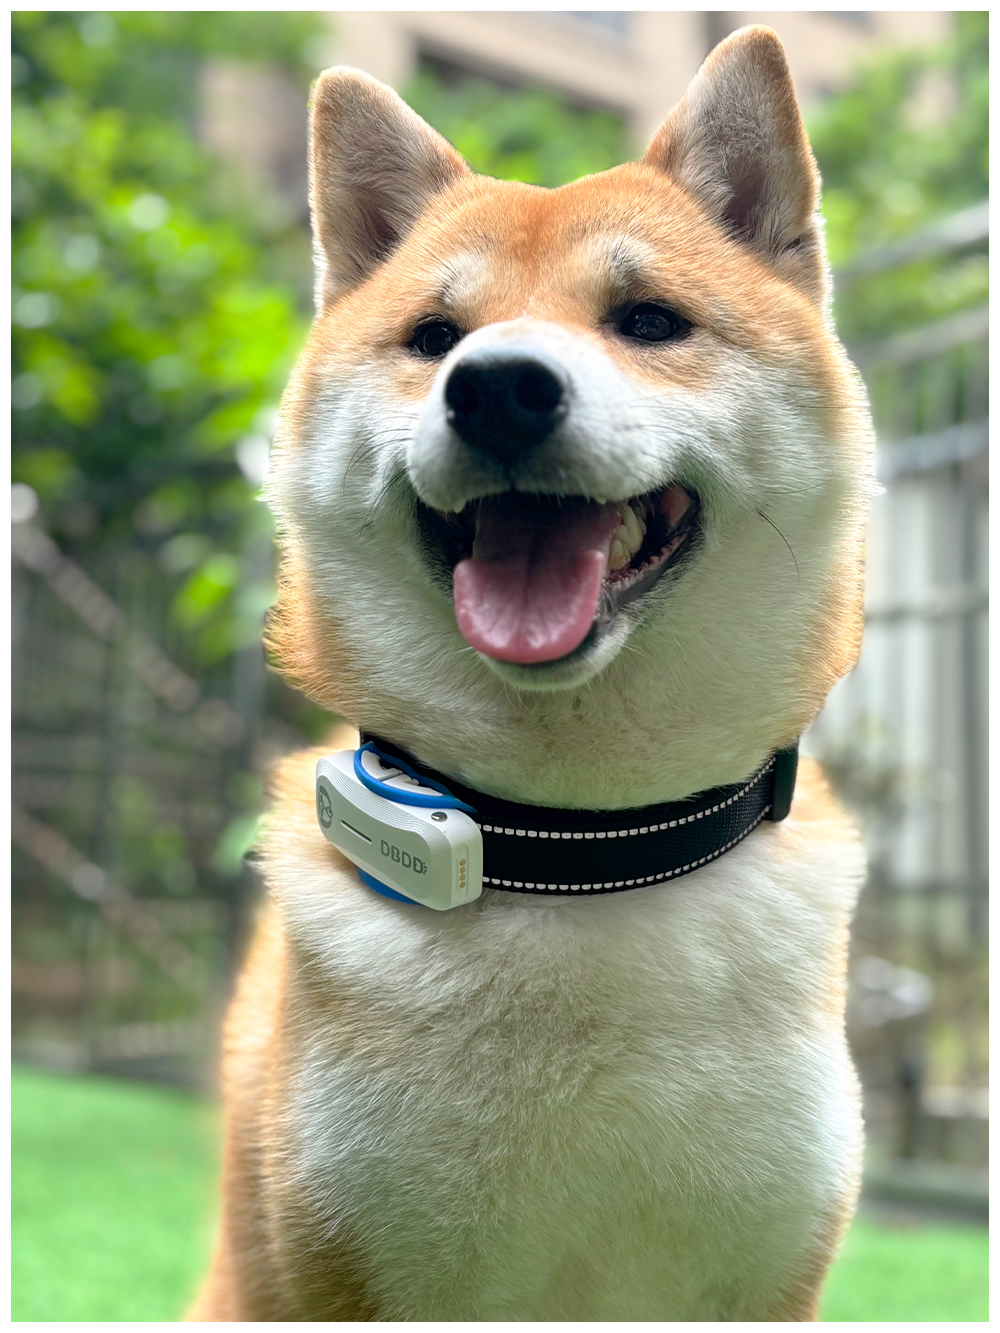
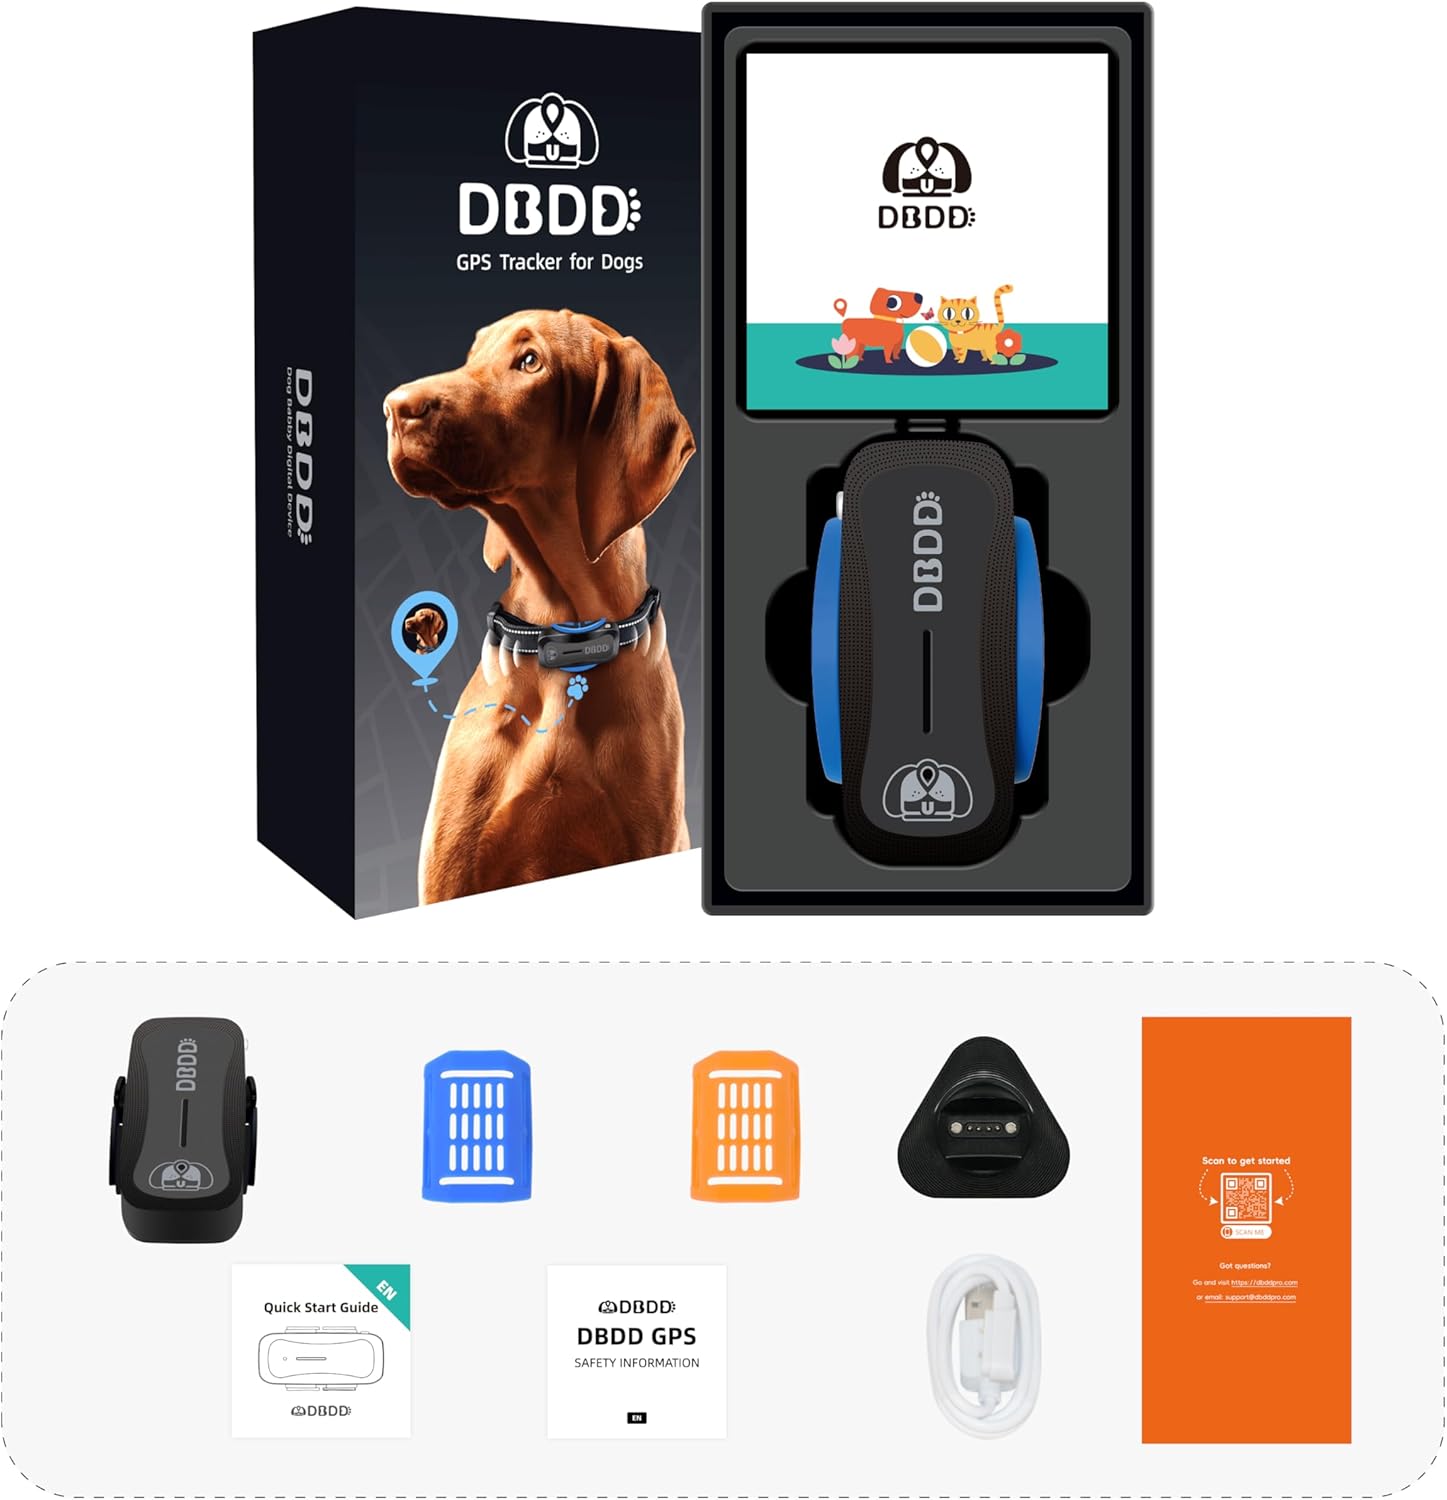
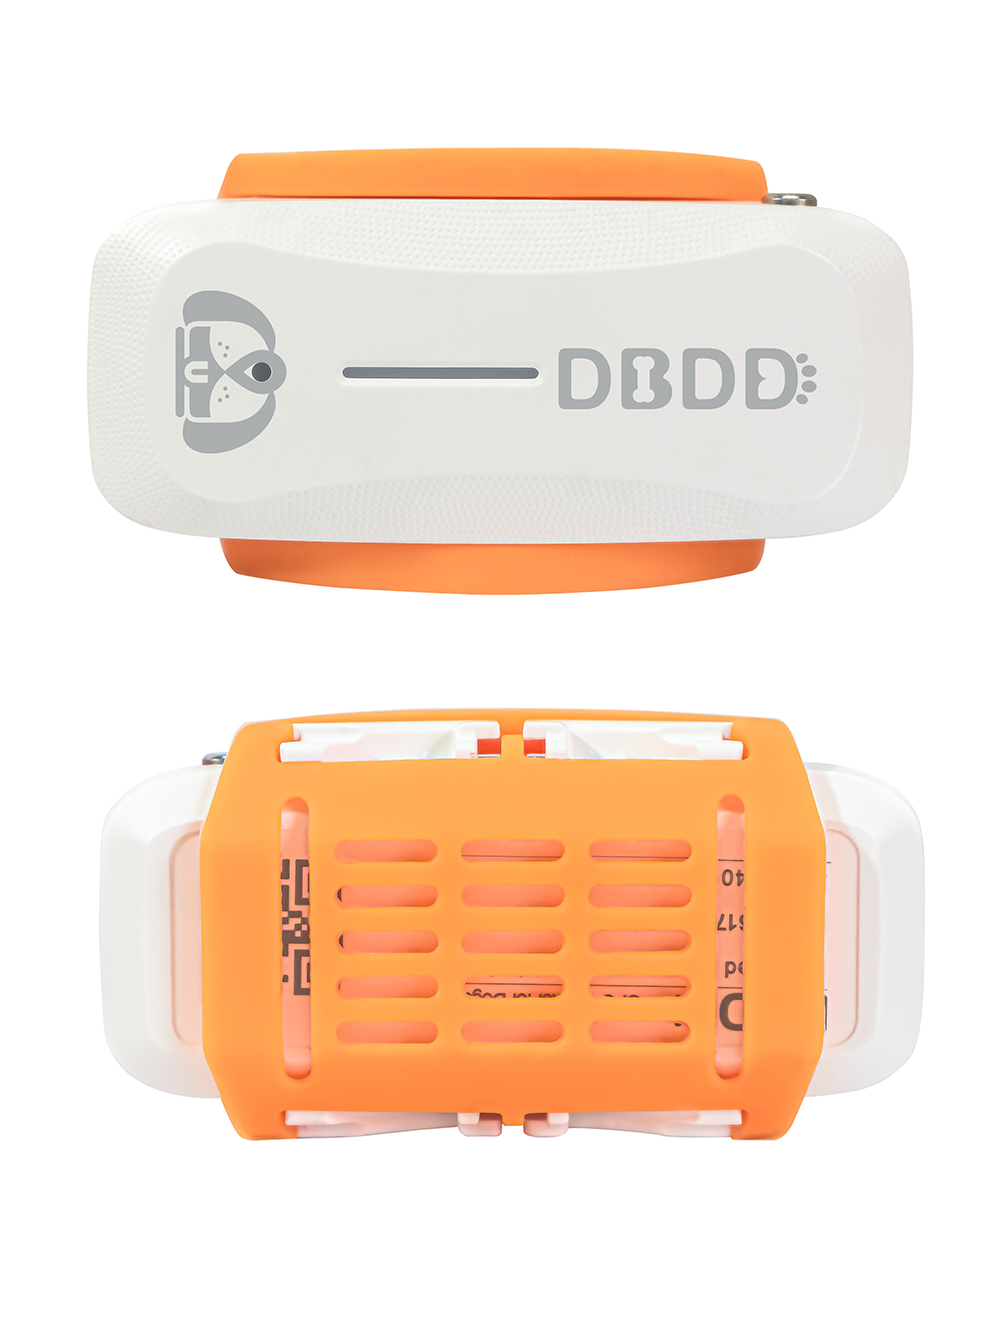
1. GPS Dog Collar: A GPS dog collar is the primary component of a GPS fence system. It tracks your dog's location in real-time and sends the data to your smartphone or computer. Some popular options include the Whistle GO Explore, the Tractive GPS, and the PetSafe Smart Dog GPS Tracker.
2. Smartphone or Computer: A smartphone or computer with internet access is needed to receive and view your dog's location data. Most GPS dog collars have companion apps that allow you to monitor your dog's activity and set up the GPS fence.
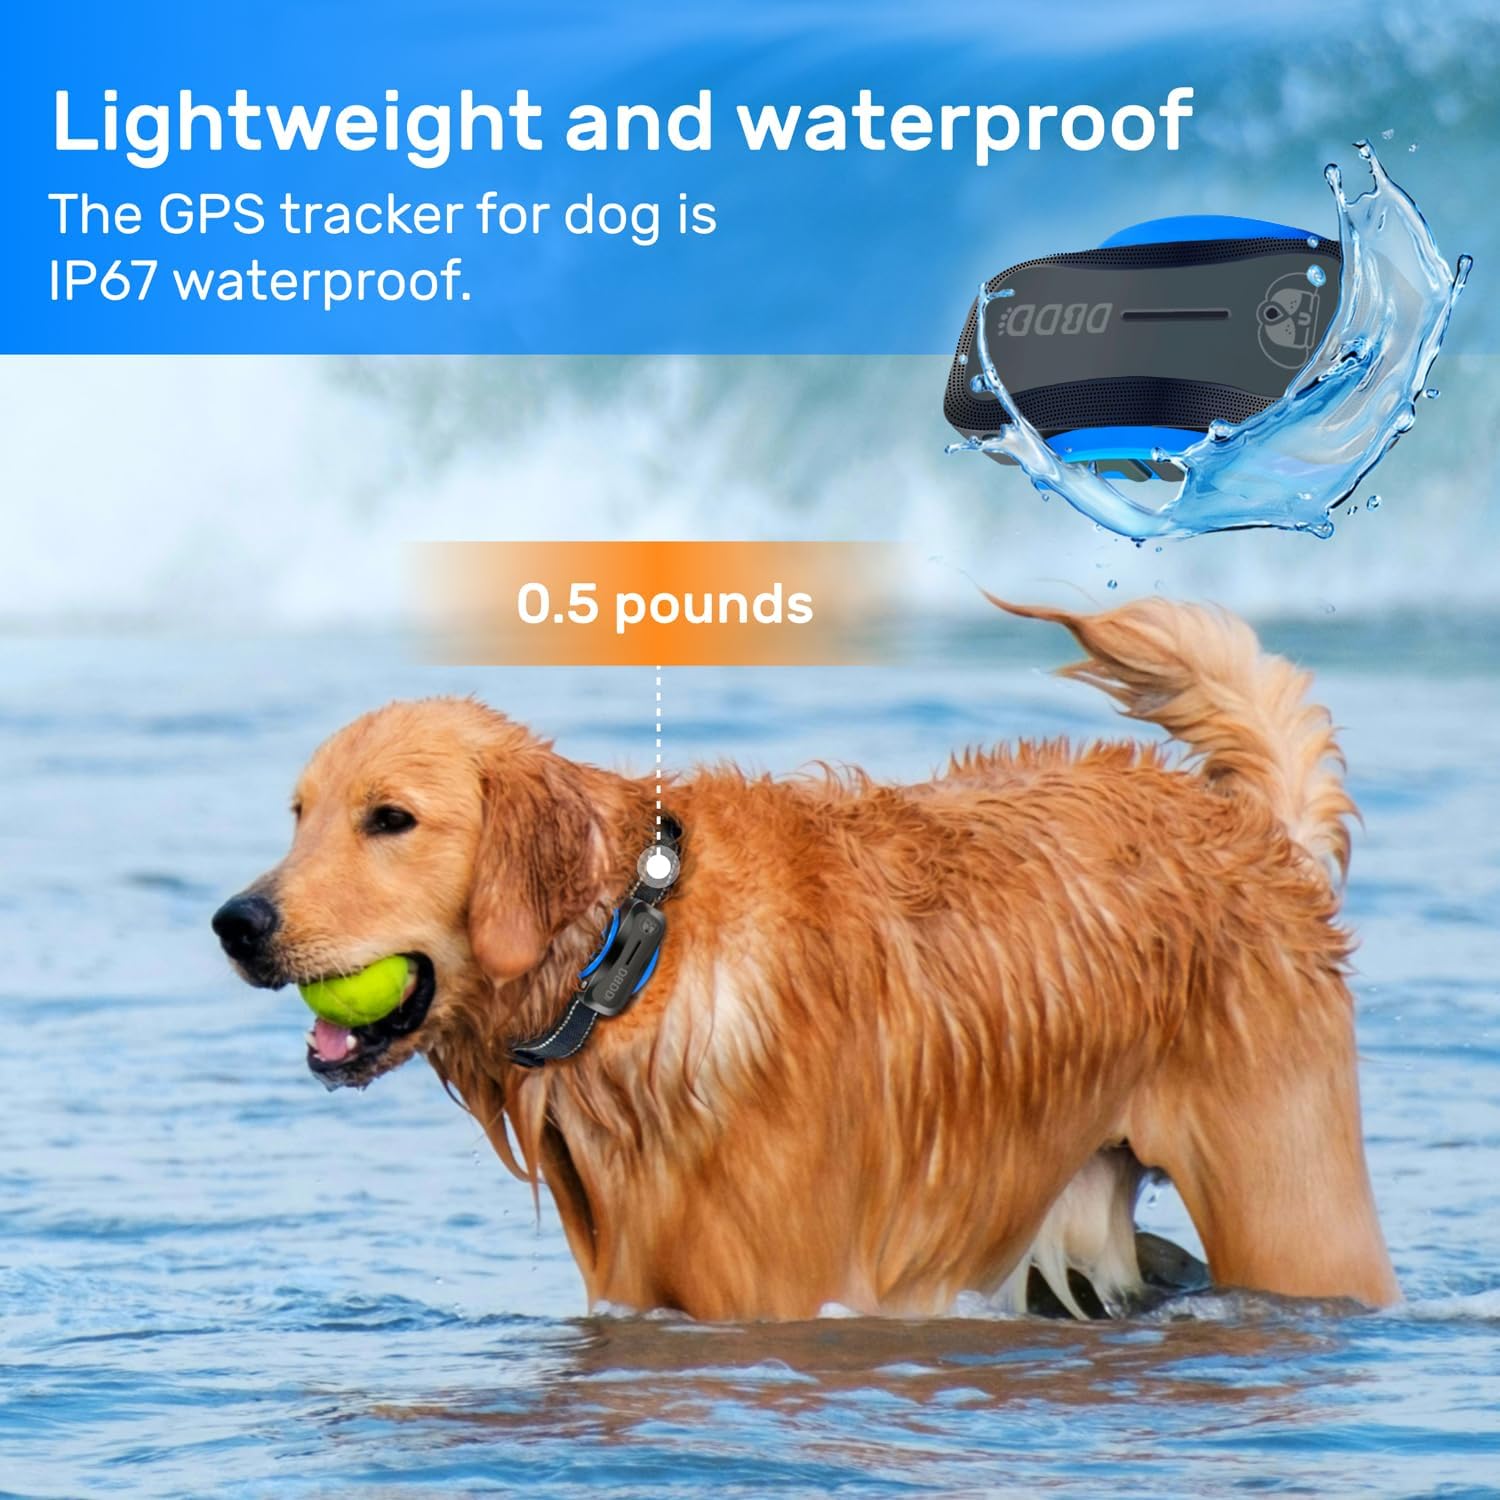
3. Charging Station: A charging station is necessary to keep your GPS dog collar charged and functioning properly. Some collars come with a charging station, while others may require a separate purchase.
4. Fencing Material: Depending on the size of the area you want to designate as your dog's safe zone, you may need fencing materials such as posts, wire, and clips. This will help to create a physical barrier around the perimeter of the GPS fence.
5. Tools: Basic tools such as a shovel, wire cutters, and pliers will be needed to install the fencing material.
Setting Up a DIY GPS Fence
Step 1: Choose the Location for Your GPS Fence
The first step in setting up a DIY GPS fence is to determine the area where you want your dog to roam. This could be your backyard, a nearby park, or any other secure location. Make sure the area is free of hazards and provides enough space for your dog to exercise and play.
Step 2: Install the Fencing Material
Once you've chosen the location for your GPS fence, it's time to install the fencing material. Start by marking the perimeter of the designated area with stakes or flags. Then, using a shovel, dig holes for the fence posts at regular intervals along the perimeter. Insert the posts into the holes and secure them with concrete or a similar material.
Next, attach the wire to the fence posts using clips. Ensure that the wire is taut and follows the contour of the ground. This will help to create a secure barrier around the GPS fence area.
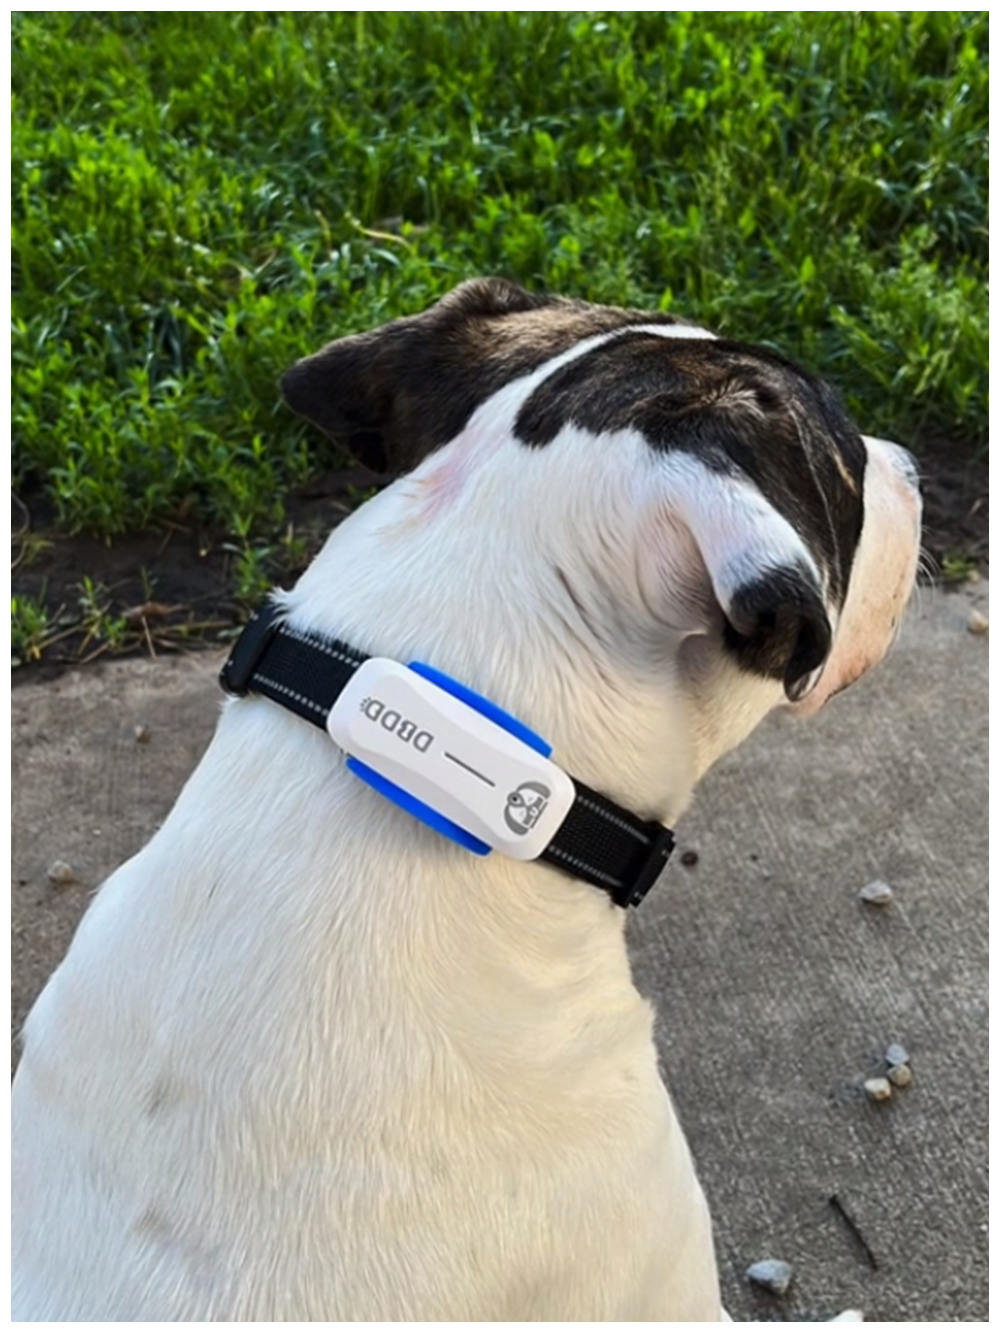
Step 3: Set Up the GPS Dog Collar
Before setting up the GPS dog collar, make sure it's fully charged by connecting it to the charging station. Once the collar is charged, turn it on and pair it with your smartphone or computer using the companion app.
Step 4: Create the GPS Fence in the App
Now that the GPS dog collar is set up, it's time to create the GPS fence using the companion app. Open the app on your smartphone or computer and locate the GPS dog collar on the map. Adjust the size and shape of the GPS fence to match the area you've designated for your dog to roam.
Most GPS dog collars have different settings for the GPS fence, such as "stay," "roam," and "vibrate." The "stay" setting will alert you when your dog leaves the designated area, while the "roam" setting allows your dog to move freely within the GPS fence. The "vibrate" setting sends a vibration to the collar when your dog approaches the boundary of the GPS fence, encouraging them to turn back.
Step 5: Test the GPS Fence
Once the GPS fence is set up, it's important to test it to ensure it's functioning properly. Put the GPS dog collar on your dog and let them explore the designated area. Keep an eye on the app to see if the GPS fence is accurately tracking your dog's movements and alerting you when they approach the boundary.
If your dog tries to leave the GPS fence area, the collar should send an alert to your smartphone or
Update Time:2025-05-15 05:35:11
Correction of product information
If you notice any omissions or errors in the product information on this page, please use the correction request form below.
Correction Request Form


