


New ArrivalsBack in stock
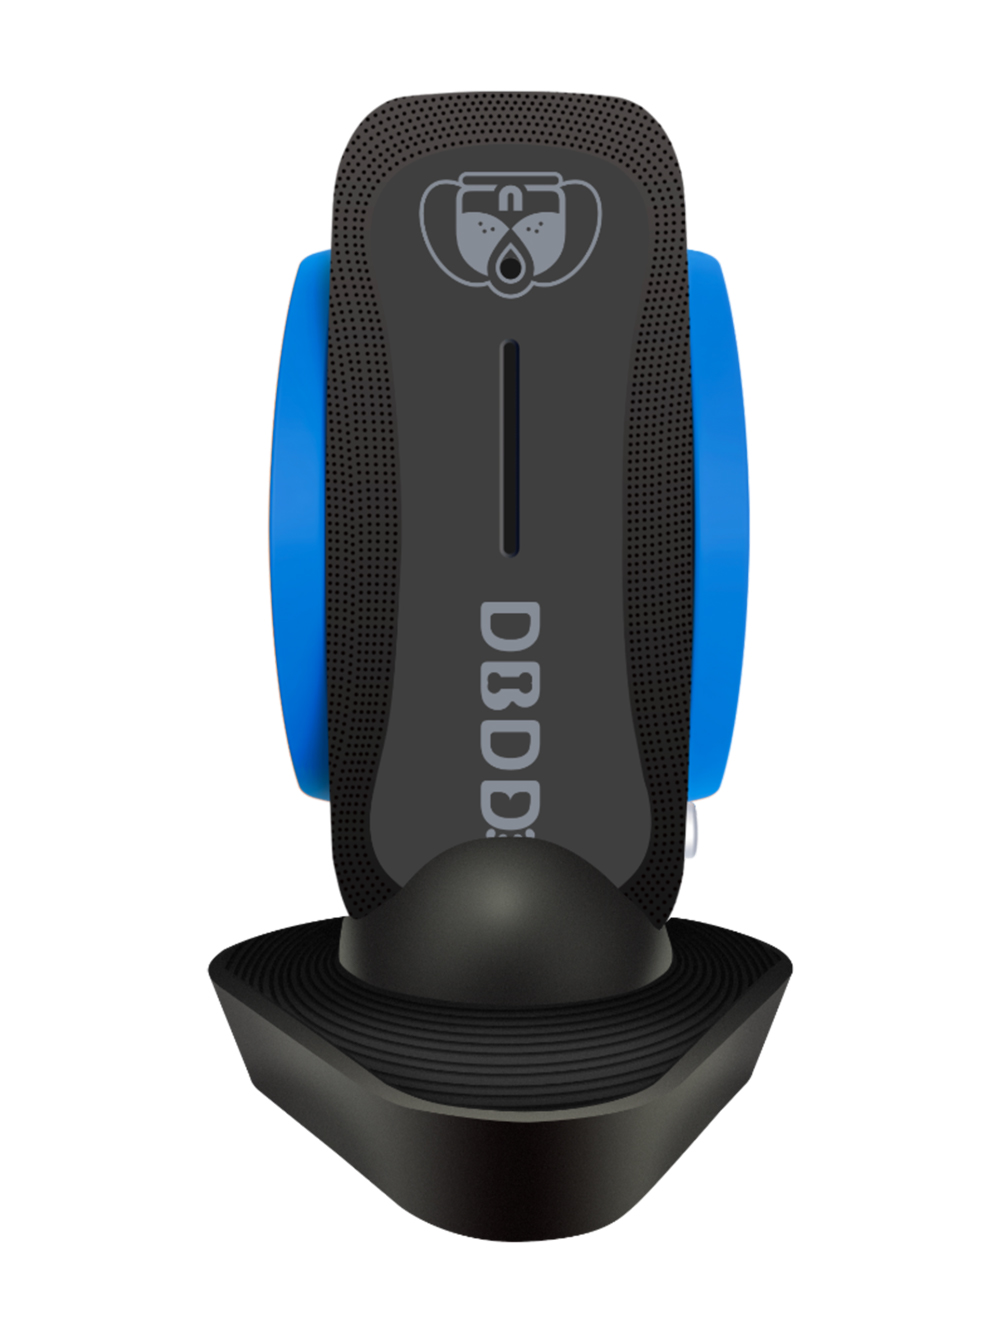


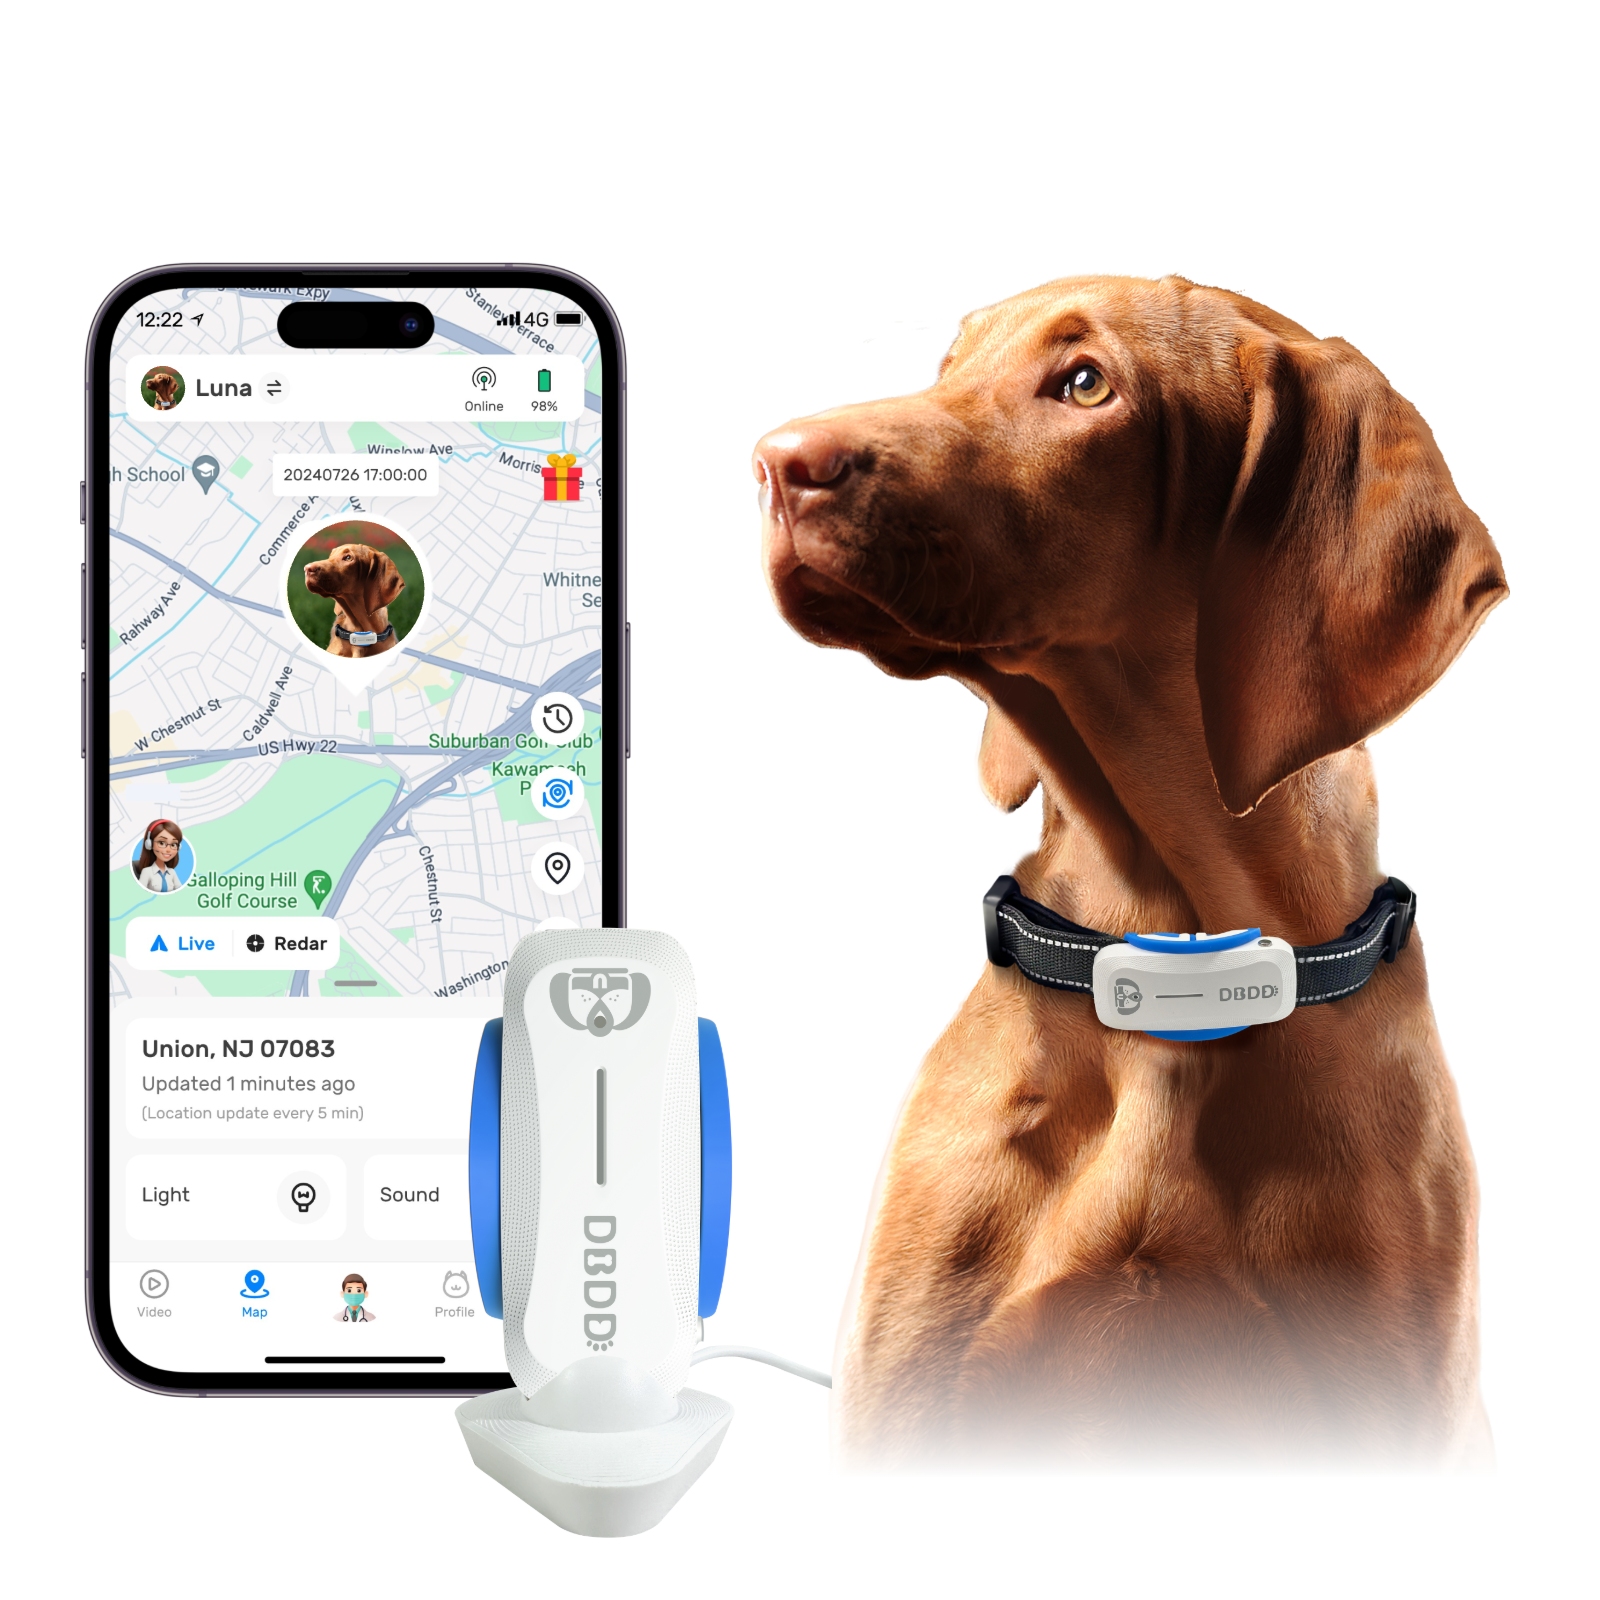
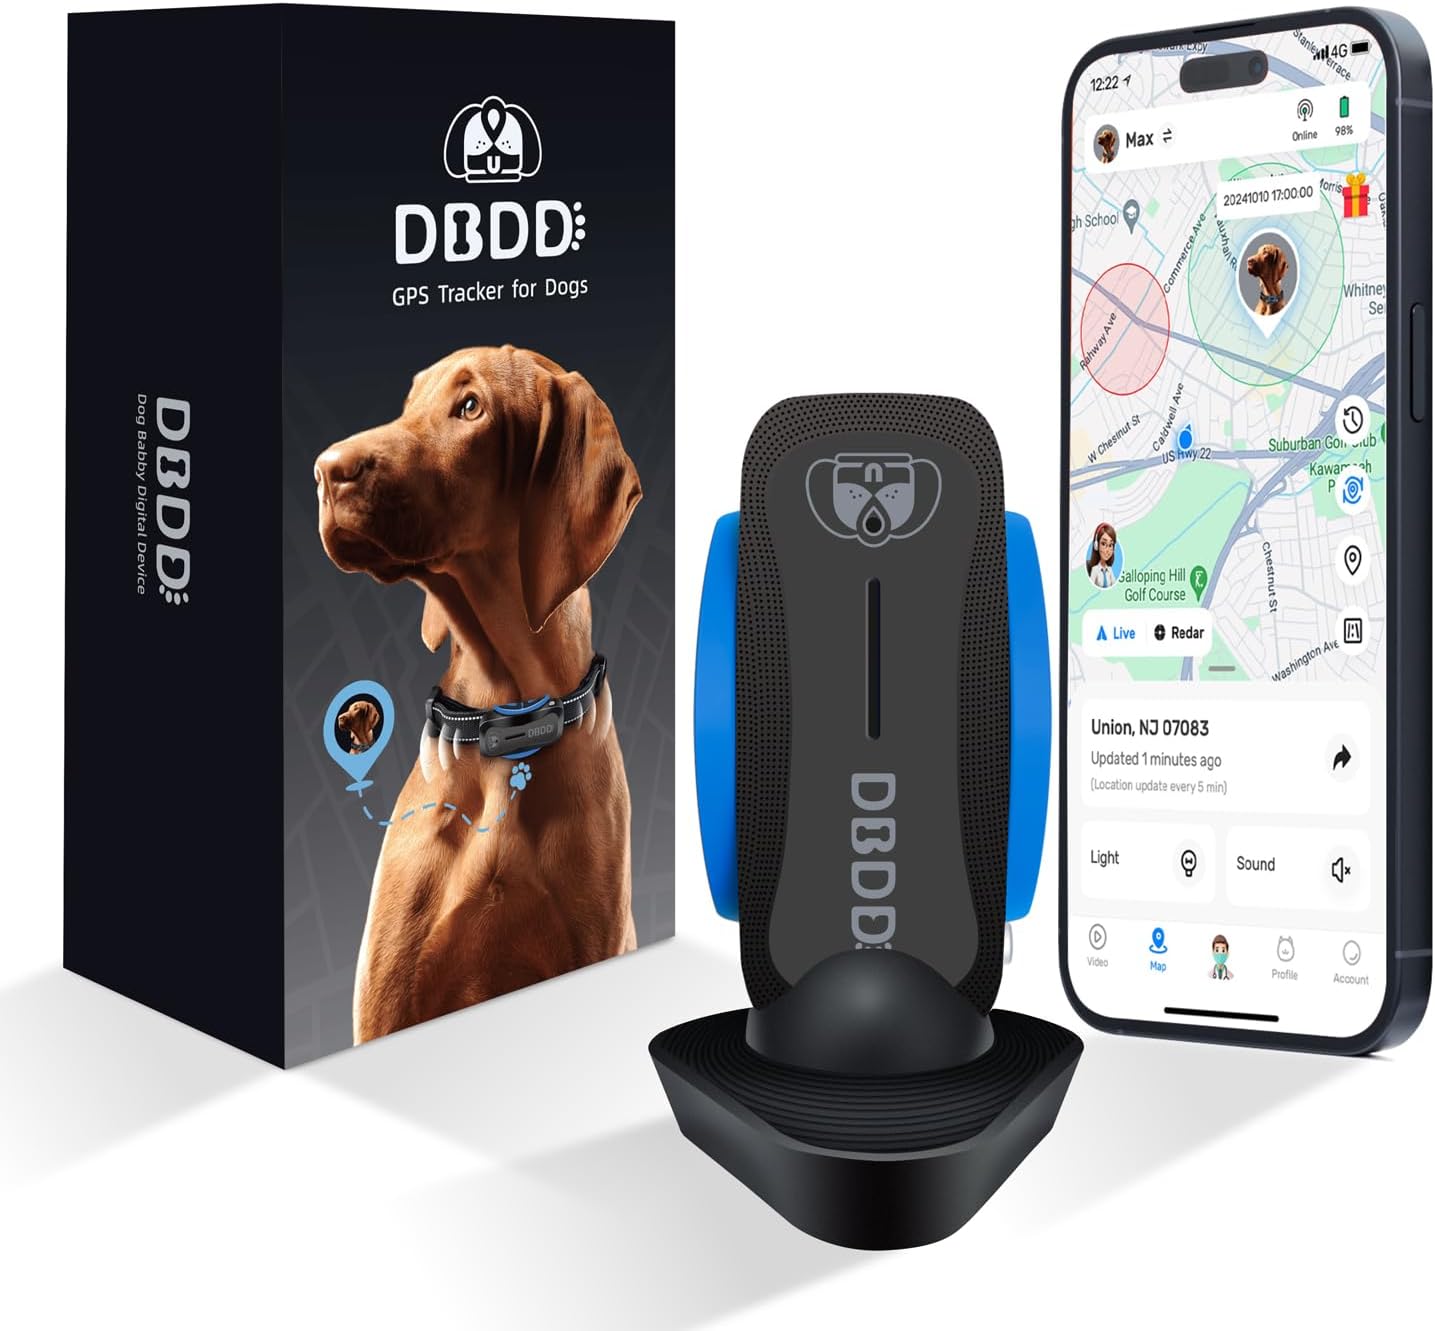
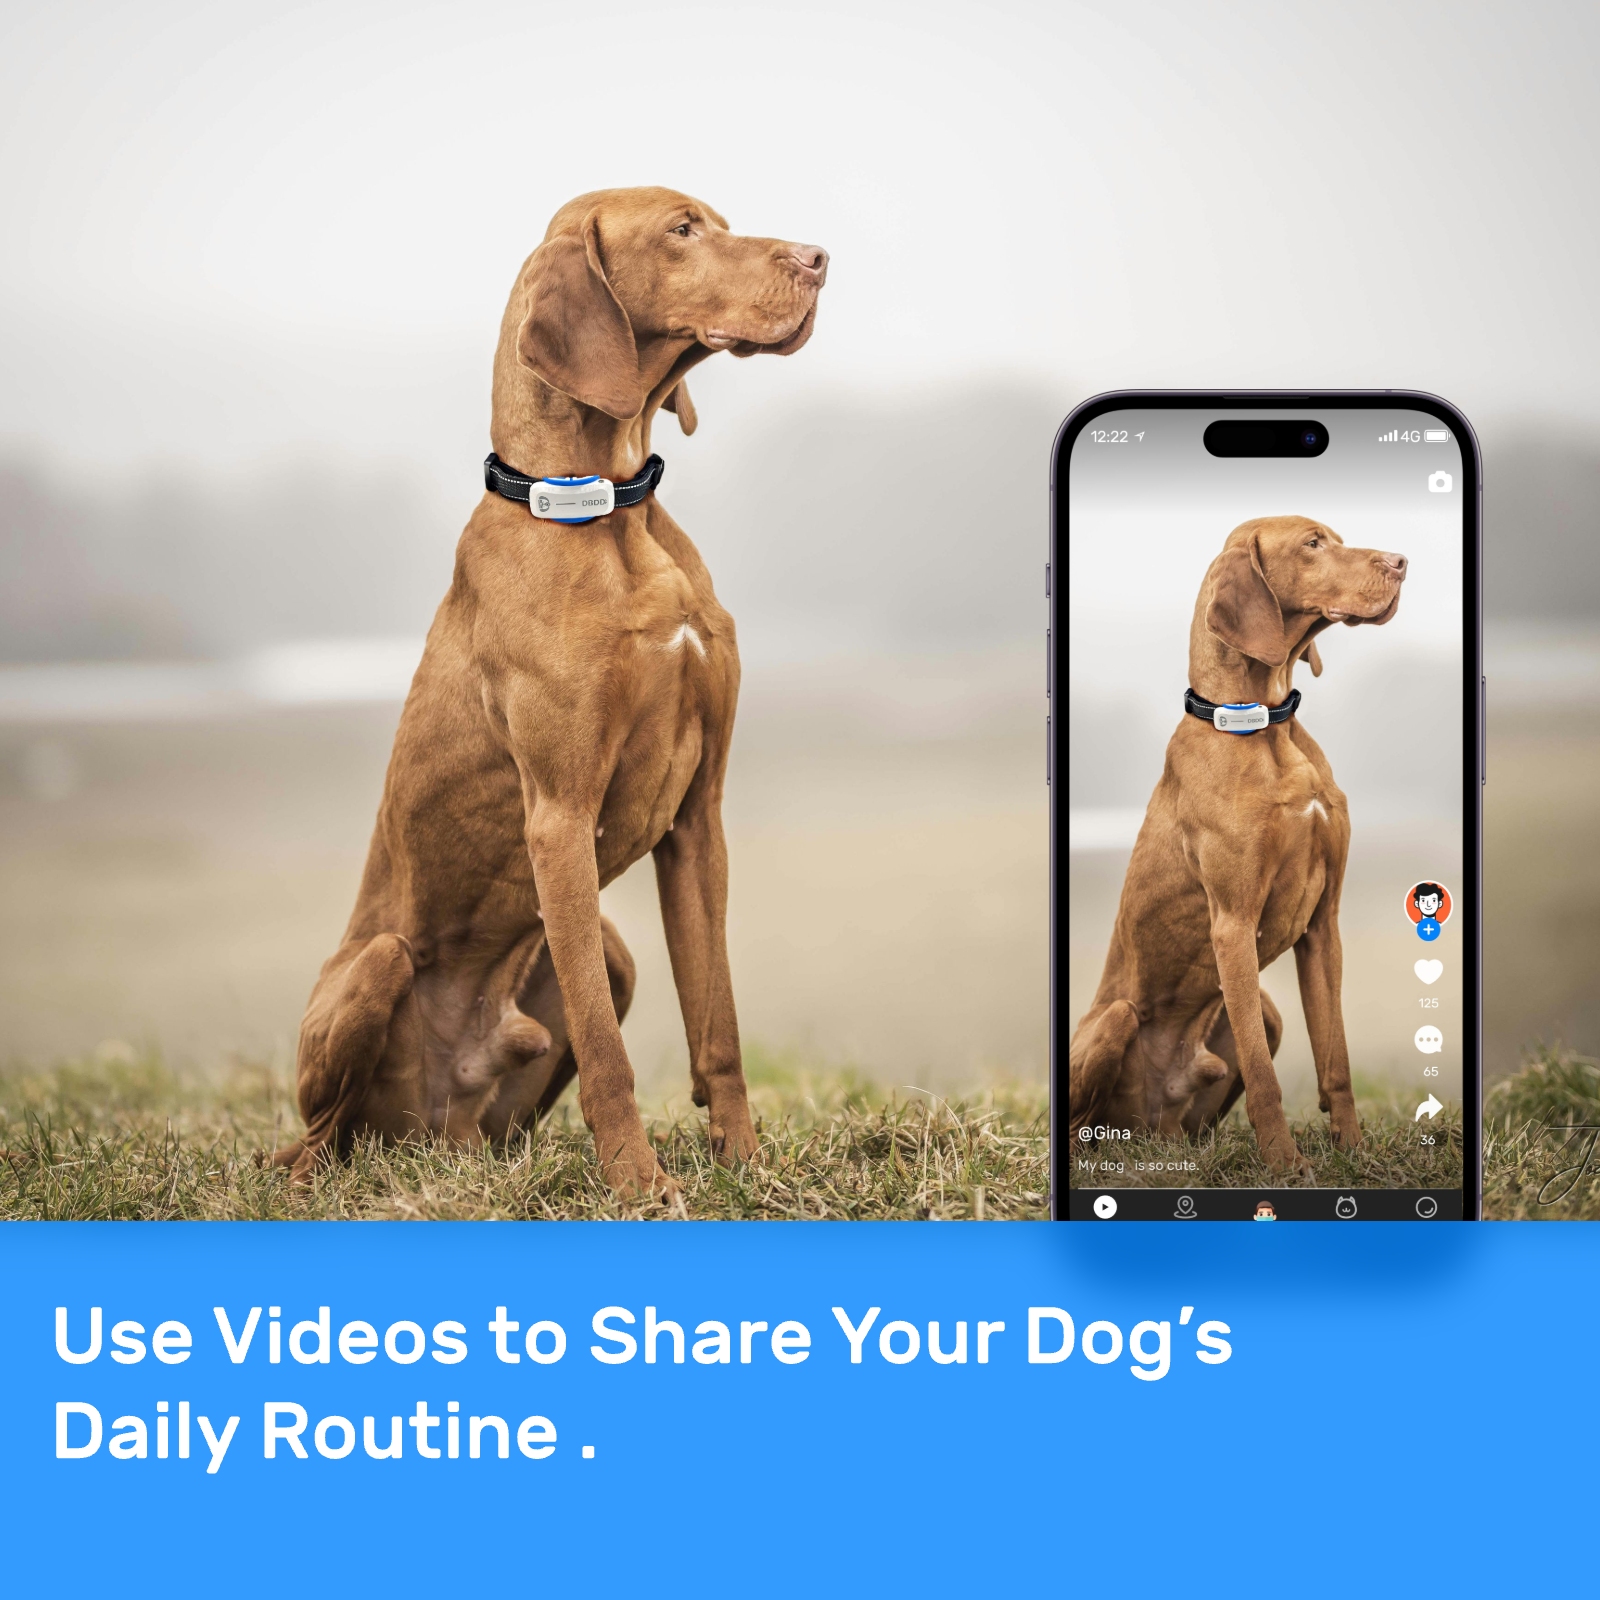
tracker for dogs
 4.7
(438件)
4.7
(438件)
 Limited Time Sale
Until the end
00
00
00
Free shipping on orders over 999 ※)
If you buy it for 999 or more, you can buy it on behalf of the customer. There is no material for the number of hands.
If you buy it for 999 or more, you can buy it on behalf of the customer. There is no material for the number of hands.
There is stock in your local store.
Please note that the sales price and tax displayed may differ between online and in-store. Also, the product may be out of stock in-store.


Coupon giveaway!
| Control number |
New :D699904835 second hand :D699904835 |
Manufacturer | tracker for | release date | 2025-05-16 | List price | $42 | ||
|---|---|---|---|---|---|---|---|---|---|
| prototype | for dogs | ||||||||
| category | |||||||||
Satellite Tech#Global Positioning Modules
Creating a DIY Dog Tracking System: A Comprehensive Guide
Introduction
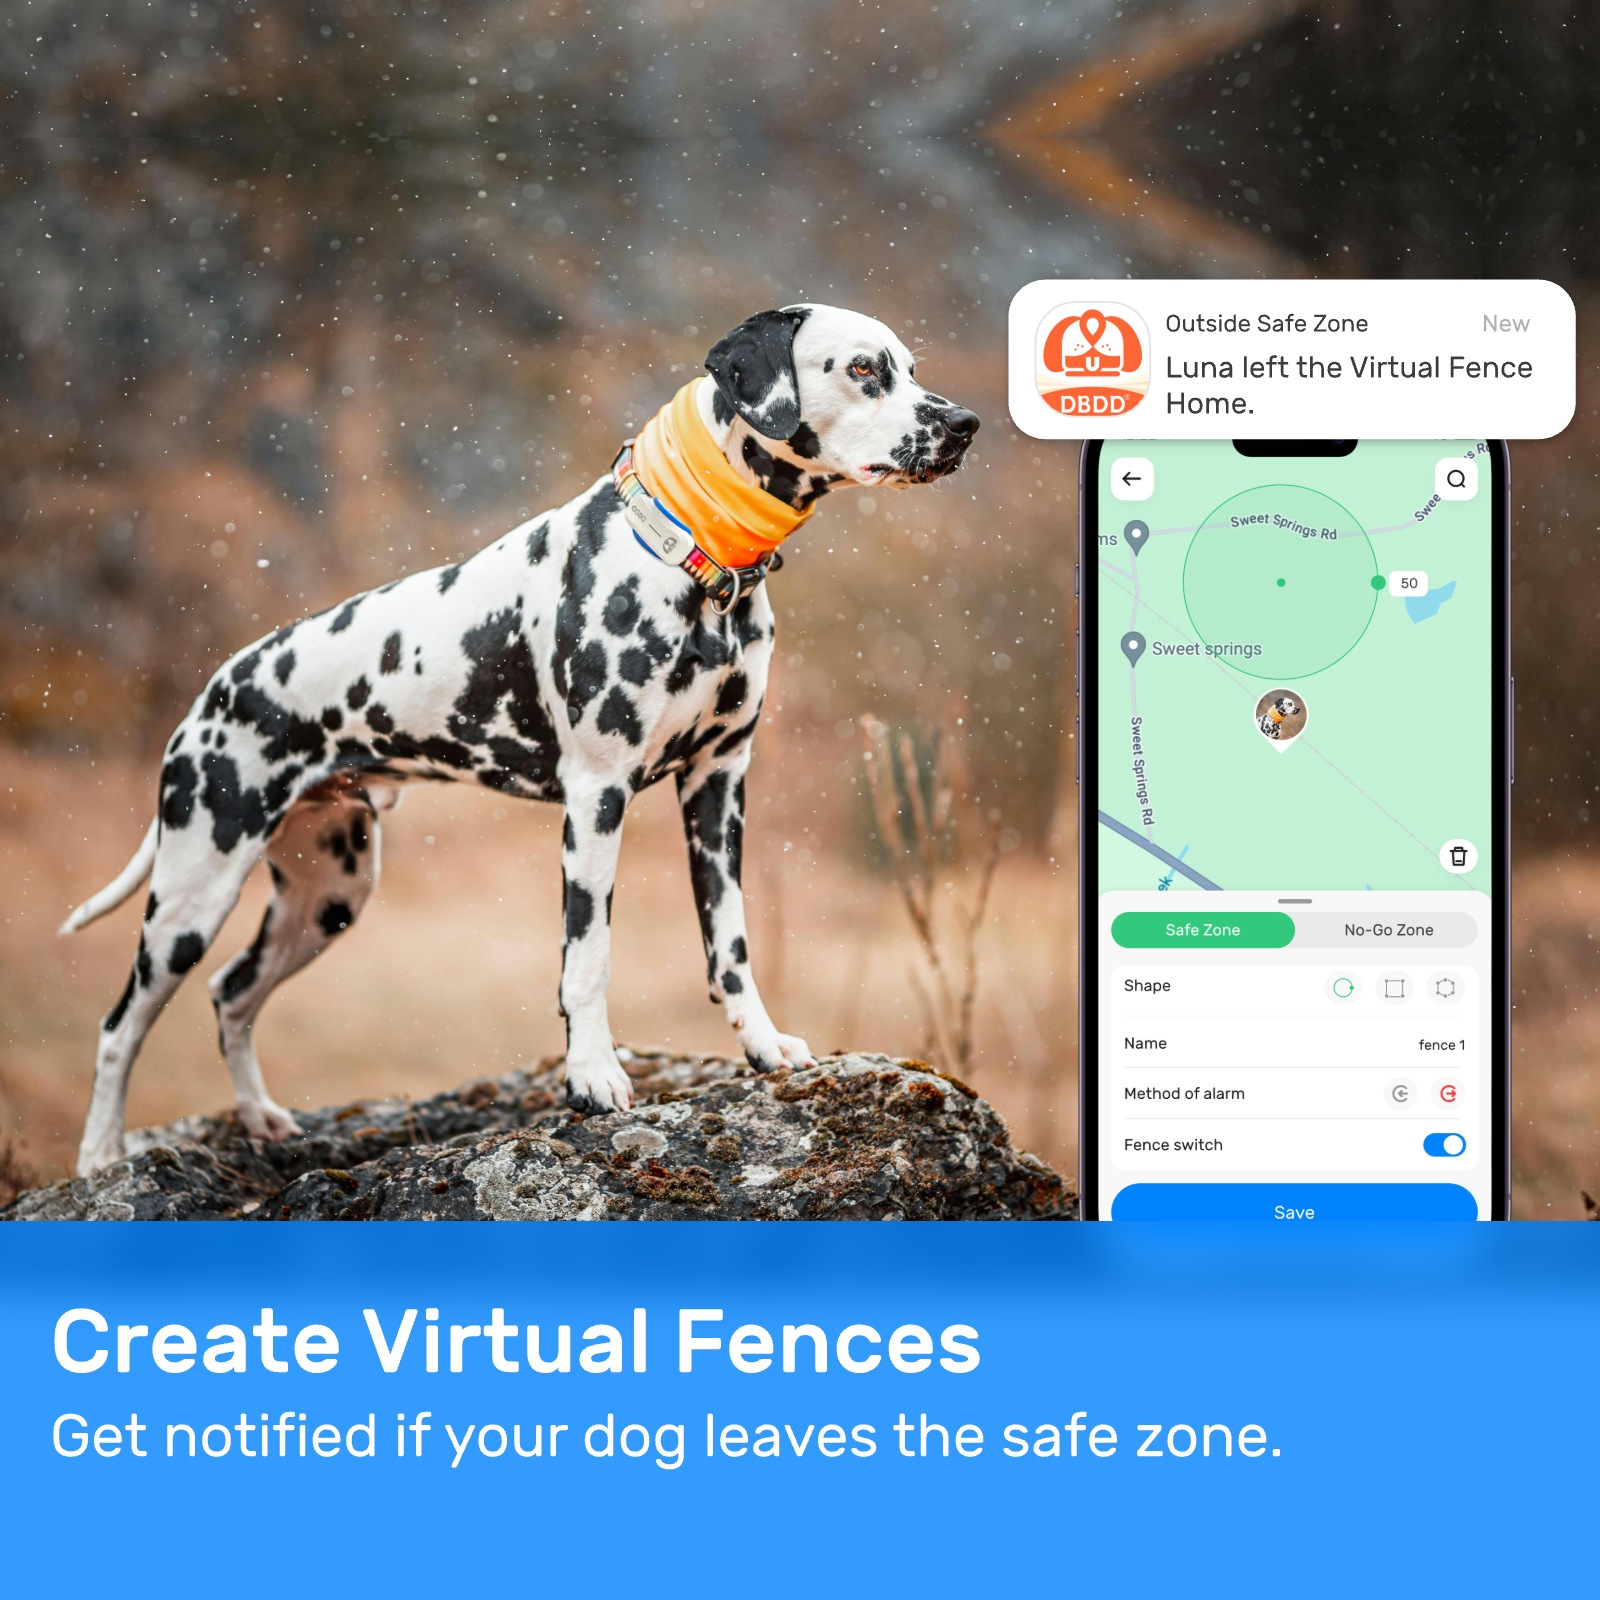
As a dog owner, you understand the importance of keeping your furry friend safe and secure. Losing a dog can be a traumatic experience, and the fear of this happening is always lingering in the back of your mind. While there are many commercial GPS trackers for dogs available on the market, they can be expensive and may not always provide the level of accuracy or reliability you need. This is where a DIY dog tracking system comes into play. By building your own tracker for dogs, you can customize the system to your specific needs and budget, ensuring that your dog is always within reach.
In this article, we will guide you through the process of creating a DIY dog tracking system, from selecting the right components to setting up the software and testing the system. By following these steps, you can create a reliable and cost-effective solution for tracking your dog's movements and ensuring their safety.
Step 1: Choose the Right Components
To create a DIY dog tracking system, you will need several key components. These include:
1. GPS Module: This is the heart of your tracking system, responsible for determining your dog's location. There are many GPS modules available on the market, such as the popular GPS breakout boards from Adafruit or SparkFun. Make sure to choose a module with a high level of accuracy and reliability.
2. Radio Transceiver: This component is responsible for transmitting the GPS data from the dog's collar to your receiver. There are several options available, including radio frequency (RF) transceivers and LoRa transceivers. RF transceivers are generally cheaper and easier to work with, but LoRa transceivers offer longer range and better reliability.
3. Microcontroller: This is the "brain" of your system, responsible for processing the GPS data and controlling the radio transceiver. There are many microcontrollers available, such as the Arduino Uno or the ESP32. Choose a microcontroller with enough processing power and memory to handle your tracking needs.
4. Power Supply: Your dog's collar will need a power supply to keep the GPS module and microcontroller running. There are several options available, including rechargeable batteries and solar panels. Make sure to choose a power supply with enough capacity to last for extended periods of time.
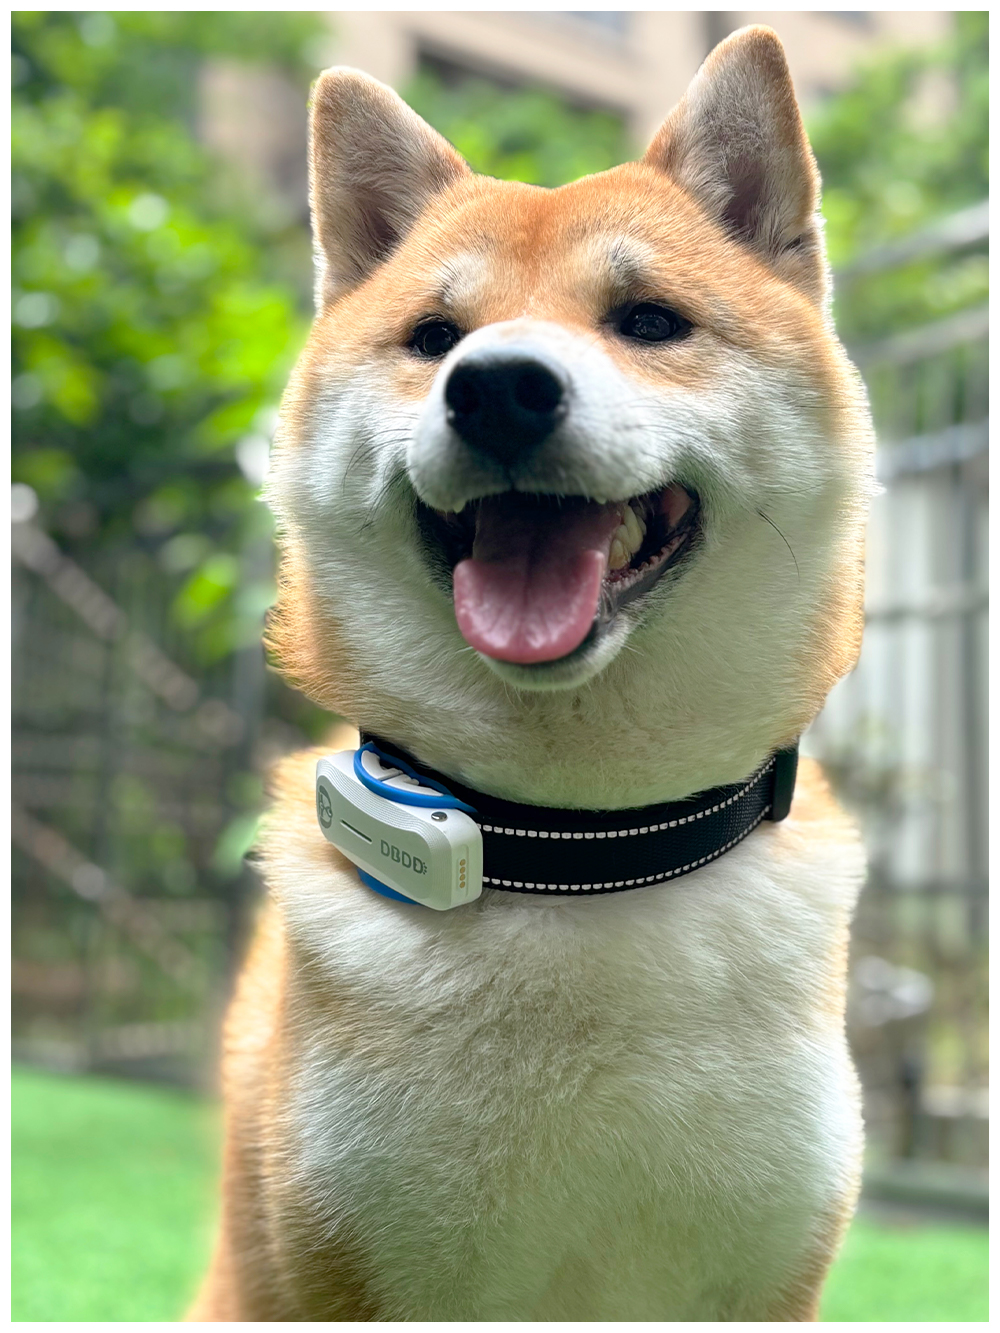
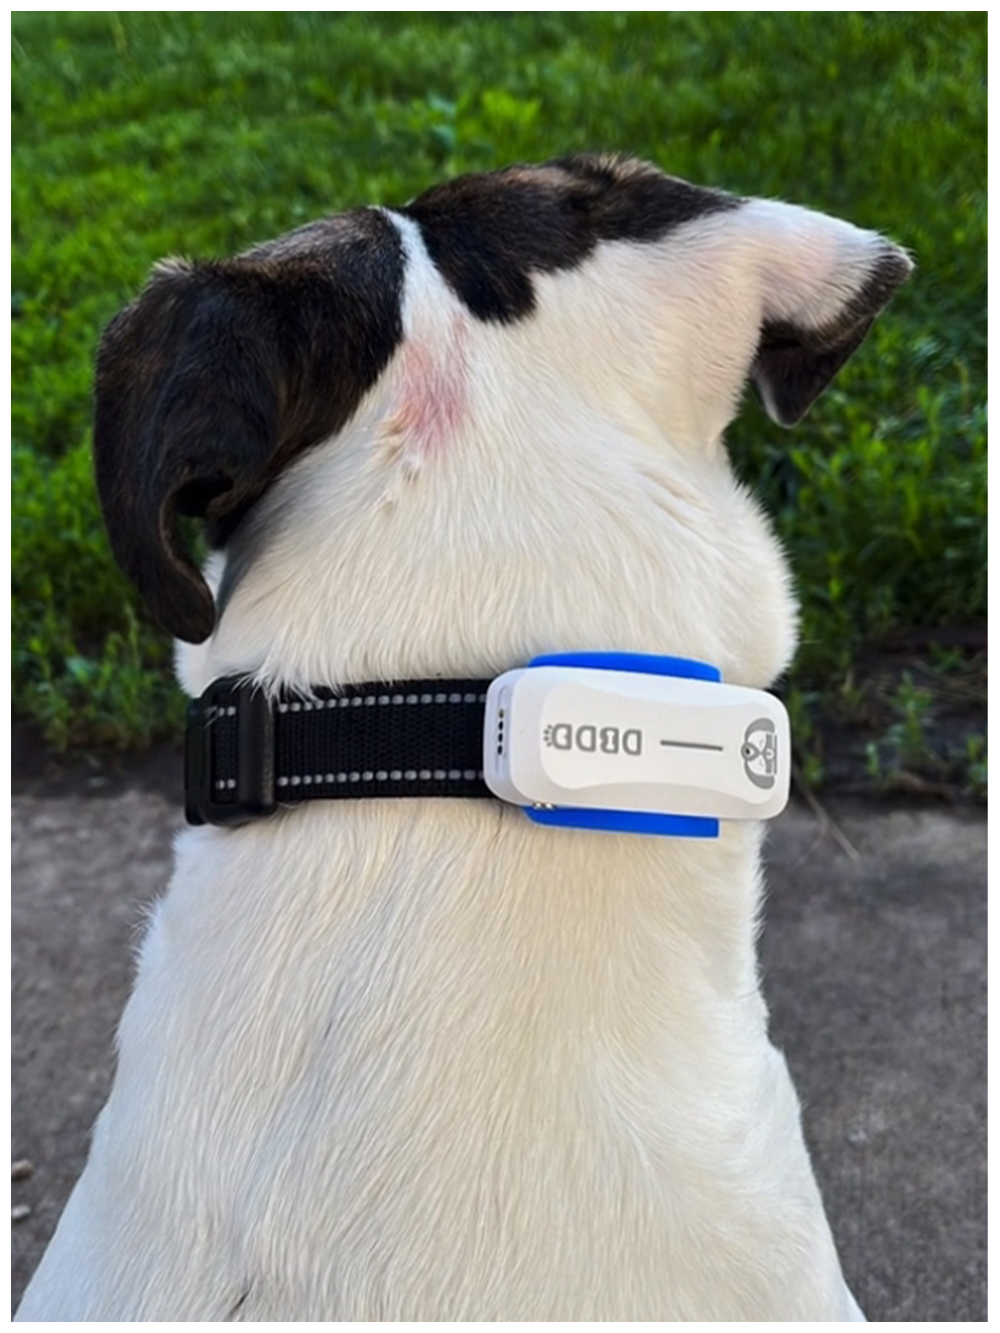
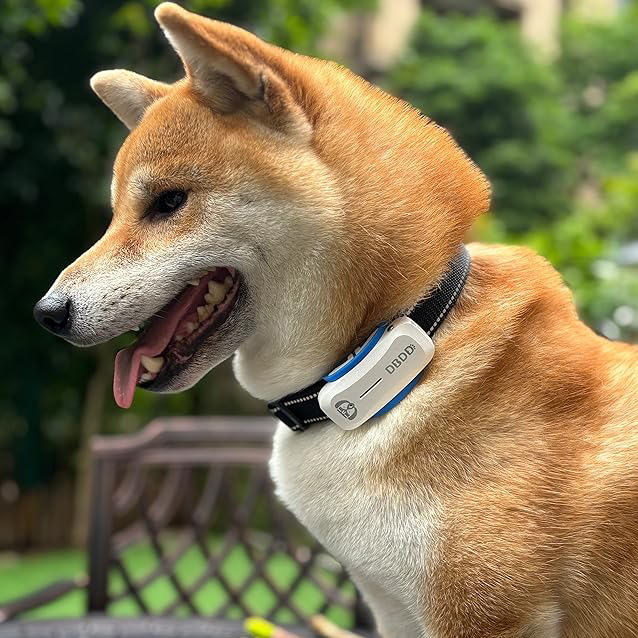
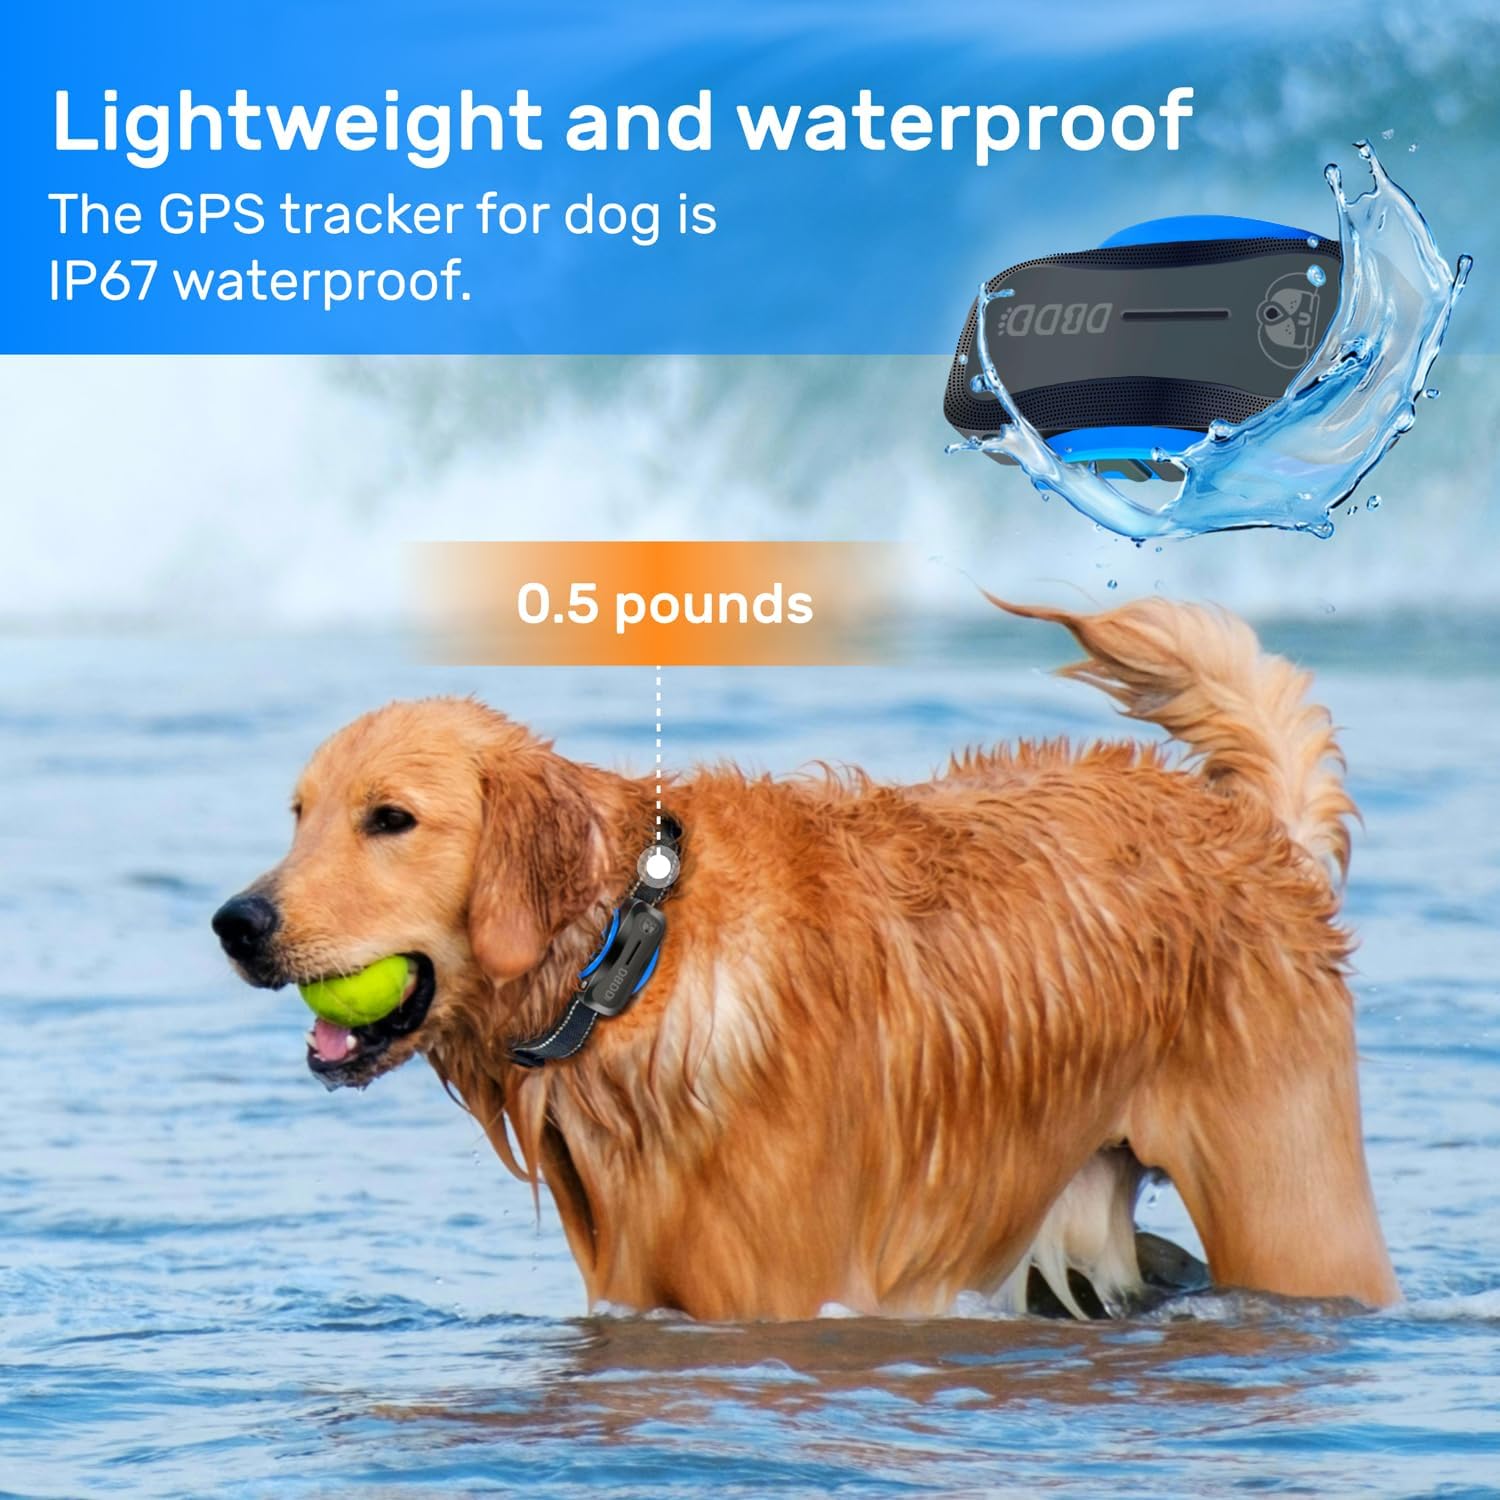
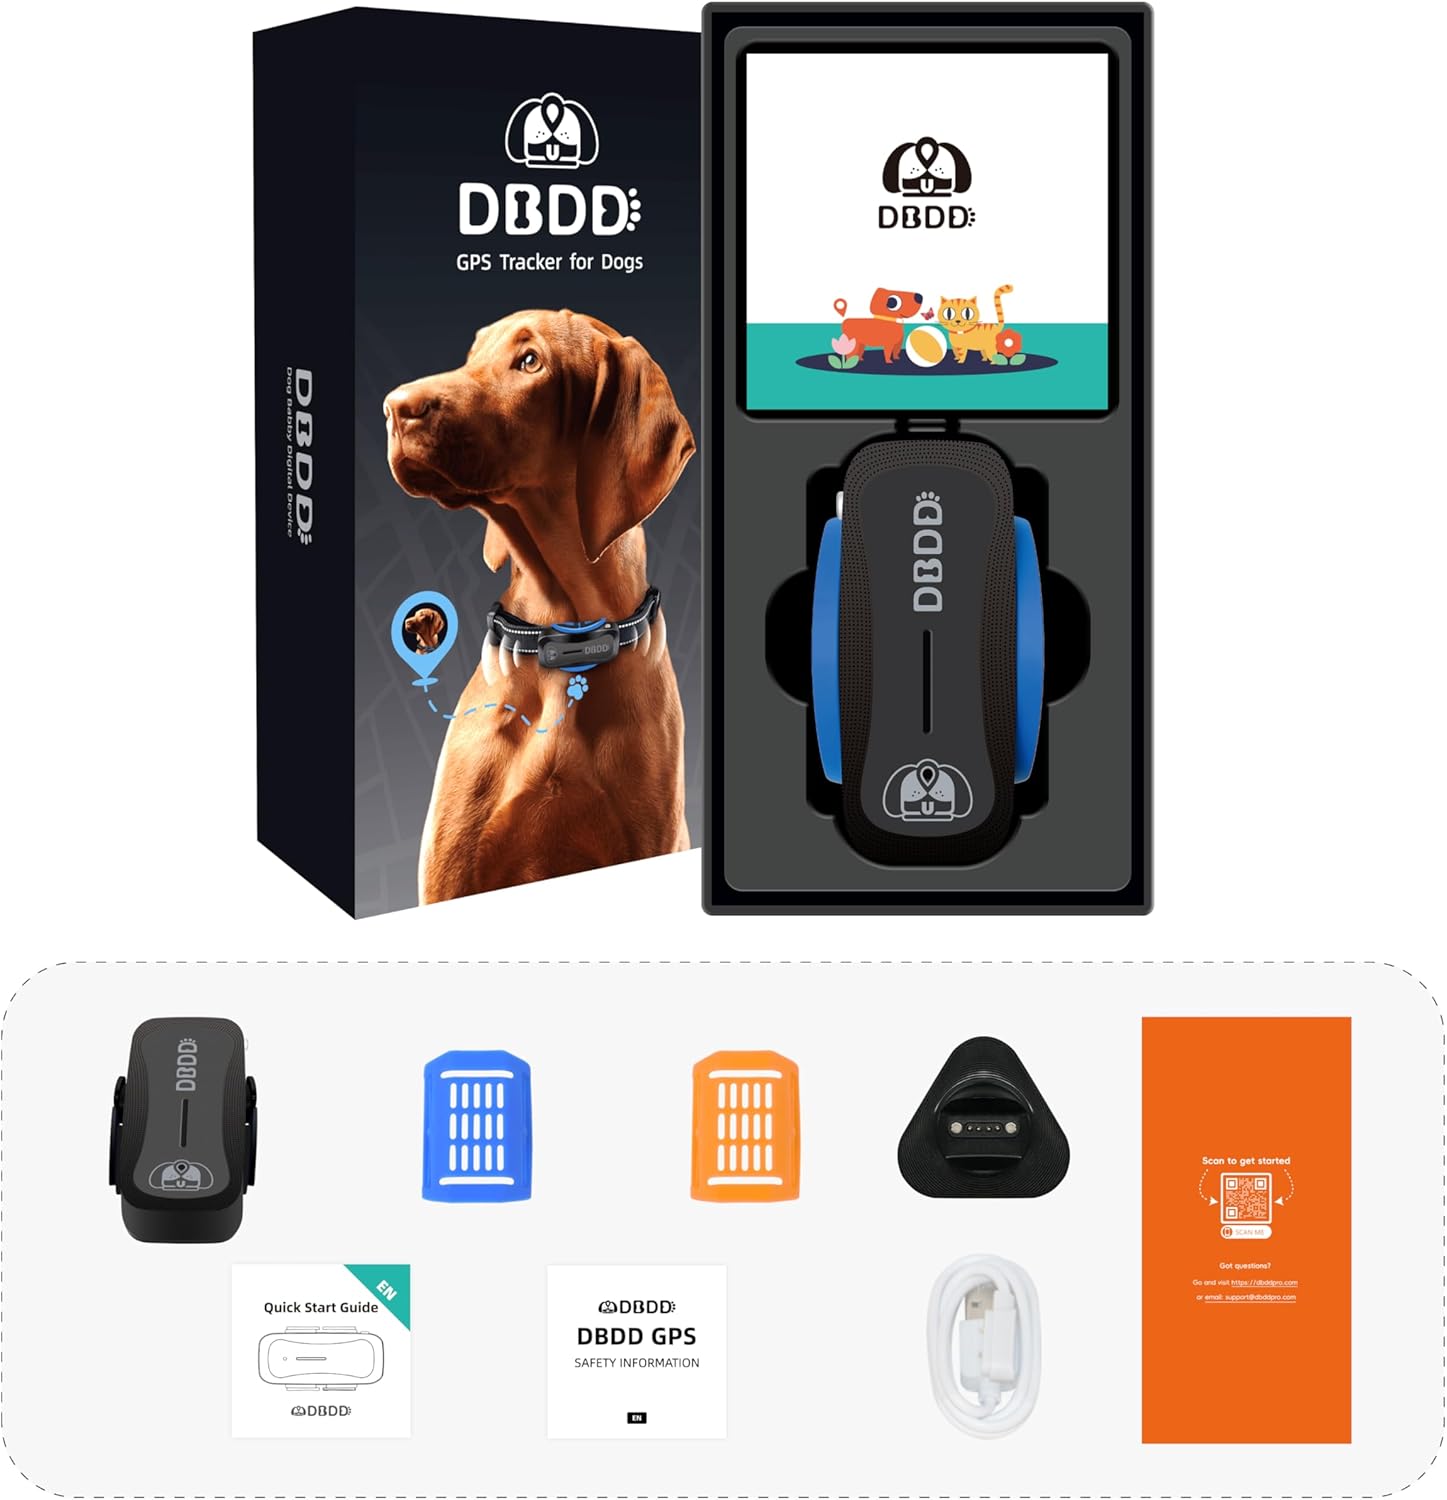
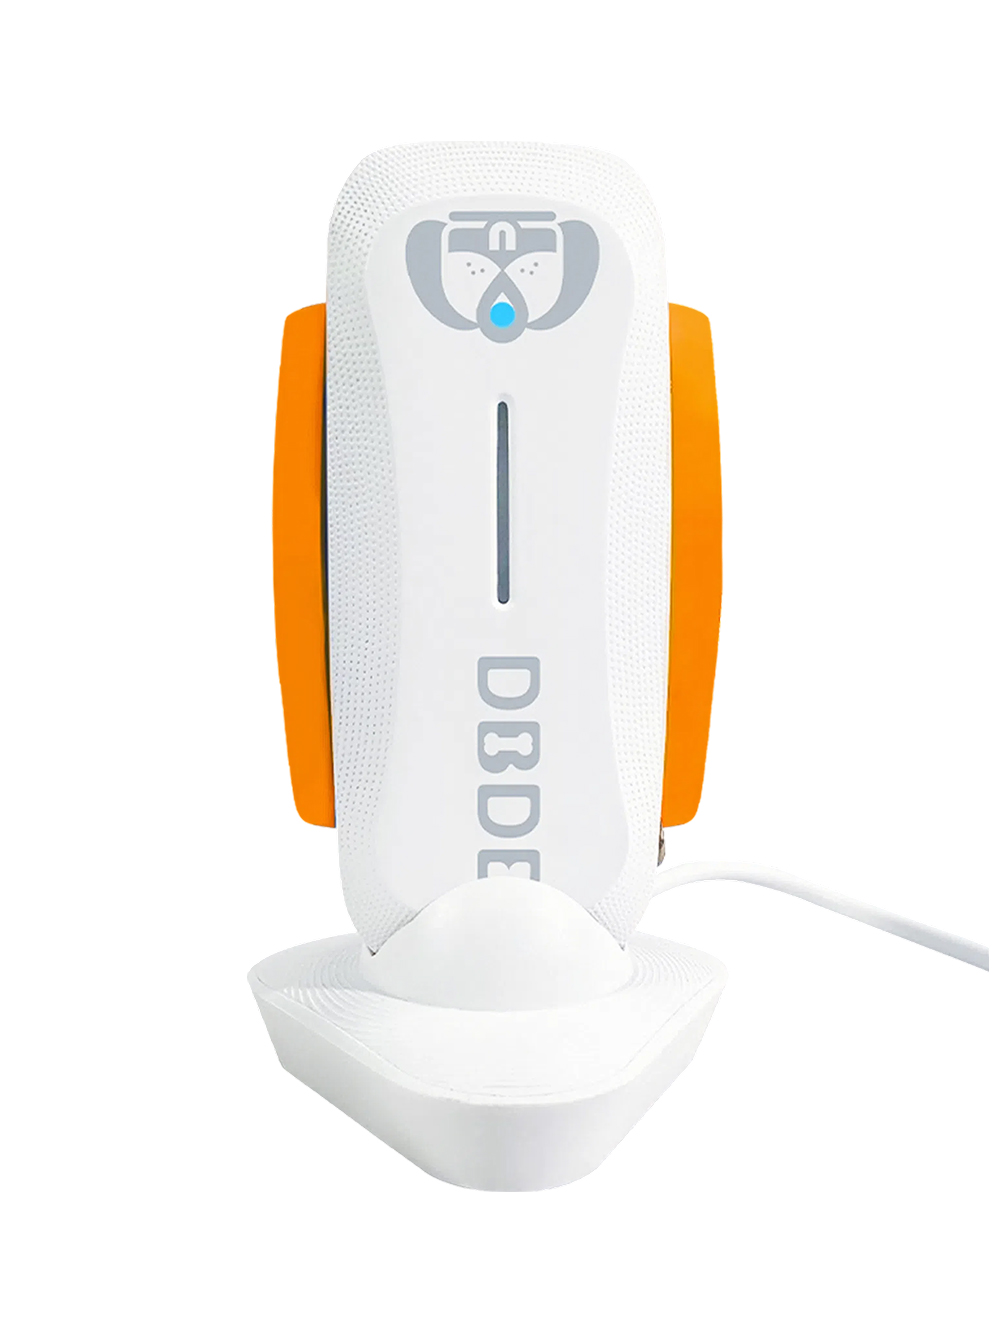
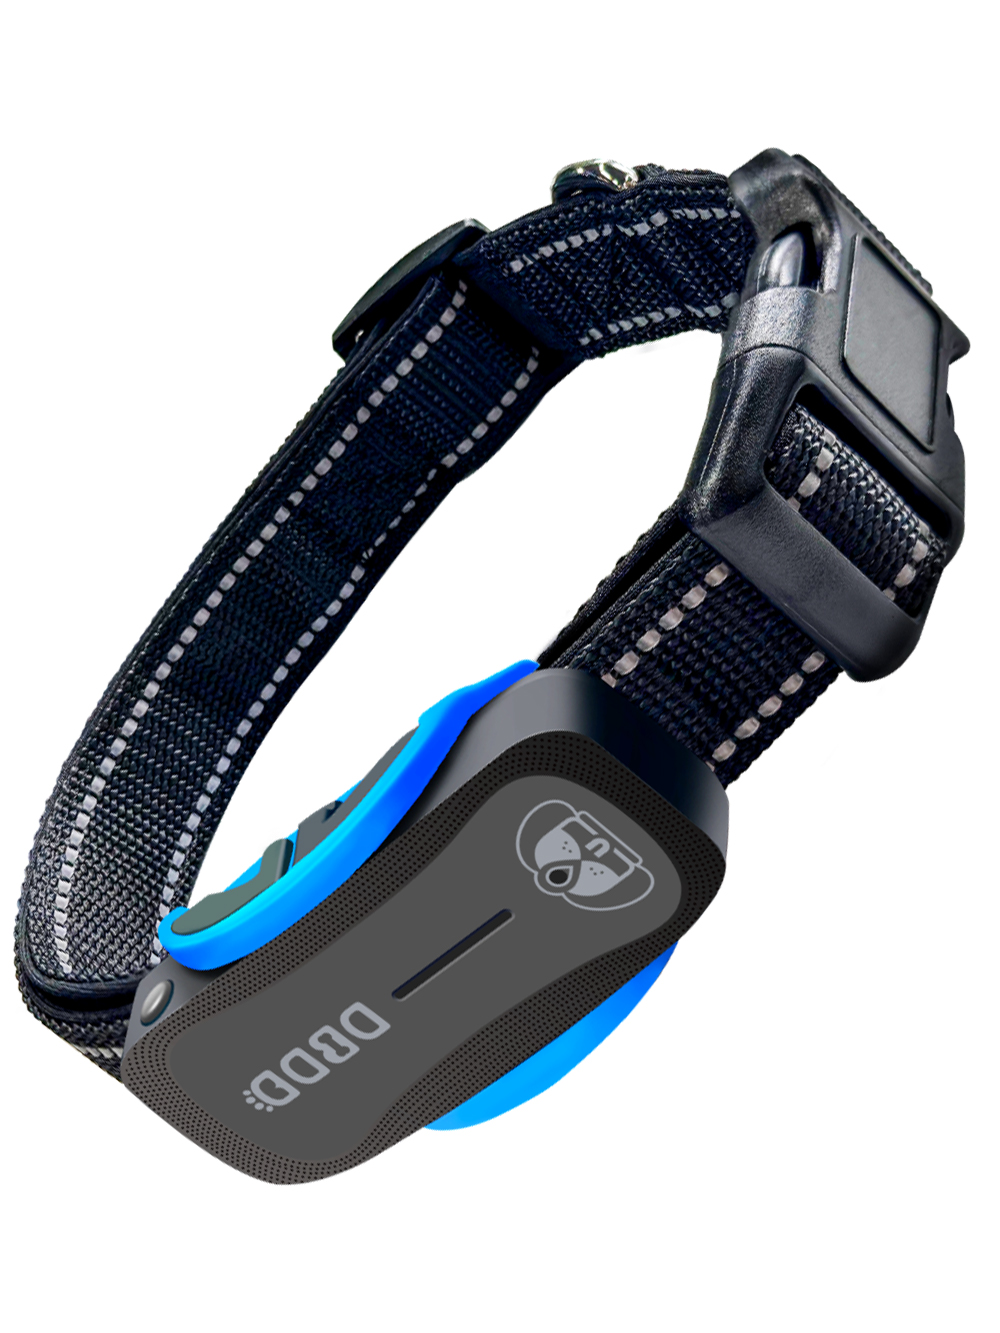
5. Collar and Housing: You will need a collar and housing to attach the tracking components to your dog. There are many collars available on the market, but you can also create your own using materials like neoprene or leather. For the housing, you can use a waterproof case or enclosure to protect the electronic components from the elements.
Step 2: Set Up the Hardware
Once you have selected the components for your DIY dog tracking system, it's time to set up the hardware. Follow these steps to assemble your system:
1. Connect the GPS module to the microcontroller. This will involve connecting the module's power, ground, and data pins to the appropriate pins on the microcontroller. Consult the documentation for your specific GPS module and microcontroller for the correct pin connections.
2. Connect the radio transceiver to the microcontroller. This will involve connecting the transceiver's power, ground, and data pins to the appropriate pins on the microcontroller. Again, consult the documentation for your specific radio transceiver and microcontroller for the correct pin connections.
3. Connect the power supply to the microcontroller and GPS module. This will involve connecting the power supply's positive and negative terminals to the microcontroller's power and ground pins, and to the GPS module's power and ground pins.
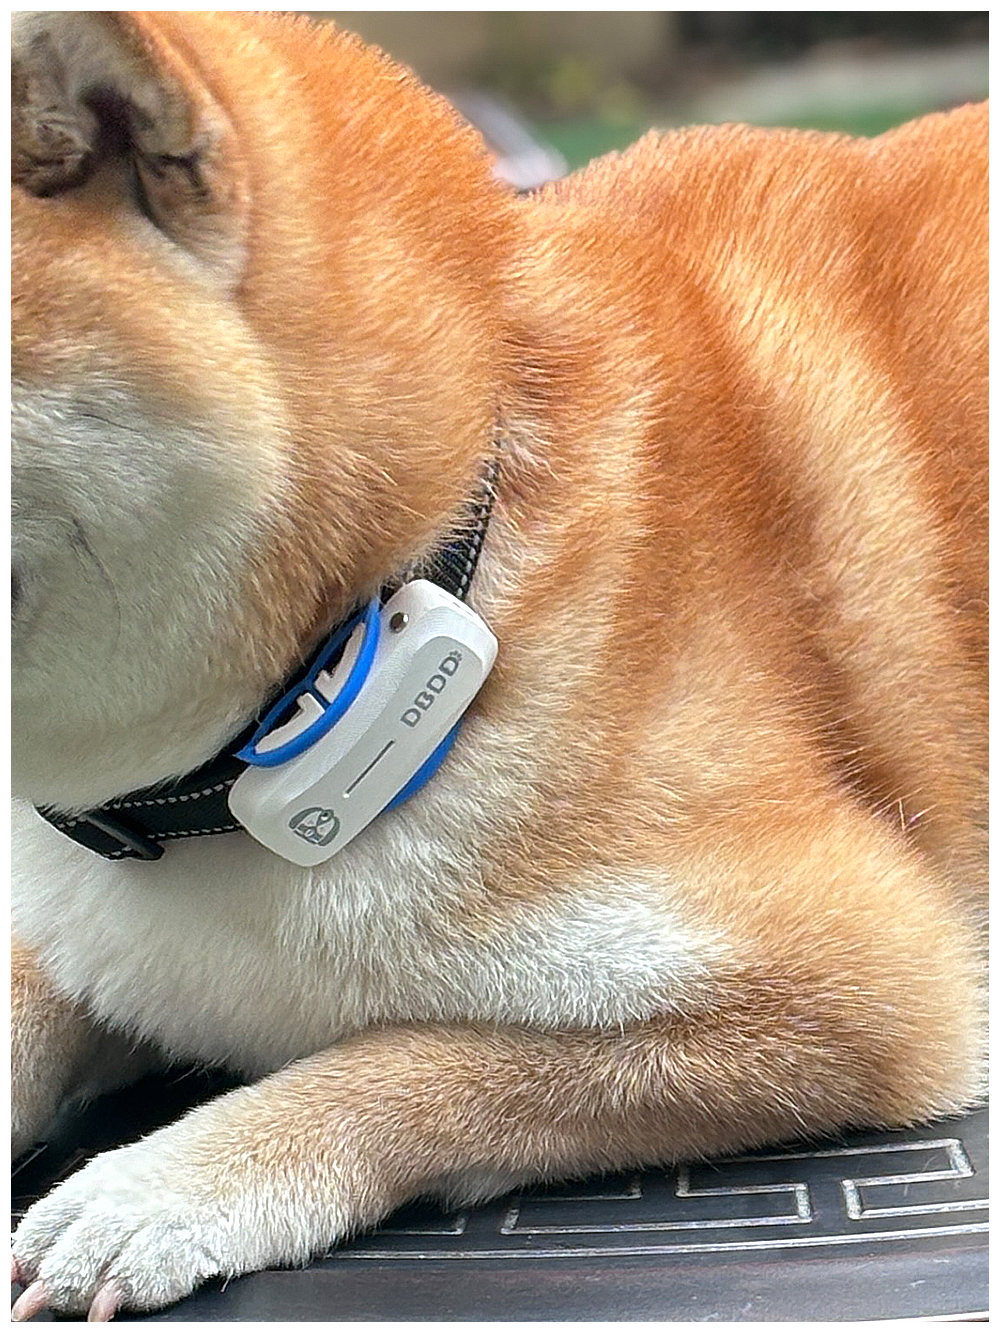
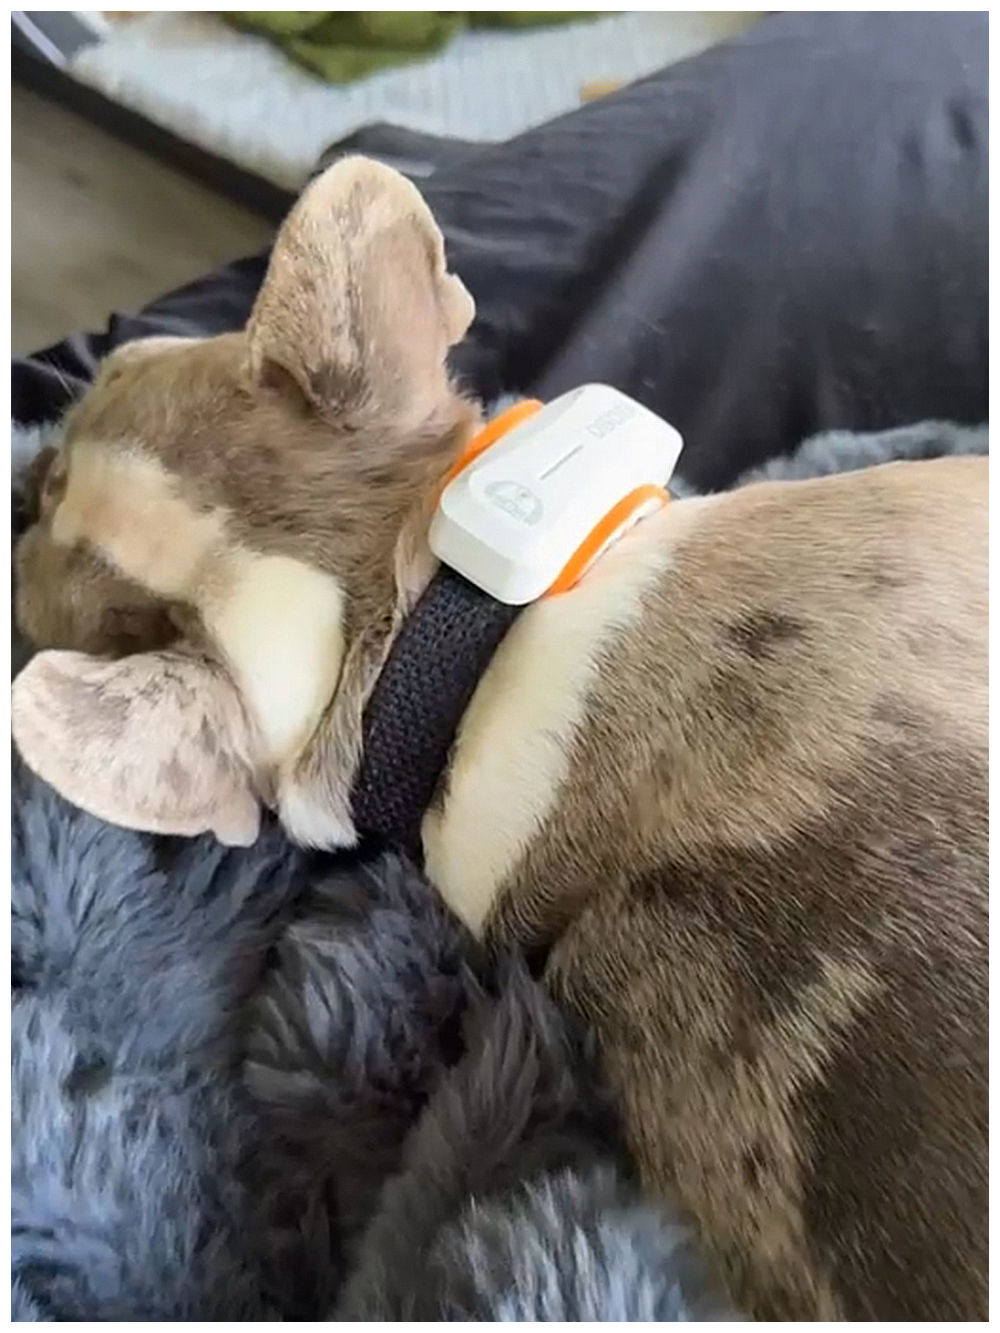
4. Assemble the collar and housing. Attach the microcontroller, GPS module, and radio transceiver to the collar using zip ties, Velcro, or other fastening methods. Place the assembled components inside the housing and secure the housing to the collar.
5. Test the hardware. Power on the microcontroller and GPS module, and ensure that the GPS module is receiving a signal and providing accurate location data. Test the radio transceiver by sending a signal from the dog's collar to a receiver, and ensure that the signal is being received and decoded correctly.
Step 3: Set Up the Software
Now that you have assembled the hardware for your DIY dog tracking system, it's time to set up the software. Follow these steps to program your microcontroller and create a user interface for monitoring your dog's location:
1. Install the necessary software development tools. This will typically involve installing an Integrated Development Environment (IDE) like Arduino IDE or Visual Studio Code, as well as any necessary libraries or dependencies for your GPS module and radio transceiver.
2. Write the code for your microcontroller. This code will be responsible for processing the GPS data, controlling the radio transceiver, and sending the location data to the receiver. Consult the documentation for your specific GPS module and radio transceiver for examples of how to write this code.
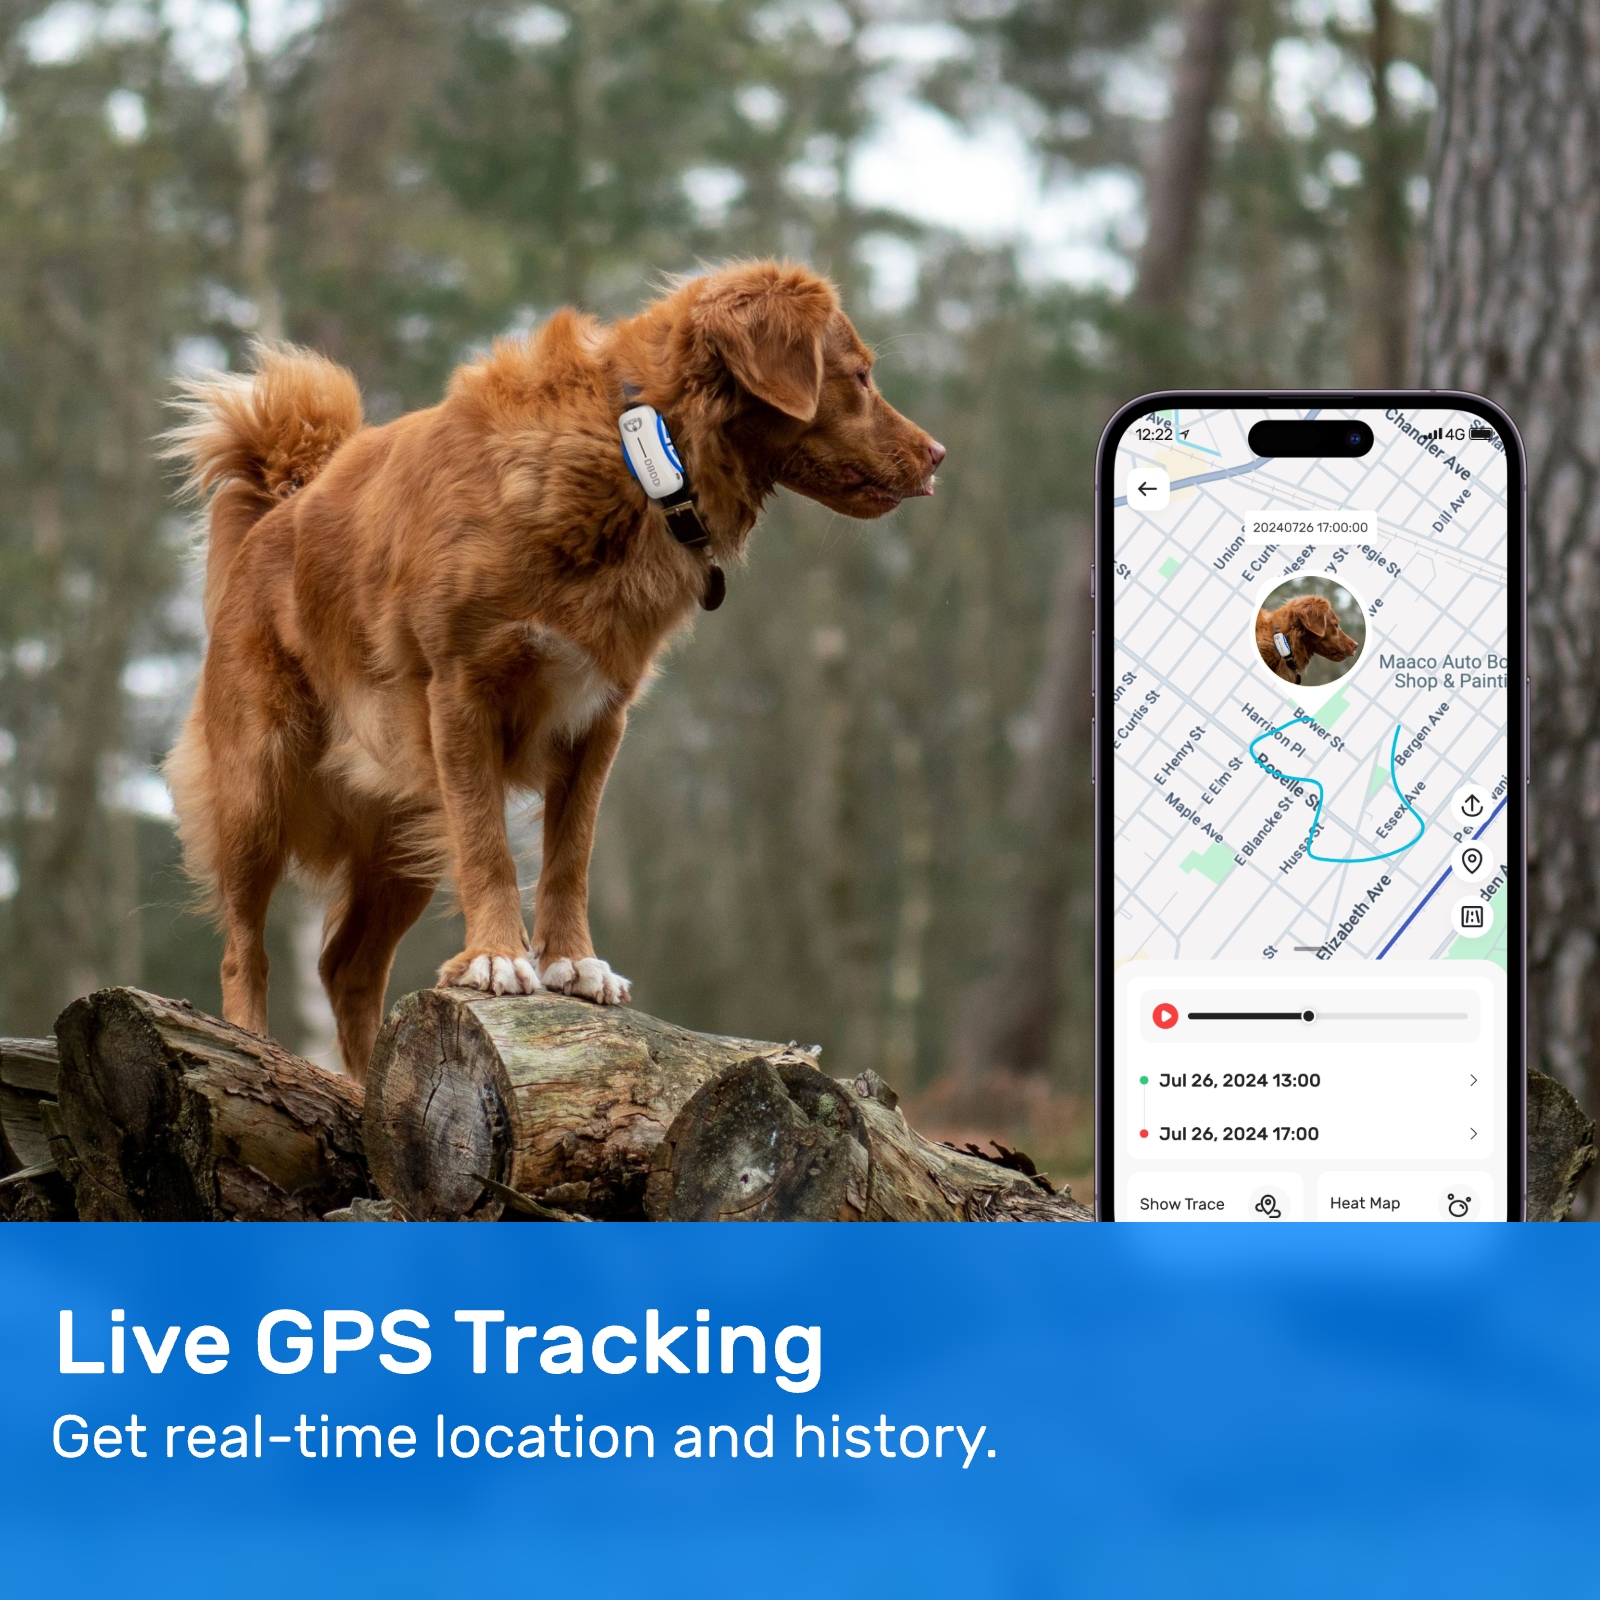
3. Create a user interface for monitoring your dog's location. This can be as simple as a serial monitor in the IDE,
Update Time:2025-05-16 02:28:17
Introduction
As a dog owner, you understand the importance of keeping your furry friend safe and secure. Losing a dog can be a traumatic experience, and the fear of this happening is always lingering in the back of your mind. While there are many commercial GPS trackers for dogs available on the market, they can be expensive and may not always provide the level of accuracy or reliability you need. This is where a DIY dog tracking system comes into play. By building your own tracker for dogs, you can customize the system to your specific needs and budget, ensuring that your dog is always within reach.
In this article, we will guide you through the process of creating a DIY dog tracking system, from selecting the right components to setting up the software and testing the system. By following these steps, you can create a reliable and cost-effective solution for tracking your dog's movements and ensuring their safety.
Step 1: Choose the Right Components
To create a DIY dog tracking system, you will need several key components. These include:
1. GPS Module: This is the heart of your tracking system, responsible for determining your dog's location. There are many GPS modules available on the market, such as the popular GPS breakout boards from Adafruit or SparkFun. Make sure to choose a module with a high level of accuracy and reliability.
2. Radio Transceiver: This component is responsible for transmitting the GPS data from the dog's collar to your receiver. There are several options available, including radio frequency (RF) transceivers and LoRa transceivers. RF transceivers are generally cheaper and easier to work with, but LoRa transceivers offer longer range and better reliability.
3. Microcontroller: This is the "brain" of your system, responsible for processing the GPS data and controlling the radio transceiver. There are many microcontrollers available, such as the Arduino Uno or the ESP32. Choose a microcontroller with enough processing power and memory to handle your tracking needs.
4. Power Supply: Your dog's collar will need a power supply to keep the GPS module and microcontroller running. There are several options available, including rechargeable batteries and solar panels. Make sure to choose a power supply with enough capacity to last for extended periods of time.
5. Collar and Housing: You will need a collar and housing to attach the tracking components to your dog. There are many collars available on the market, but you can also create your own using materials like neoprene or leather. For the housing, you can use a waterproof case or enclosure to protect the electronic components from the elements.
Step 2: Set Up the Hardware
Once you have selected the components for your DIY dog tracking system, it's time to set up the hardware. Follow these steps to assemble your system:
1. Connect the GPS module to the microcontroller. This will involve connecting the module's power, ground, and data pins to the appropriate pins on the microcontroller. Consult the documentation for your specific GPS module and microcontroller for the correct pin connections.
2. Connect the radio transceiver to the microcontroller. This will involve connecting the transceiver's power, ground, and data pins to the appropriate pins on the microcontroller. Again, consult the documentation for your specific radio transceiver and microcontroller for the correct pin connections.
3. Connect the power supply to the microcontroller and GPS module. This will involve connecting the power supply's positive and negative terminals to the microcontroller's power and ground pins, and to the GPS module's power and ground pins.
4. Assemble the collar and housing. Attach the microcontroller, GPS module, and radio transceiver to the collar using zip ties, Velcro, or other fastening methods. Place the assembled components inside the housing and secure the housing to the collar.
5. Test the hardware. Power on the microcontroller and GPS module, and ensure that the GPS module is receiving a signal and providing accurate location data. Test the radio transceiver by sending a signal from the dog's collar to a receiver, and ensure that the signal is being received and decoded correctly.
Step 3: Set Up the Software
Now that you have assembled the hardware for your DIY dog tracking system, it's time to set up the software. Follow these steps to program your microcontroller and create a user interface for monitoring your dog's location:
1. Install the necessary software development tools. This will typically involve installing an Integrated Development Environment (IDE) like Arduino IDE or Visual Studio Code, as well as any necessary libraries or dependencies for your GPS module and radio transceiver.
2. Write the code for your microcontroller. This code will be responsible for processing the GPS data, controlling the radio transceiver, and sending the location data to the receiver. Consult the documentation for your specific GPS module and radio transceiver for examples of how to write this code.
3. Create a user interface for monitoring your dog's location. This can be as simple as a serial monitor in the IDE,
Update Time:2025-05-16 02:28:17
Global Positioning Modules Daily rankings
Correction of product information
If you notice any omissions or errors in the product information on this page, please use the correction request form below.
Correction Request Form


