


New ArrivalsBack in stock
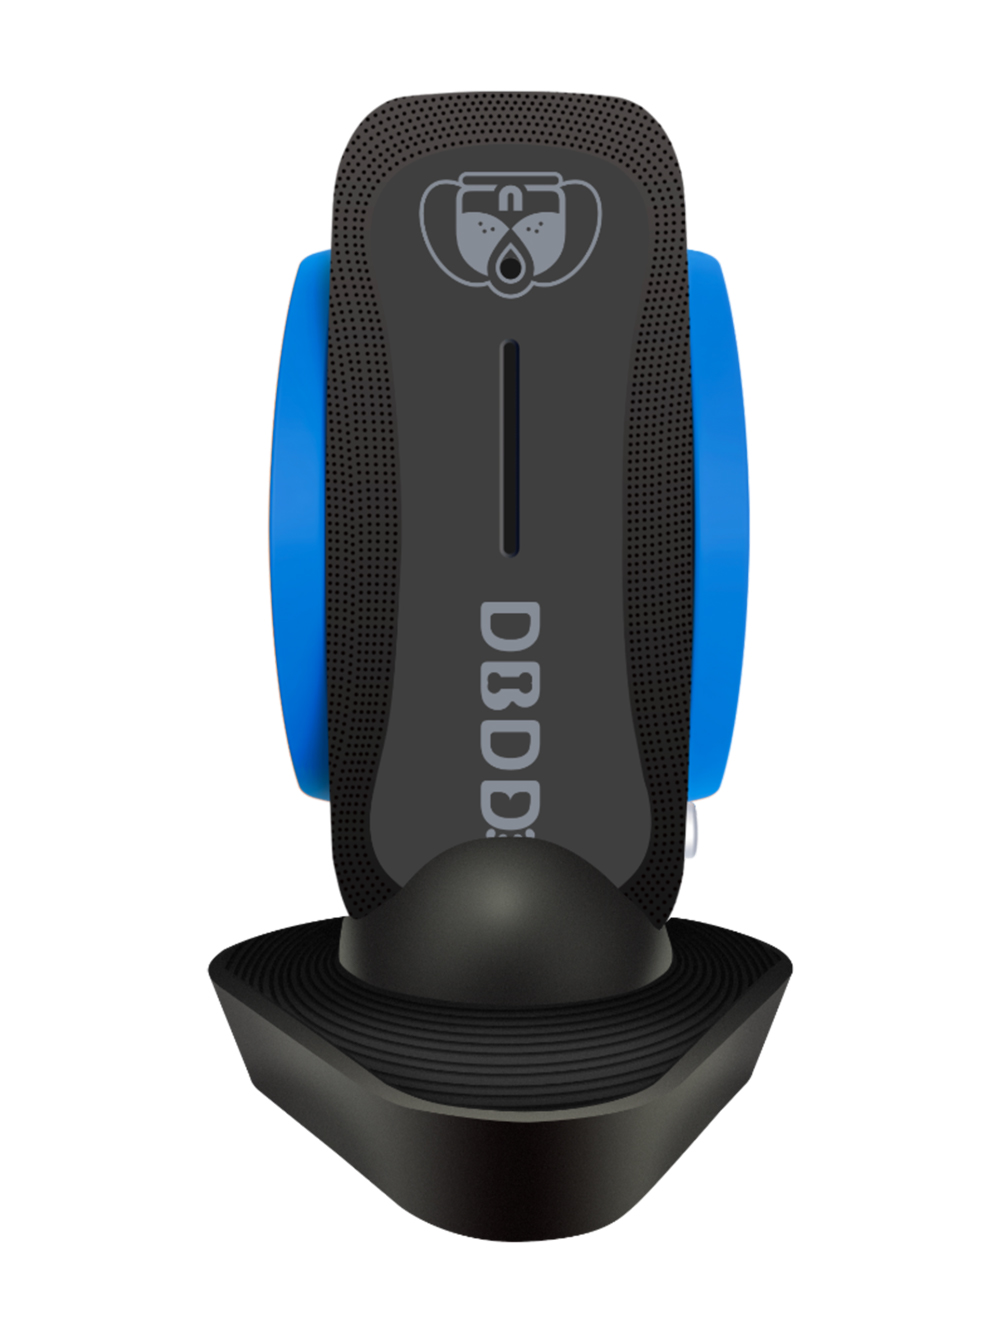

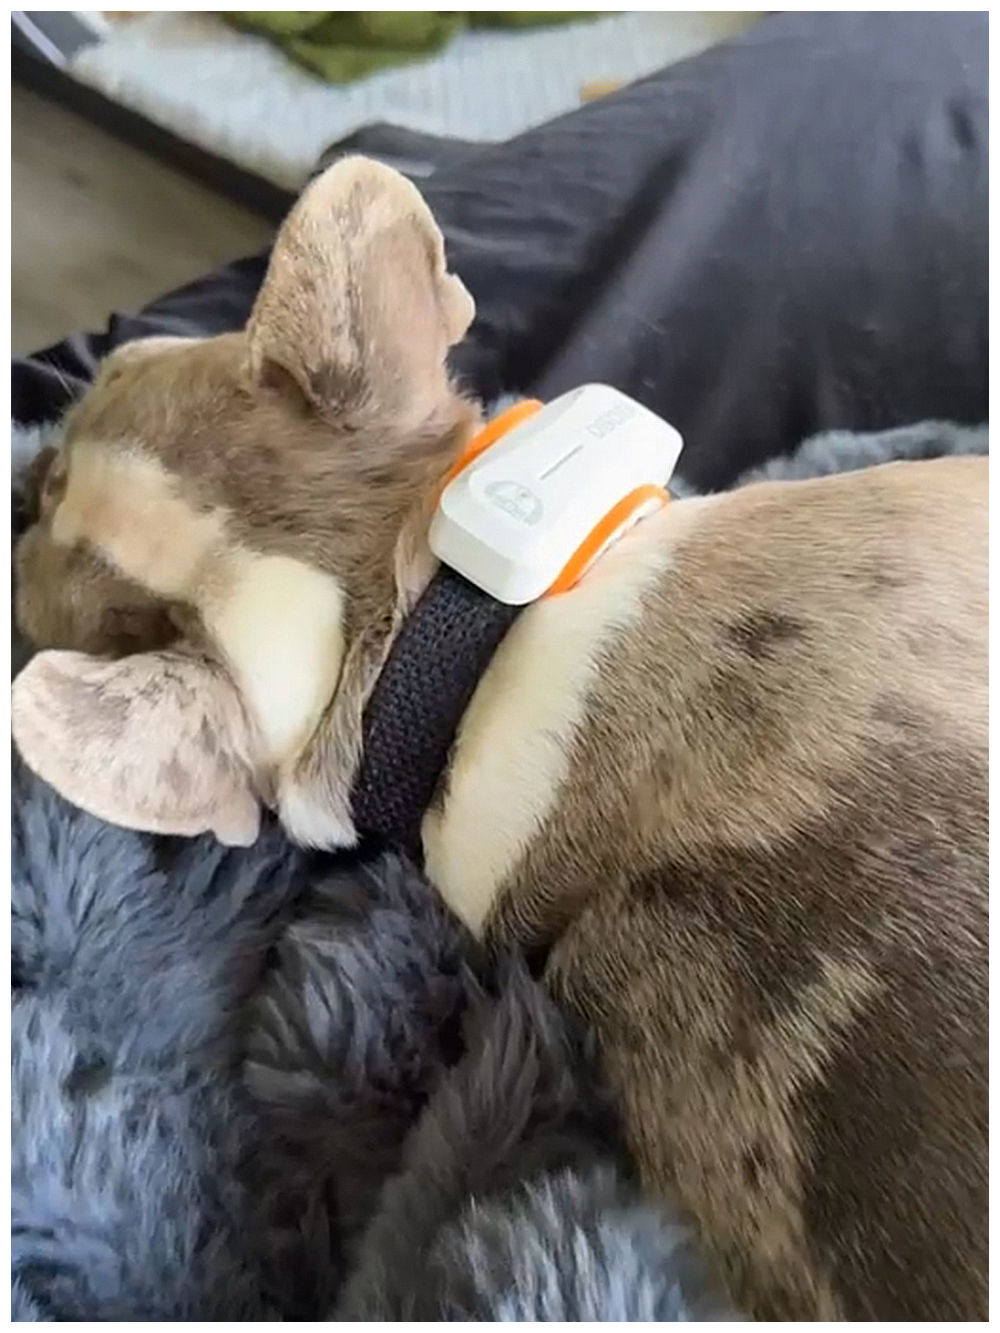

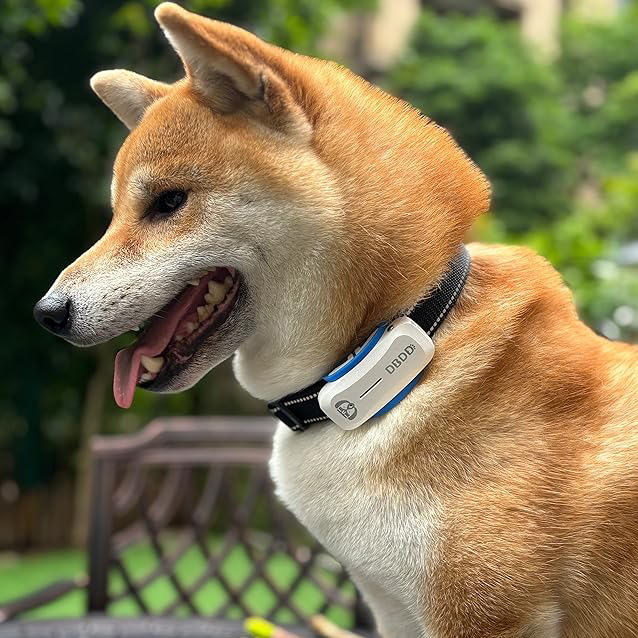

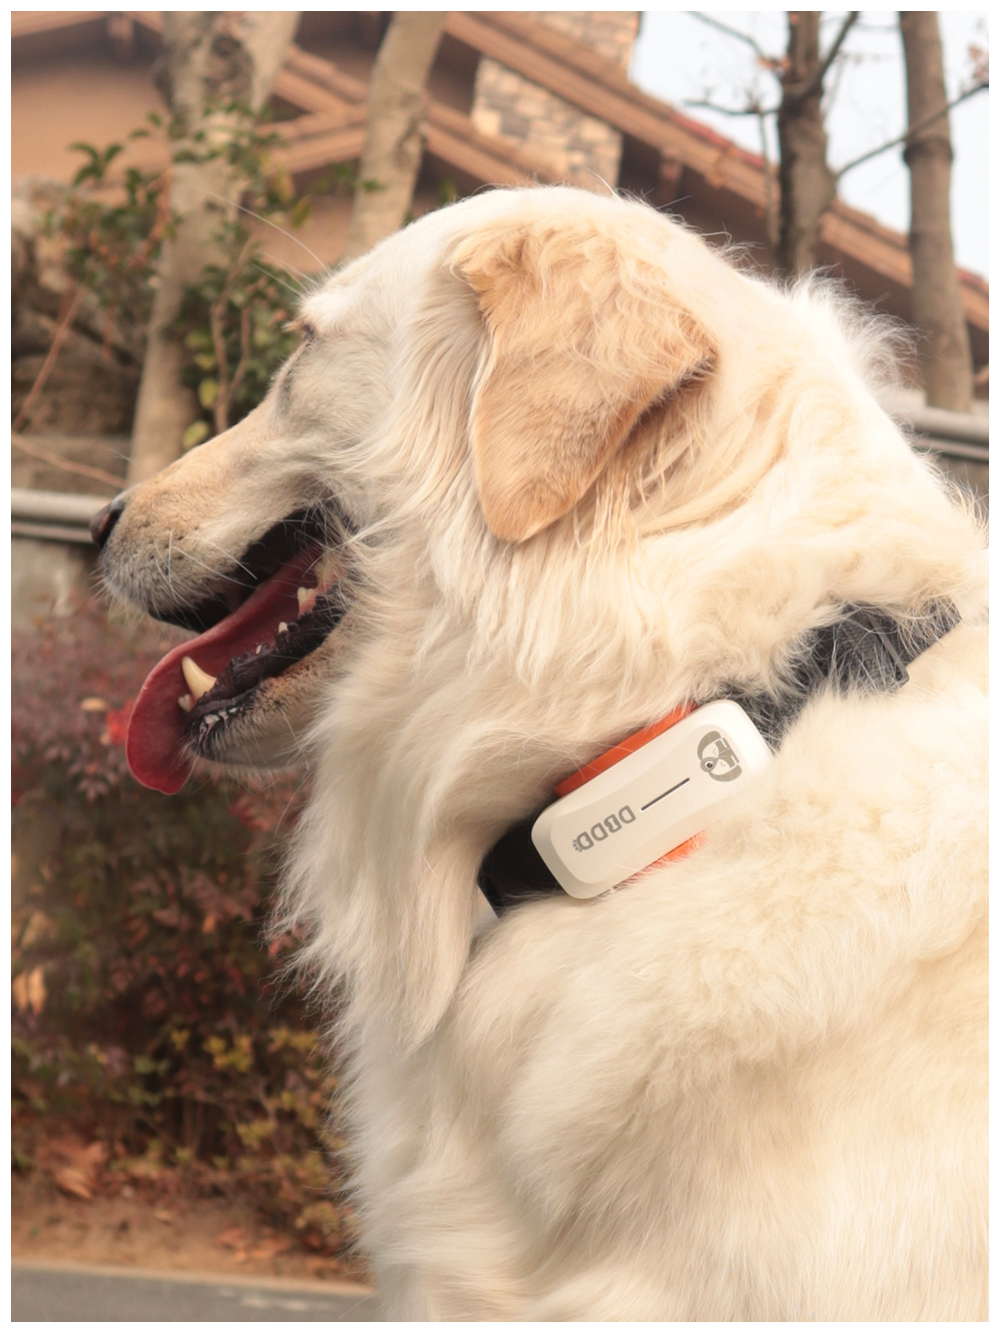
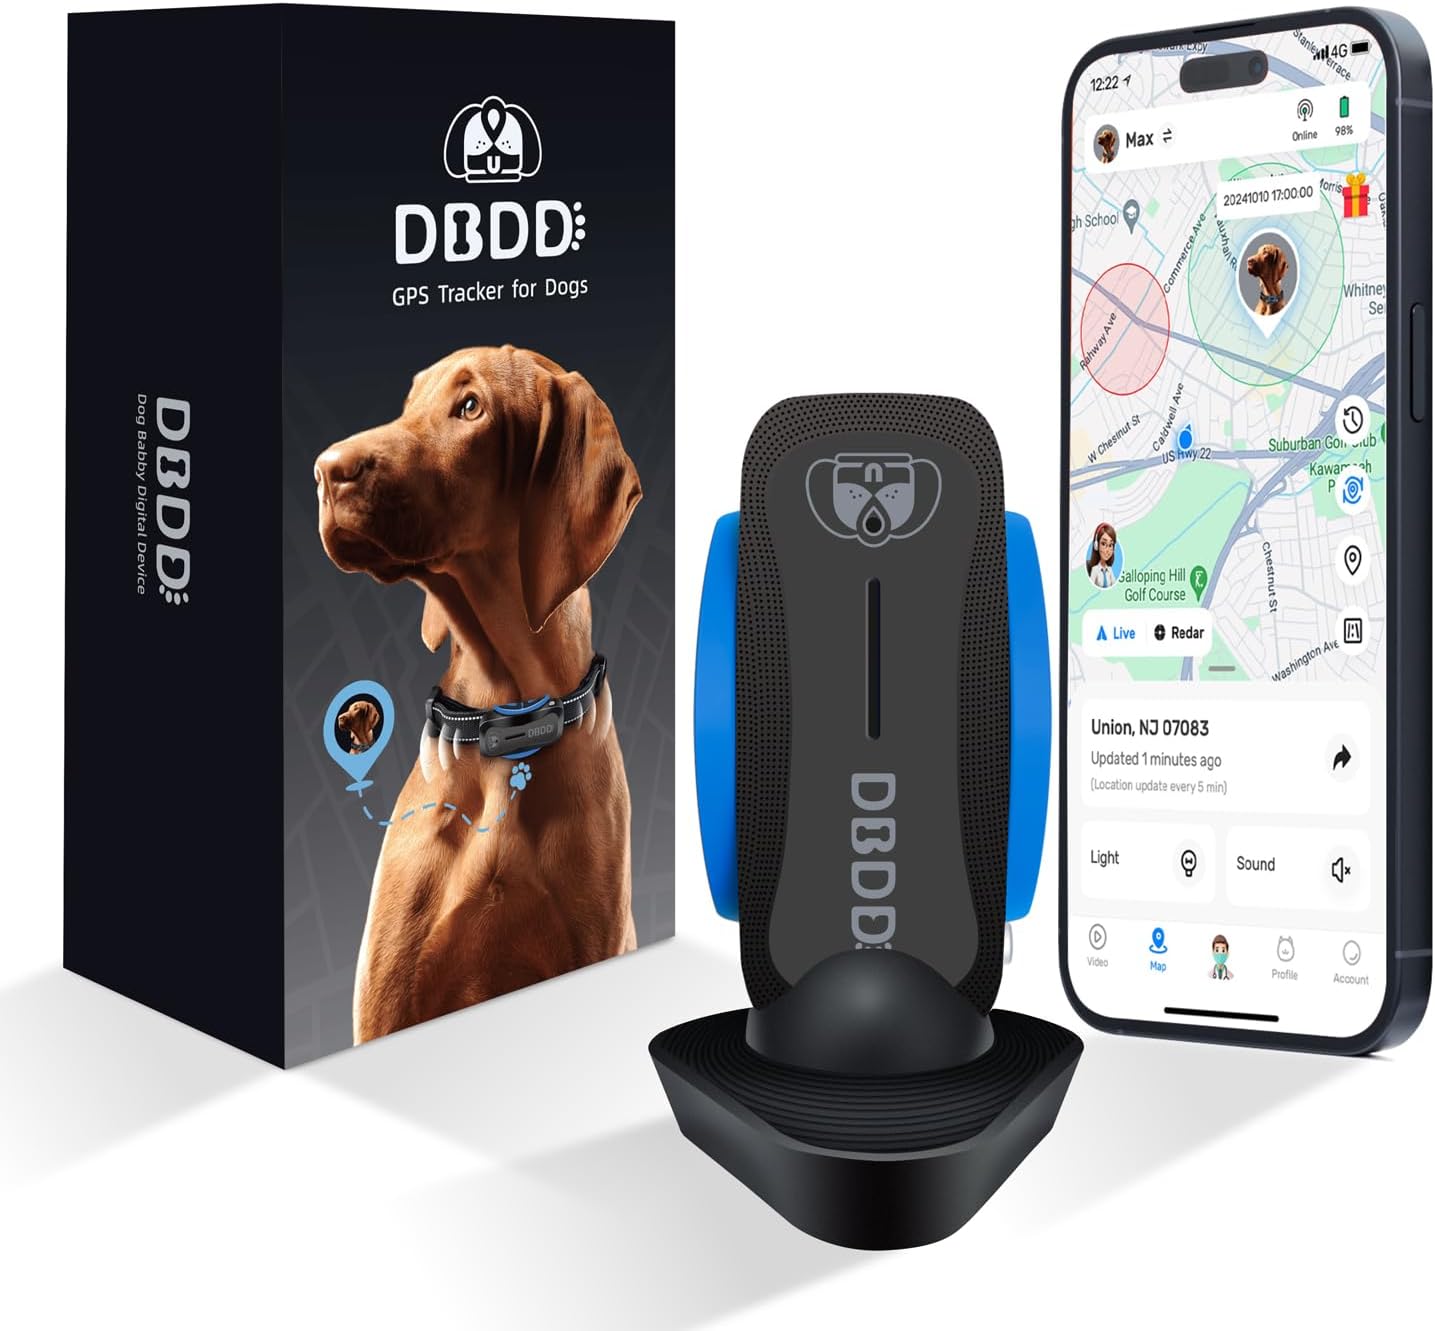
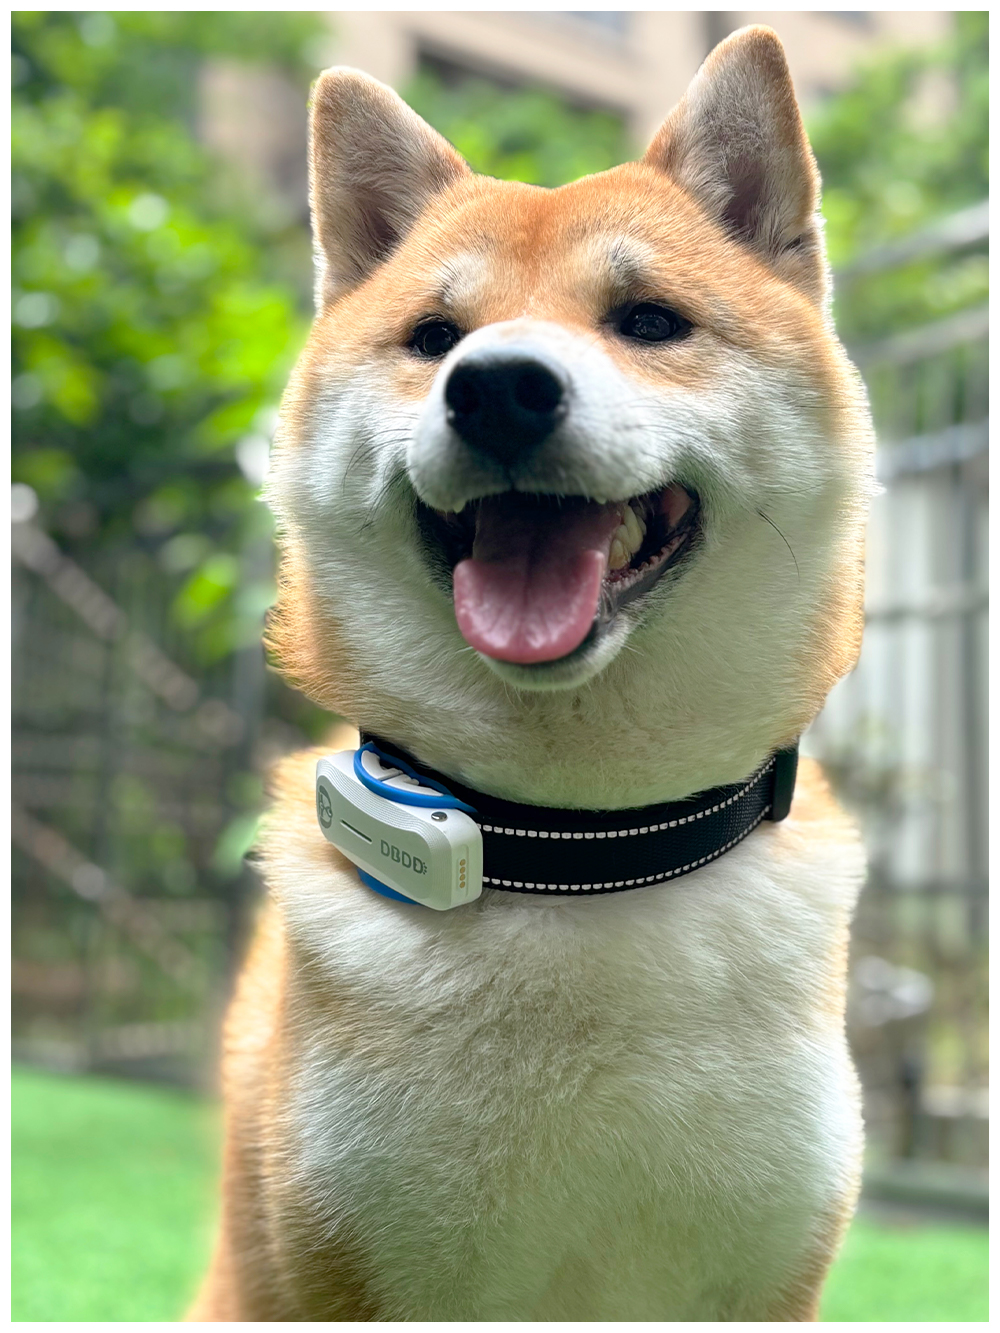
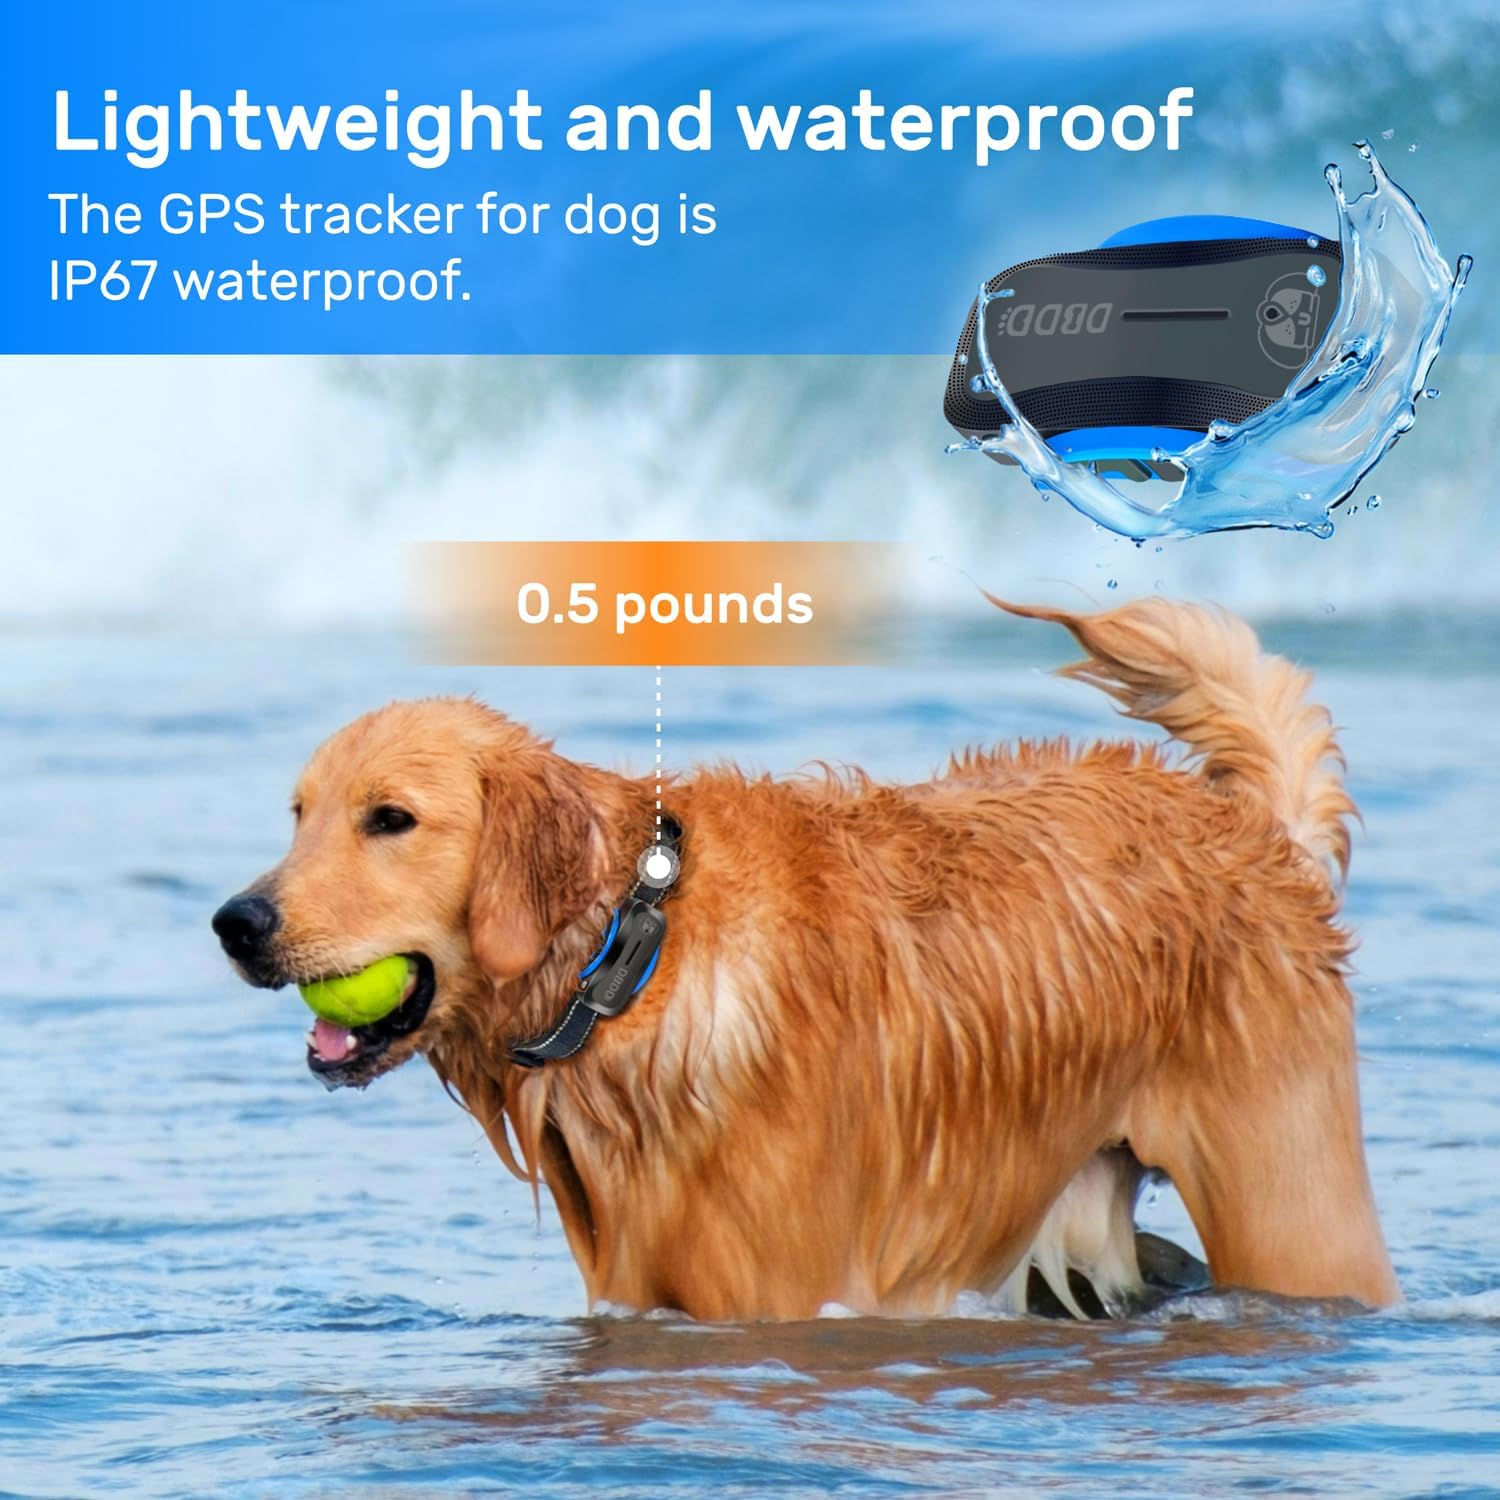
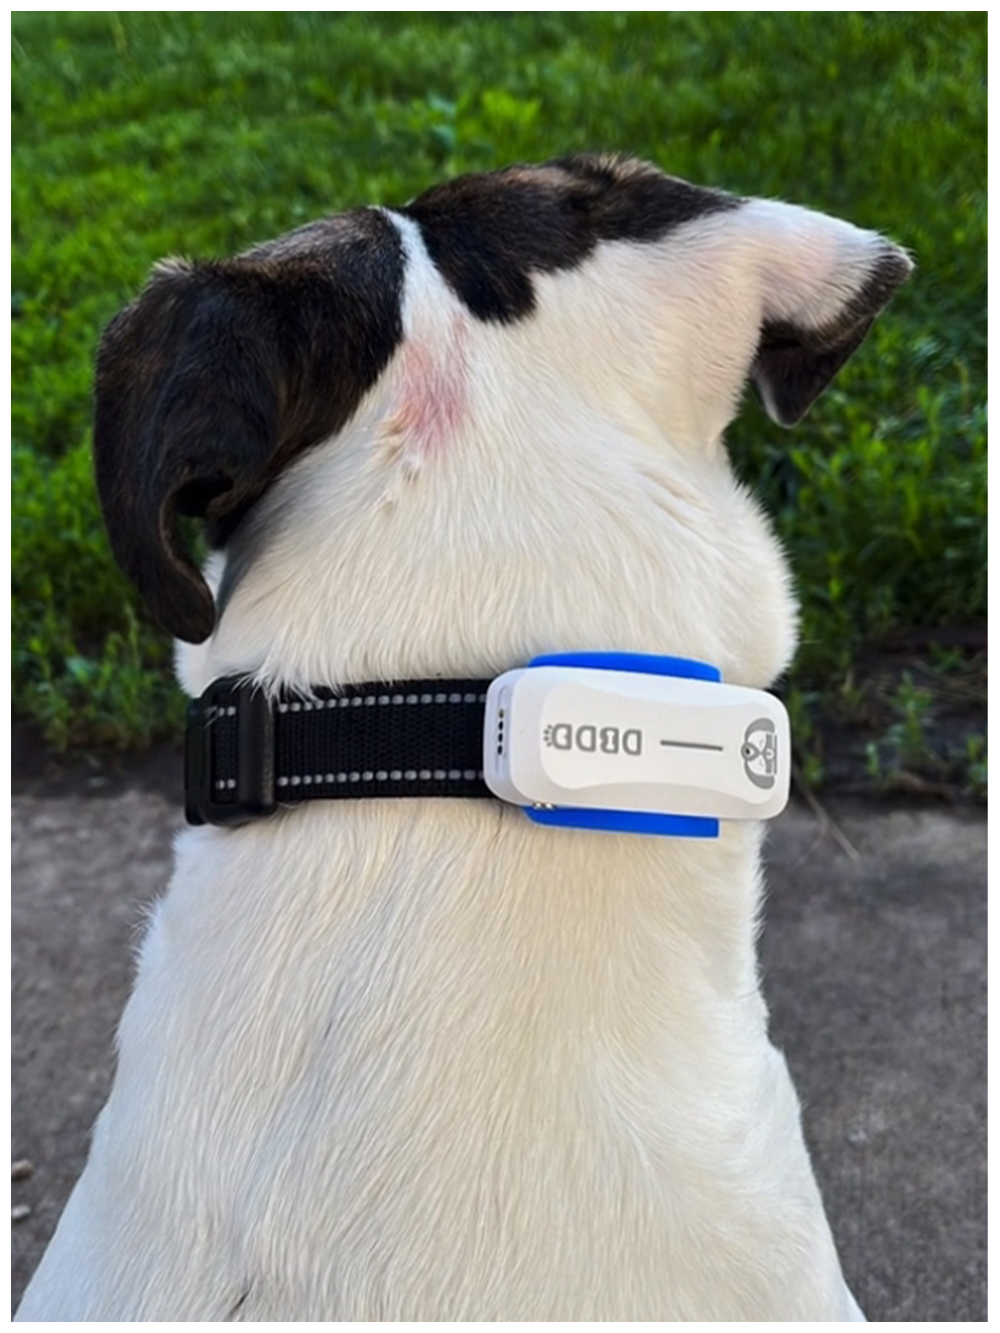
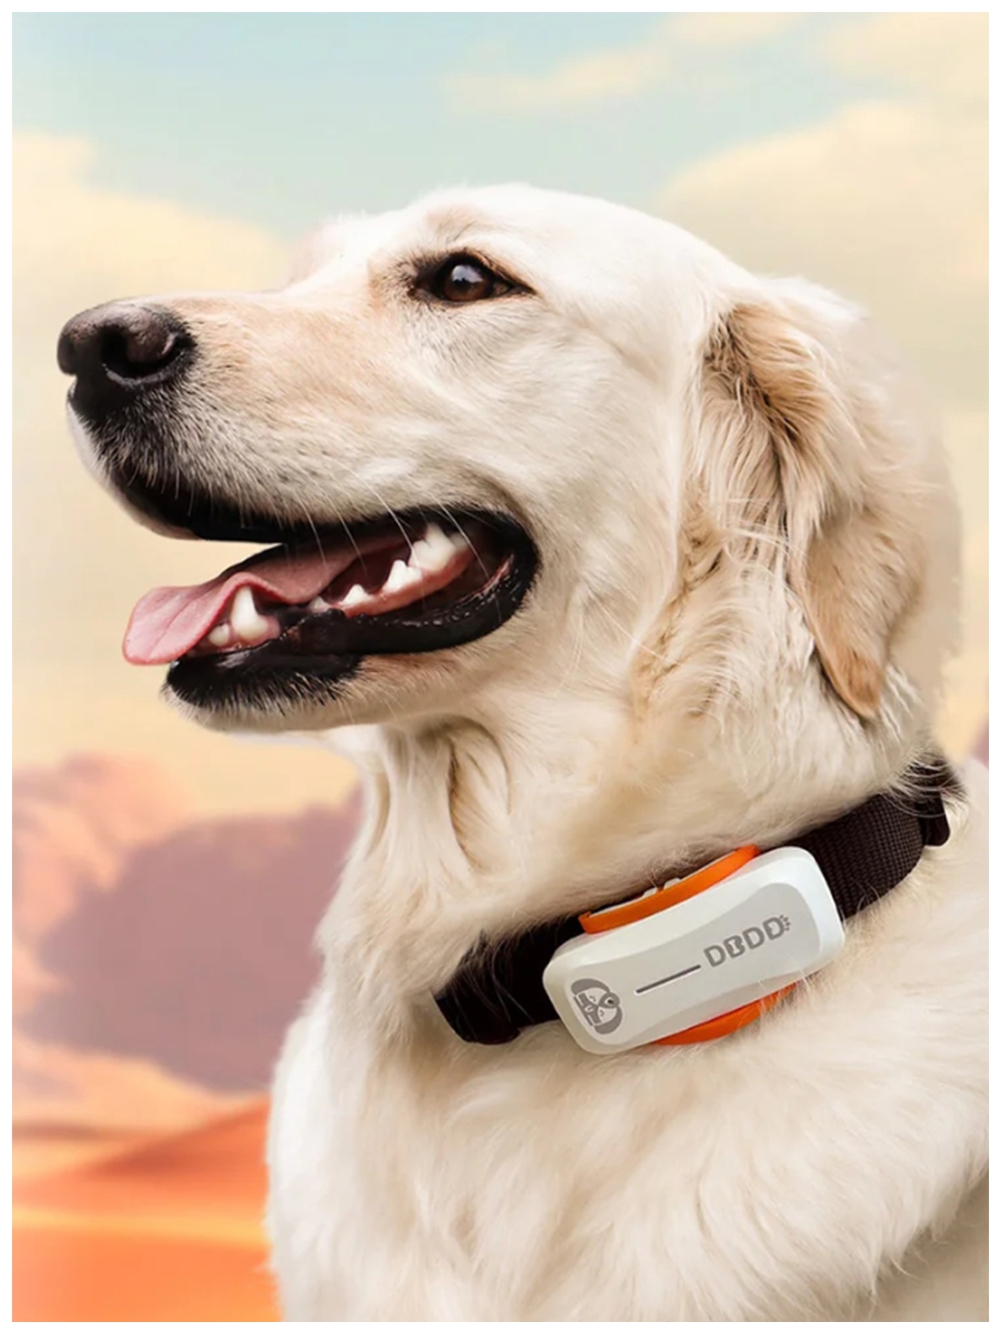
dog gps tracking device
 4
(320件)
4
(320件)
 Limited Time Sale
Until the end
00
00
00
Free shipping on orders over 999 ※)
If you buy it for 999 or more, you can buy it on behalf of the customer. There is no material for the number of hands.
If you buy it for 999 or more, you can buy it on behalf of the customer. There is no material for the number of hands.
There is stock in your local store.
Please note that the sales price and tax displayed may differ between online and in-store. Also, the product may be out of stock in-store.


Coupon giveaway!
| Control number |
New :D843594201 second hand :D843594201 |
Manufacturer | dog gps | release date | 2025-05-15 | List price | $41 | ||
|---|---|---|---|---|---|---|---|---|---|
| prototype | gps tracking | ||||||||
| category | |||||||||
Pet Smart Hardware#Wearable Devices


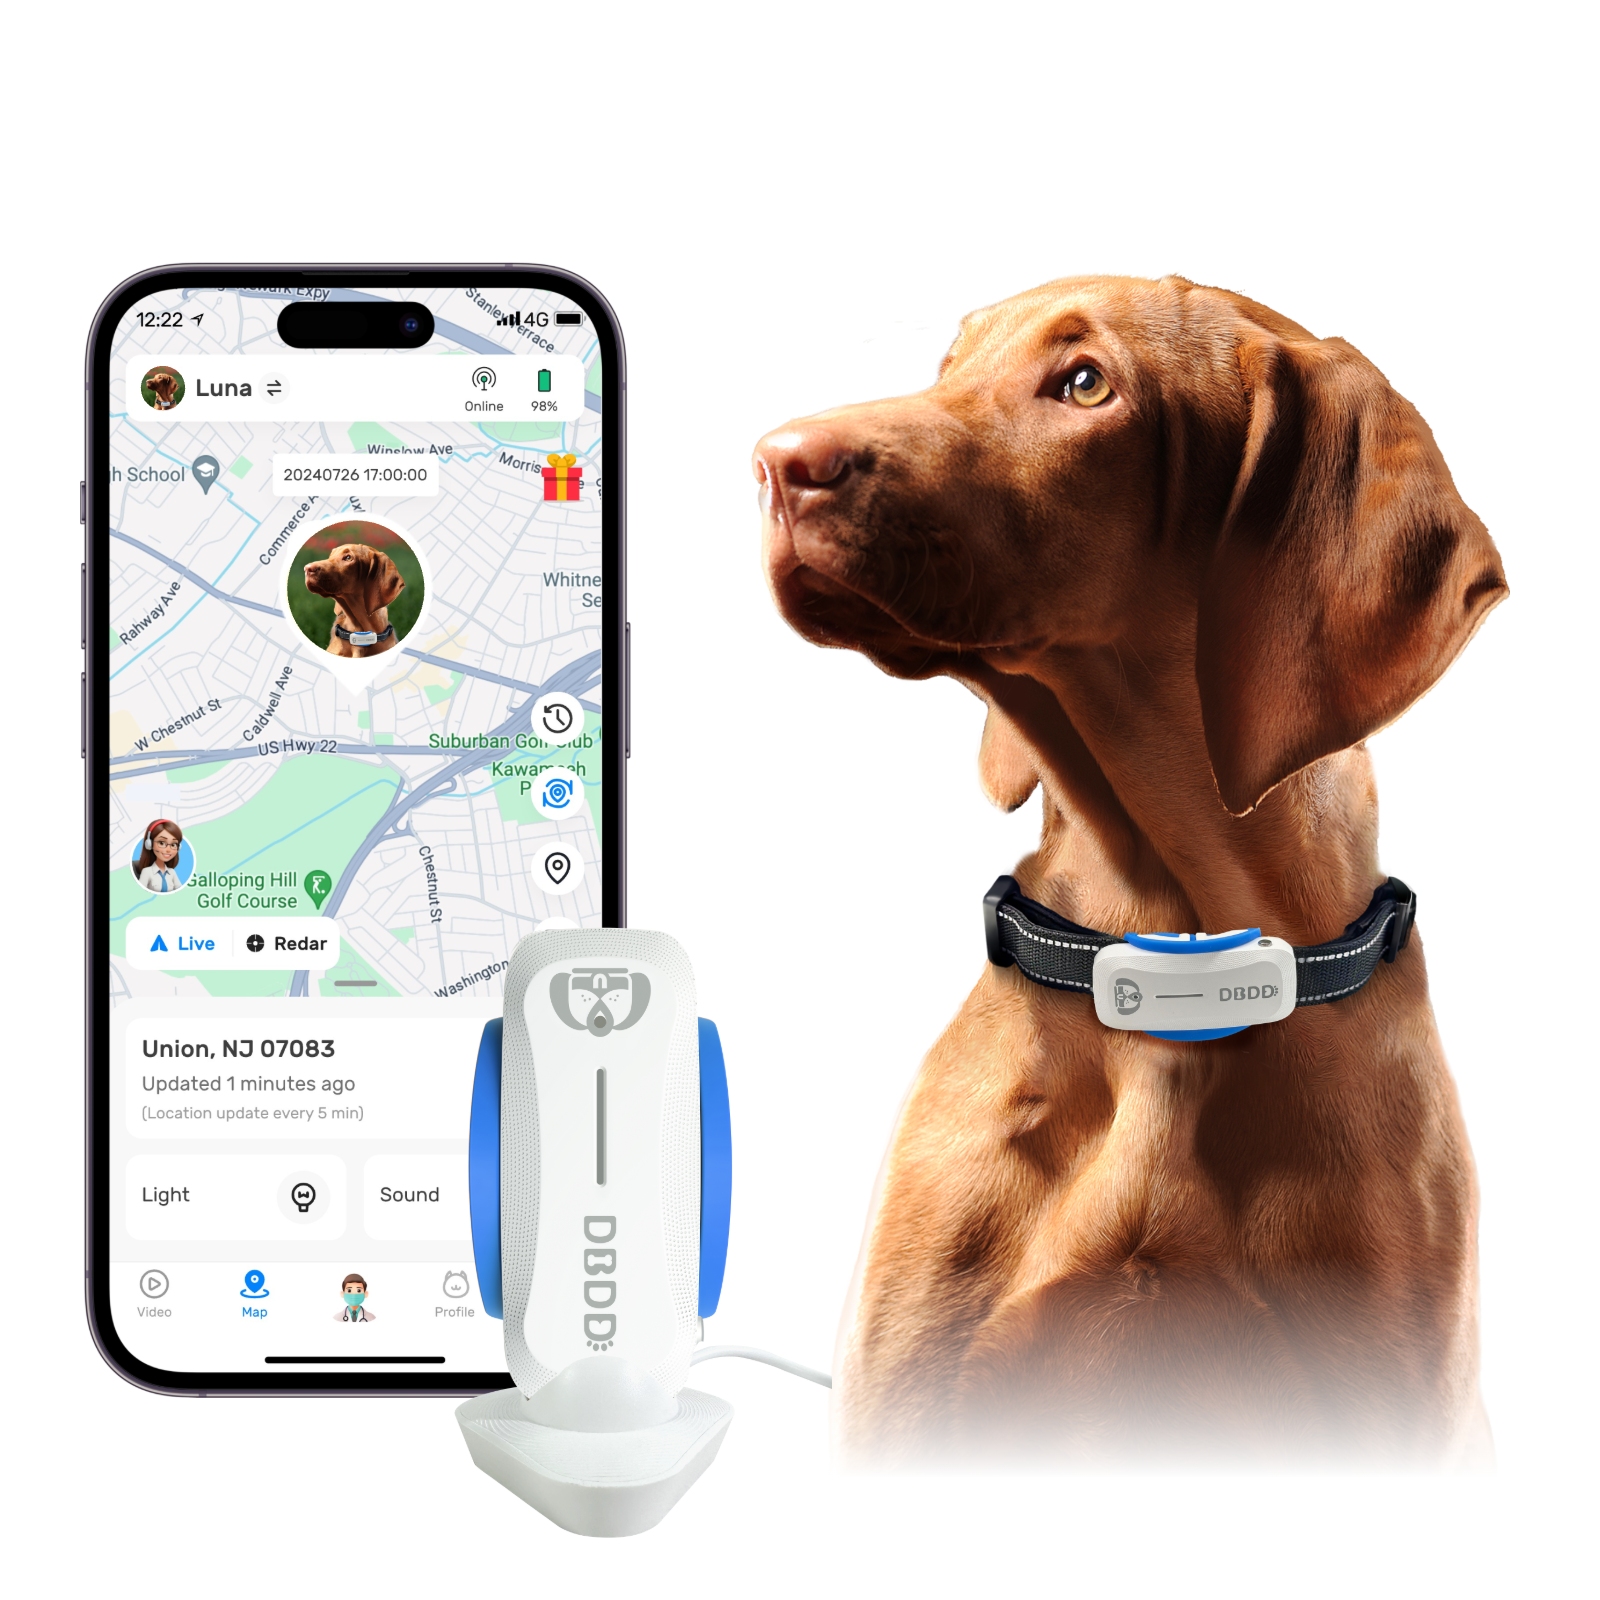
As a responsible dog owner, you understand the importance of keeping track of your beloved pet. Dogs are known for their adventurous spirits and curiosity, which can sometimes lead them to wander off or get lost. In such situations, a dog GPS tracking device can be a lifesaver. A dog GPS tracking device is a device that uses GPS technology to monitor and track the location of your dog in real-time. This article will discuss the benefits of DIY dog tracking system setups, the various components involved, and how to set up a DIY dog GPS tracking device.
Benefits of DIY Dog Tracking System Setups
1. Cost-effective: Setting up a DIY dog tracking system can be more cost-effective than purchasing a ready-made dog GPS tracking device. By sourcing the components and assembling the system yourself, you can save money on expensive pre-assembled devices.
2. Customization: A DIY dog tracking system allows you to customize the system according to your specific needs and preferences. You can choose the components that best suit your dog's size, activity level, and lifestyle.
3. Upgradeability: With a DIY dog tracking system, you can easily upgrade or replace components as needed. This means that your tracking system can grow and evolve with your dog, ensuring that it remains effective and efficient throughout its life.
4. Learning experience: Building a DIY dog tracking system can be an enjoyable and educational experience. You will learn about GPS technology, electronics, and other related fields, which can be valuable knowledge for future projects.
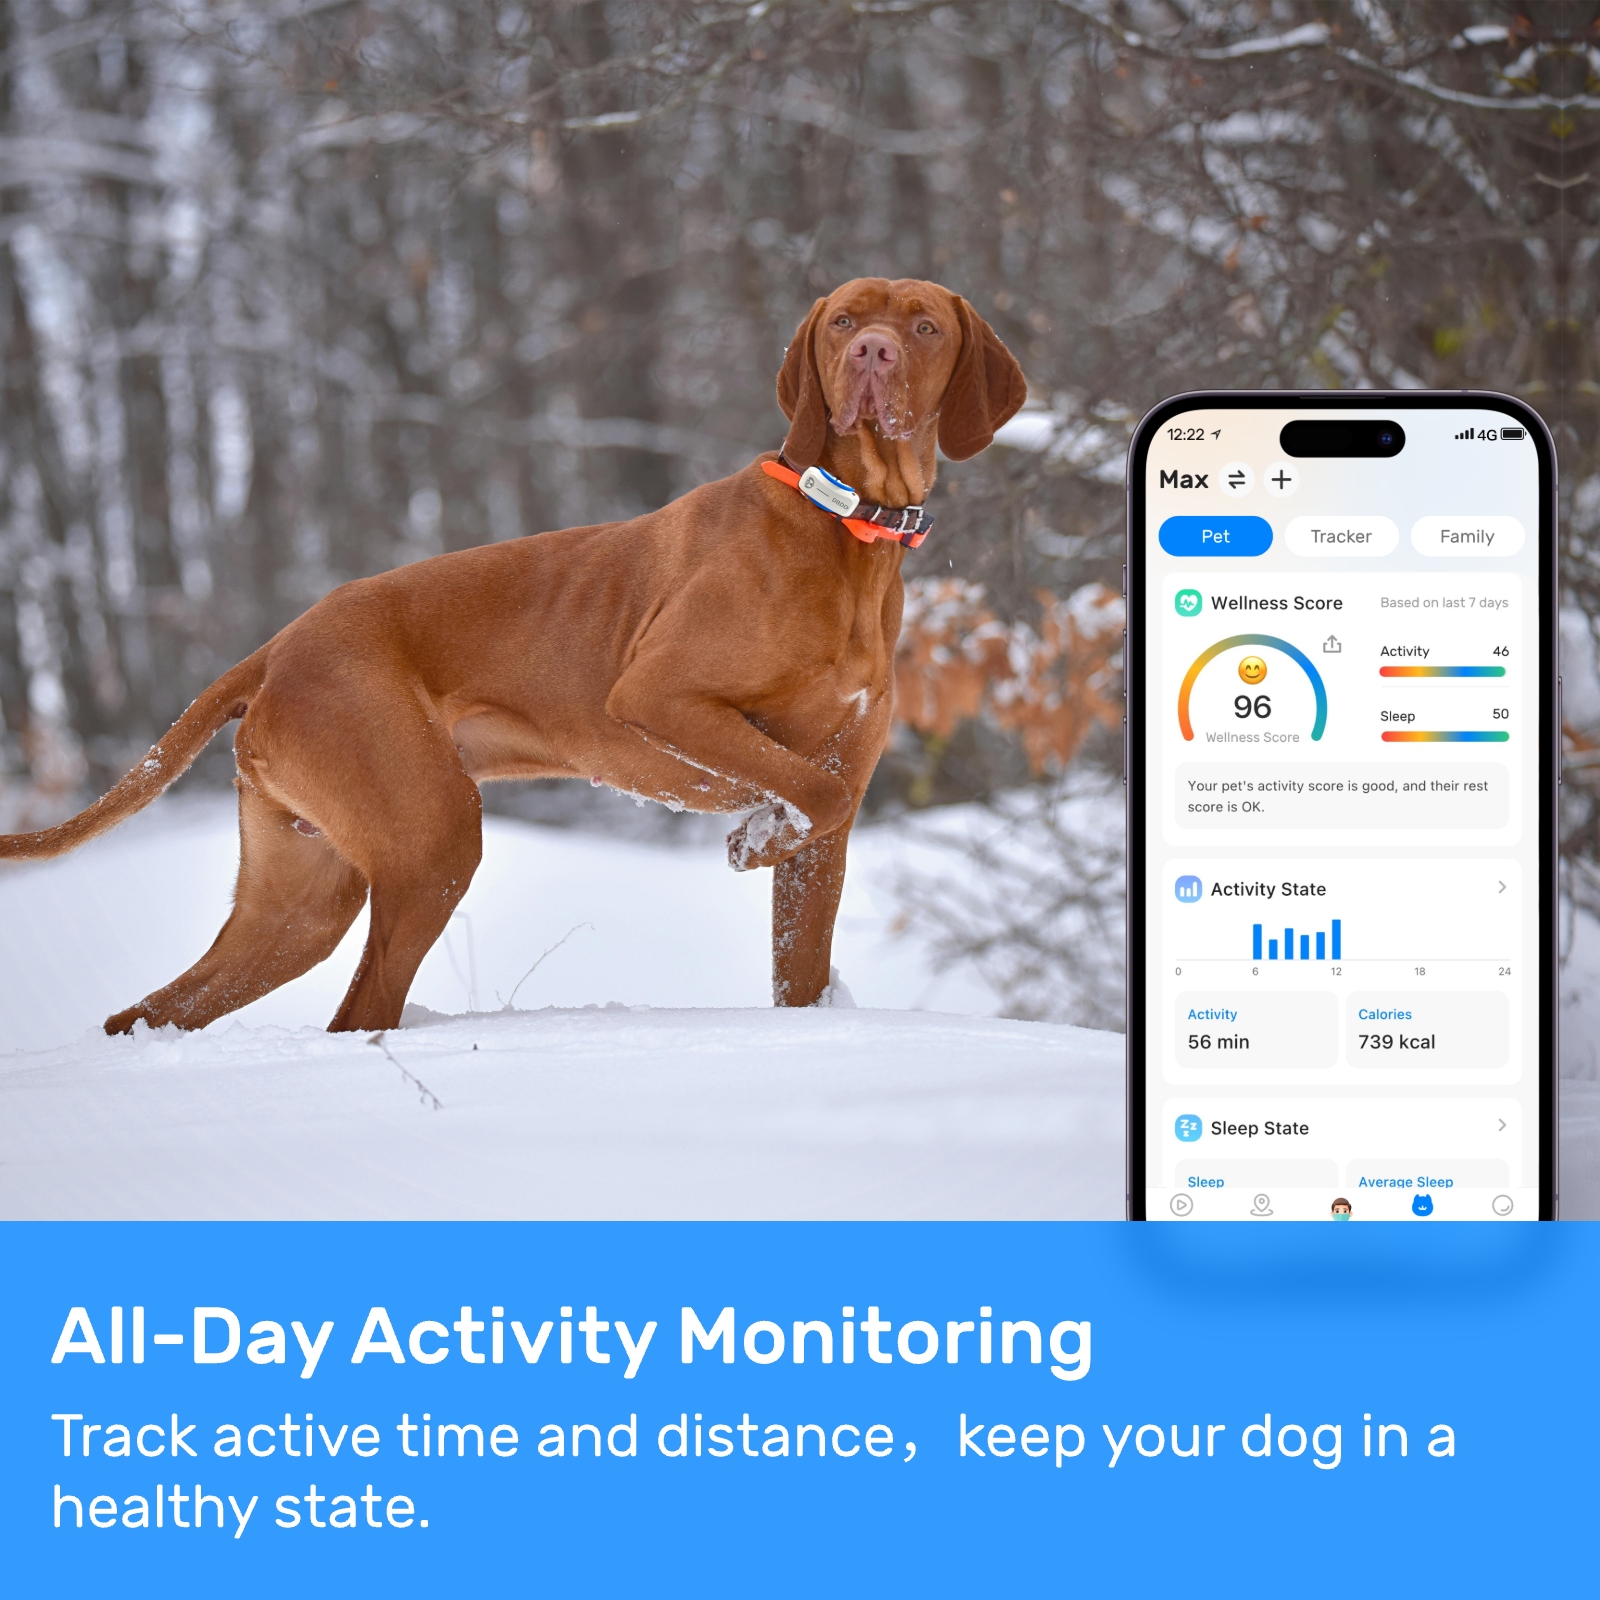
5. Enhanced control: A DIY dog tracking system gives you more control over the tracking process. You can set up the system to send alerts, notifications, and updates directly to your smartphone or computer, allowing you to monitor your dog's location in real-time.
Components of a DIY Dog Tracking System
1. GPS module: The heart of any dog GPS tracking device is the GPS module. This component is responsible for receiving and processing GPS signals from satellites, which are then used to determine the dog's location. Some popular GPS modules for DIY projects include the u-blox NEO-6M and the Adafruit Ultimate GPS Breakout.
2. Microcontroller: A microcontroller is a small, low-power computer that can be programmed to control the other components of the dog GPS tracking device. Popular choices for microcontrollers include the Arduino Uno, ESP8266, and Raspberry Pi.
3. Cellular module: In order to transmit the dog's location data to your smartphone or computer, you will need a cellular module. This component connects to a cellular network and sends the data using a data plan. Some popular cellular modules include the SIM800L and the GPRSbee.
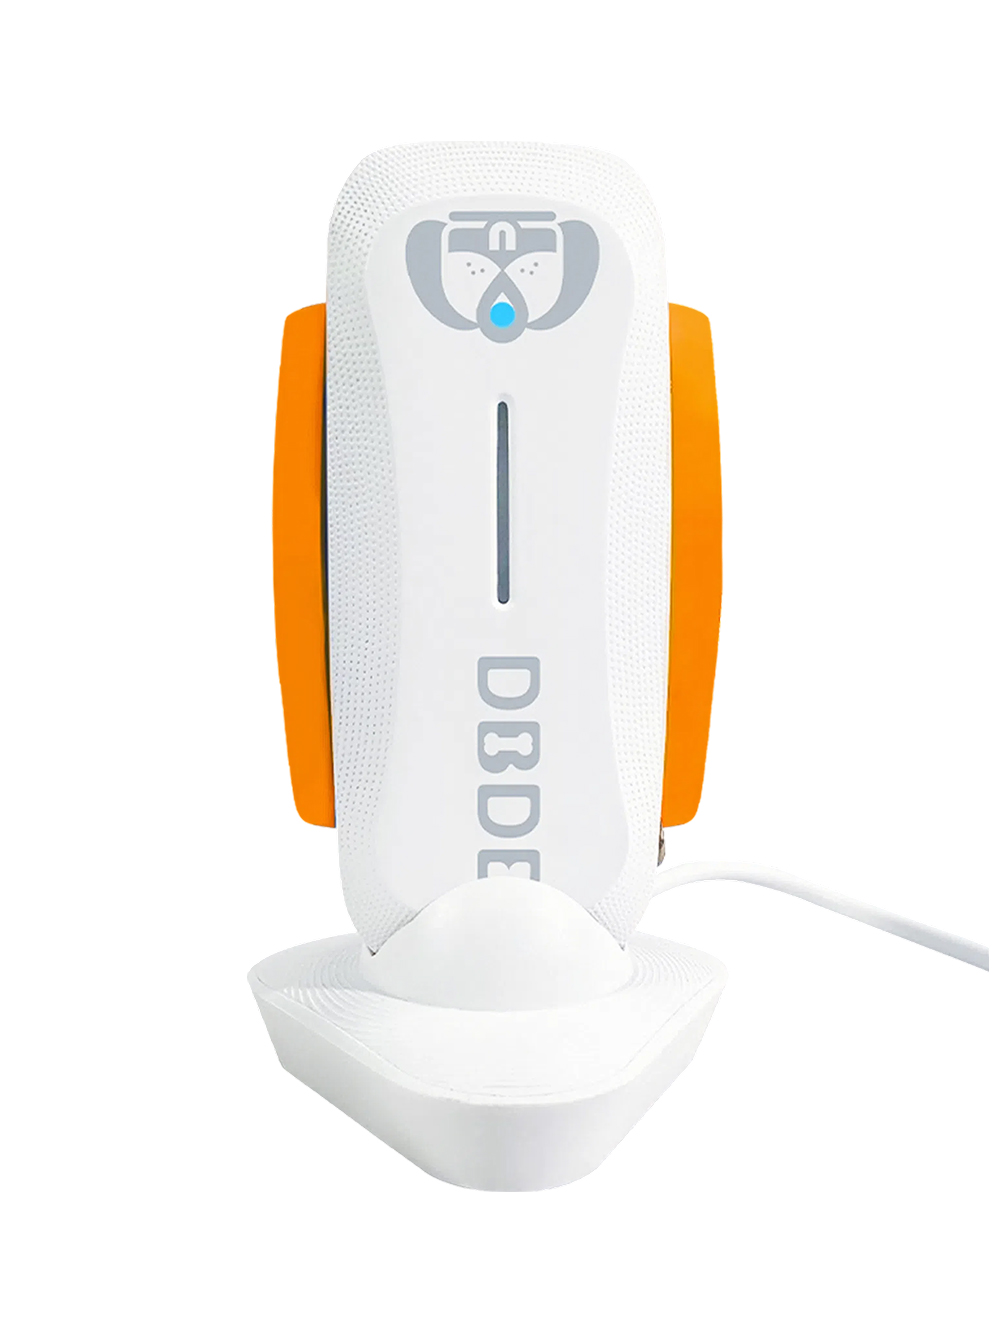
4. Power supply: A reliable power supply is essential for any dog GPS tracking device. You can use rechargeable batteries, such as lithium-polymer or lithium-ion, to power your DIY dog tracking system. Alternatively, you can use a solar-powered charger to keep the batteries charged.
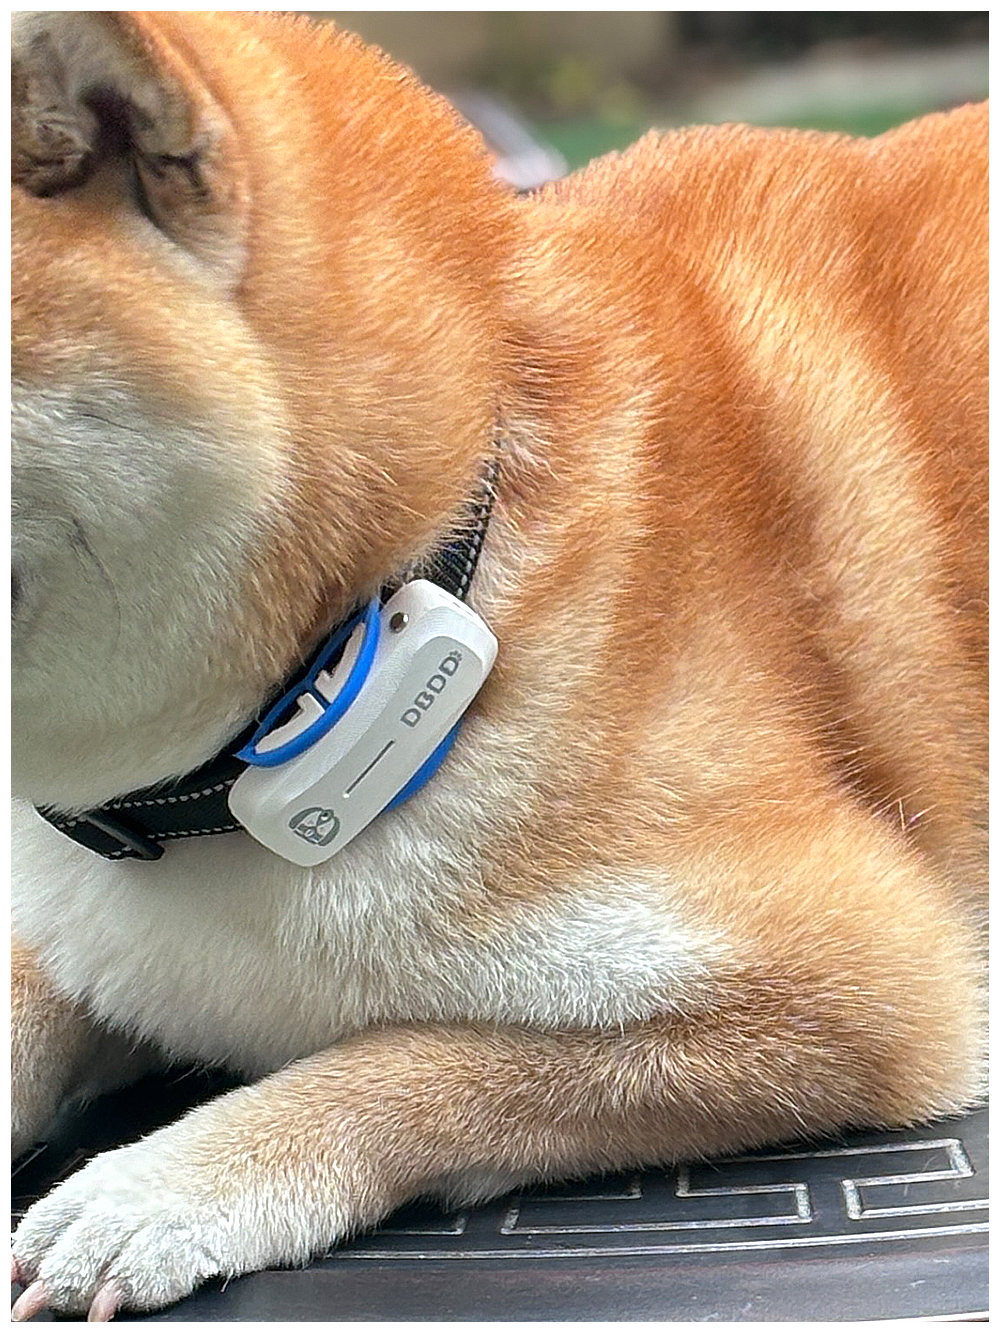
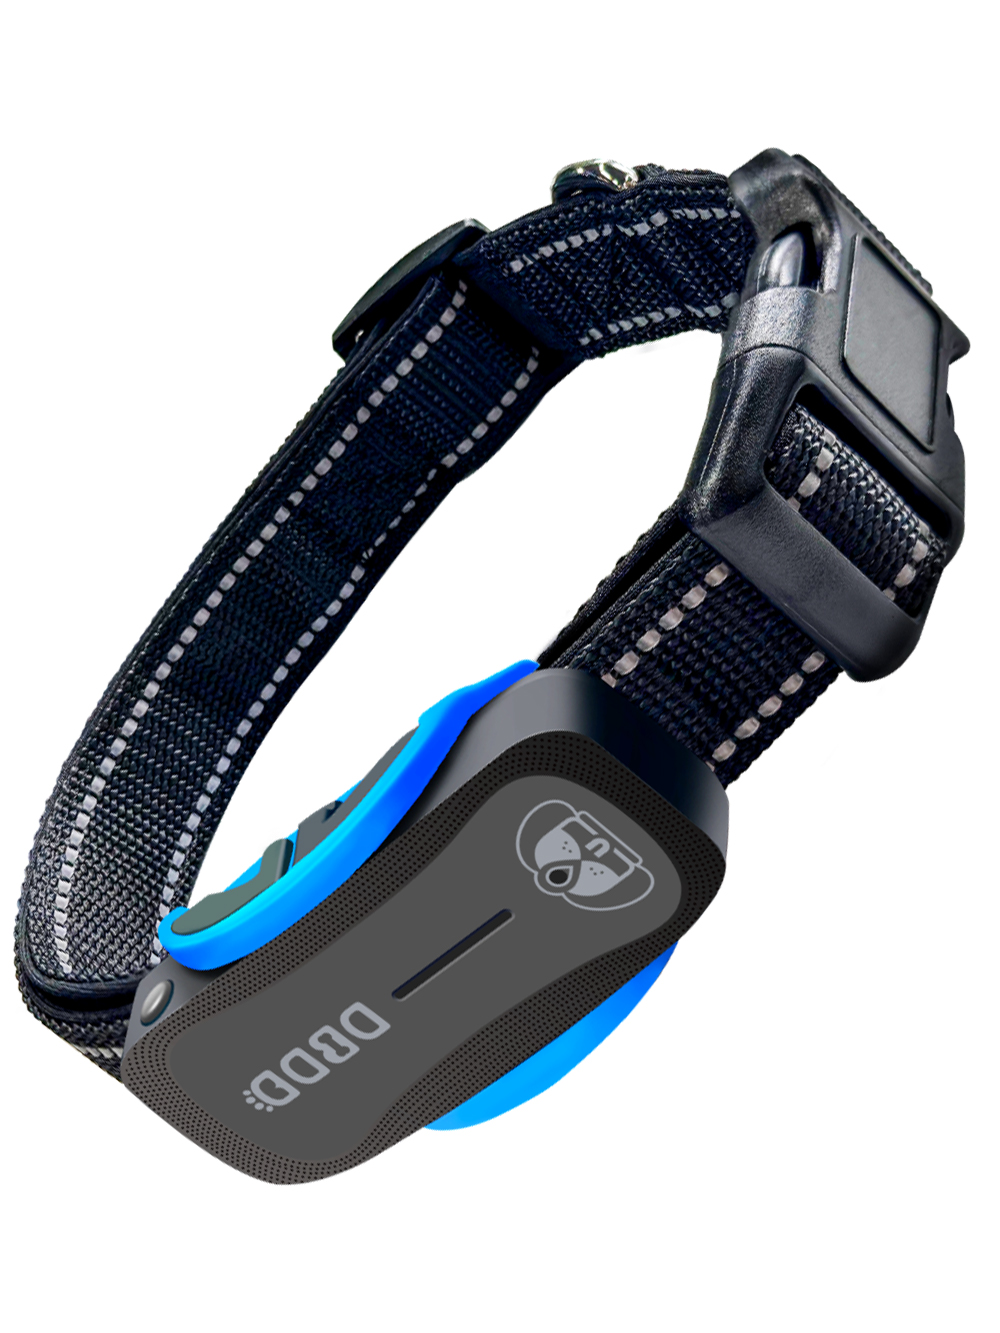
5. Housing: The housing for your DIY dog GPS tracking device should be durable, waterproof, and comfortable for your dog to wear. You can use 3D printing or other fabrication methods to create a custom housing for your device.
6. Antenna: A GPS antenna is necessary for receiving GPS signals from satellites. You can use an external antenna for better signal reception or an integrated antenna if you want a more compact design.
7. Additional sensors: Depending on your needs, you may want to include additional sensors in your DIY dog tracking system. These can include accelerometers, gyroscopes, and heart rate monitors, which can provide additional information about your dog's activity and health.
Setting Up a DIY Dog GPS Tracking Device
1. Choose the components: Carefully select the components for your DIY dog GPS tracking device based on your budget, preferences, and requirements. Make sure to choose components that are compatible with each other and can be easily integrated into your system.
2. Design the circuit: Plan out the connections between the components, including the GPS module, microcontroller, cellular module, and power supply. You can use a breadboard to prototype your circuit before soldering the components onto a custom PCB.
3. Program the microcontroller: Write code for the microcontroller that will control the other components of your dog GPS tracking device. This code should include functions for receiving GPS signals, processing location data, and transmitting the data to your smartphone or computer.
4. Assemble the device: Once you have designed the circuit and programmed the microcontroller, assemble the components into a housing. Make sure to secure all connections and protect the device from water and other environmental factors.
5. Test the device: Test your DIY dog GPS tracking device to ensure that it is functioning correctly. This includes testing the GPS module, cellular module, and any additional sensors. Make any necessary adjustments to the code or hardware to fix any issues.
6. Set up the software: Install and configure the software on your smartphone or computer that will receive and display the location data from your dog GPS tracking device. This software should allow you to view your dog's location
Update Time:2025-05-15 04:57:09

Correction of product information
If you notice any omissions or errors in the product information on this page, please use the correction request form below.
Correction Request Form


