


New ArrivalsBack in stock


dog whistle sound
 4
(255件)
4
(255件)
 Limited Time Sale
Until the end
00
00
00
Free shipping on orders over 999 ※)
If you buy it for 999 or more, you can buy it on behalf of the customer. There is no material for the number of hands.
If you buy it for 999 or more, you can buy it on behalf of the customer. There is no material for the number of hands.
There is stock in your local store.
Please note that the sales price and tax displayed may differ between online and in-store. Also, the product may be out of stock in-store.


Coupon giveaway!
| Control number |
New :D405121389 second hand :D405121389 |
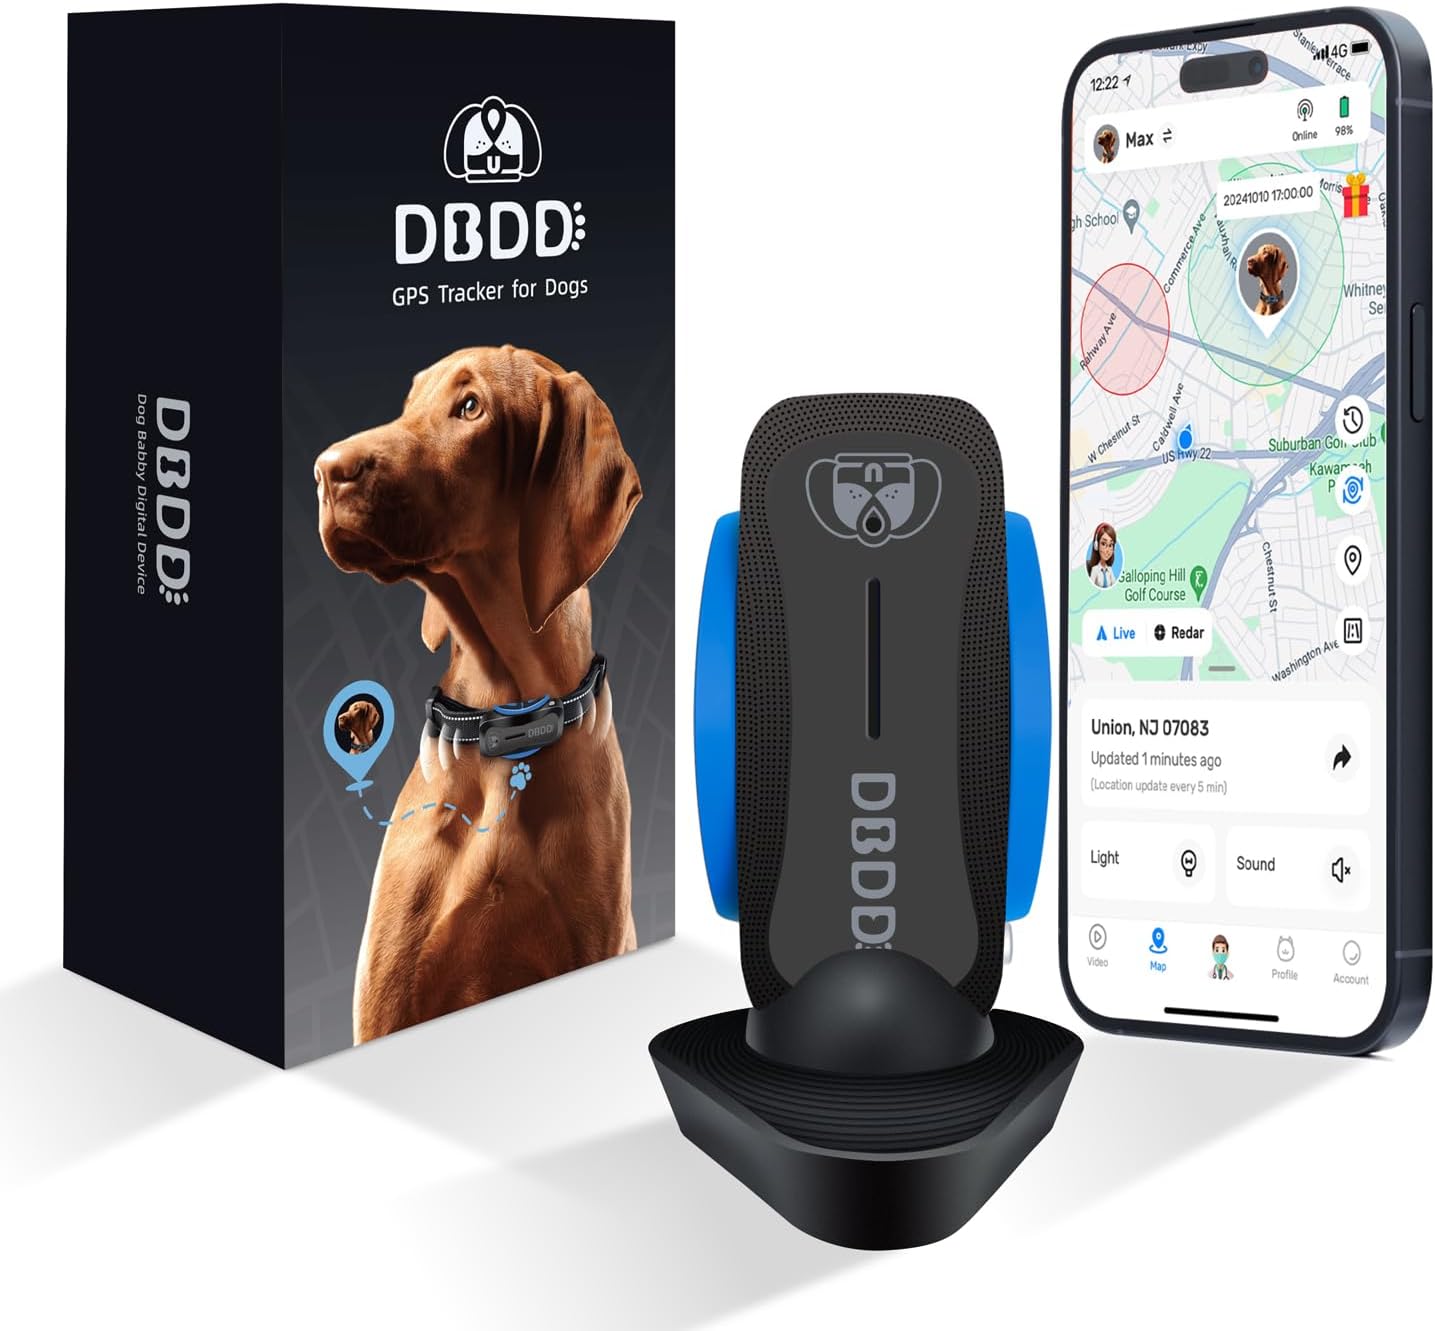
Manufacturer | dog whistle | release date | 2025-05-14 | List price | $33 | ||
|---|---|---|---|---|---|---|---|---|---|
| prototype | whistle sound | ||||||||
| category | |||||||||
Mobile Tech#Bluetooth Tracking Accessories
Creating a do-it-yourself (DIY) dog tracking system can be an incredibly rewarding project for pet owners who want to ensure their dogs' safety while also learning more about electronics and programming. This article will guide you through the process of setting up such a system, focusing on incorporating the unique concept of a dog whistle sound into your design. Whether you're building this system for peace of mind or as a fun hobby project, understanding how to integrate technology with your furry friend's habits is key.
### Understanding the Basics of Dog Whistle Sound
A dog whistle sound operates at frequencies higher than those typically audible to humans, often between 23 kHz and 54 kHz. Dogs, however, can hear these frequencies, making them ideal for training and attention-grabbing purposes. The primary purpose of integrating a dog whistle sound into your DIY tracking system is twofold: first, it serves as an auditory signal that alerts your dog when they are moving too far away; second, it provides a means of communication that does not disturb nearby people.

When designing your tracking system, consider how the dog whistle sound will be triggered. You might choose to activate it manually via a remote control or automatically when your dog moves beyond a certain range. Both methods have their advantages, depending on whether you prefer direct intervention or automated responses.
### Components Needed for Your DIY Dog Tracking System
To build a functional dog tracking system, you'll need several components:
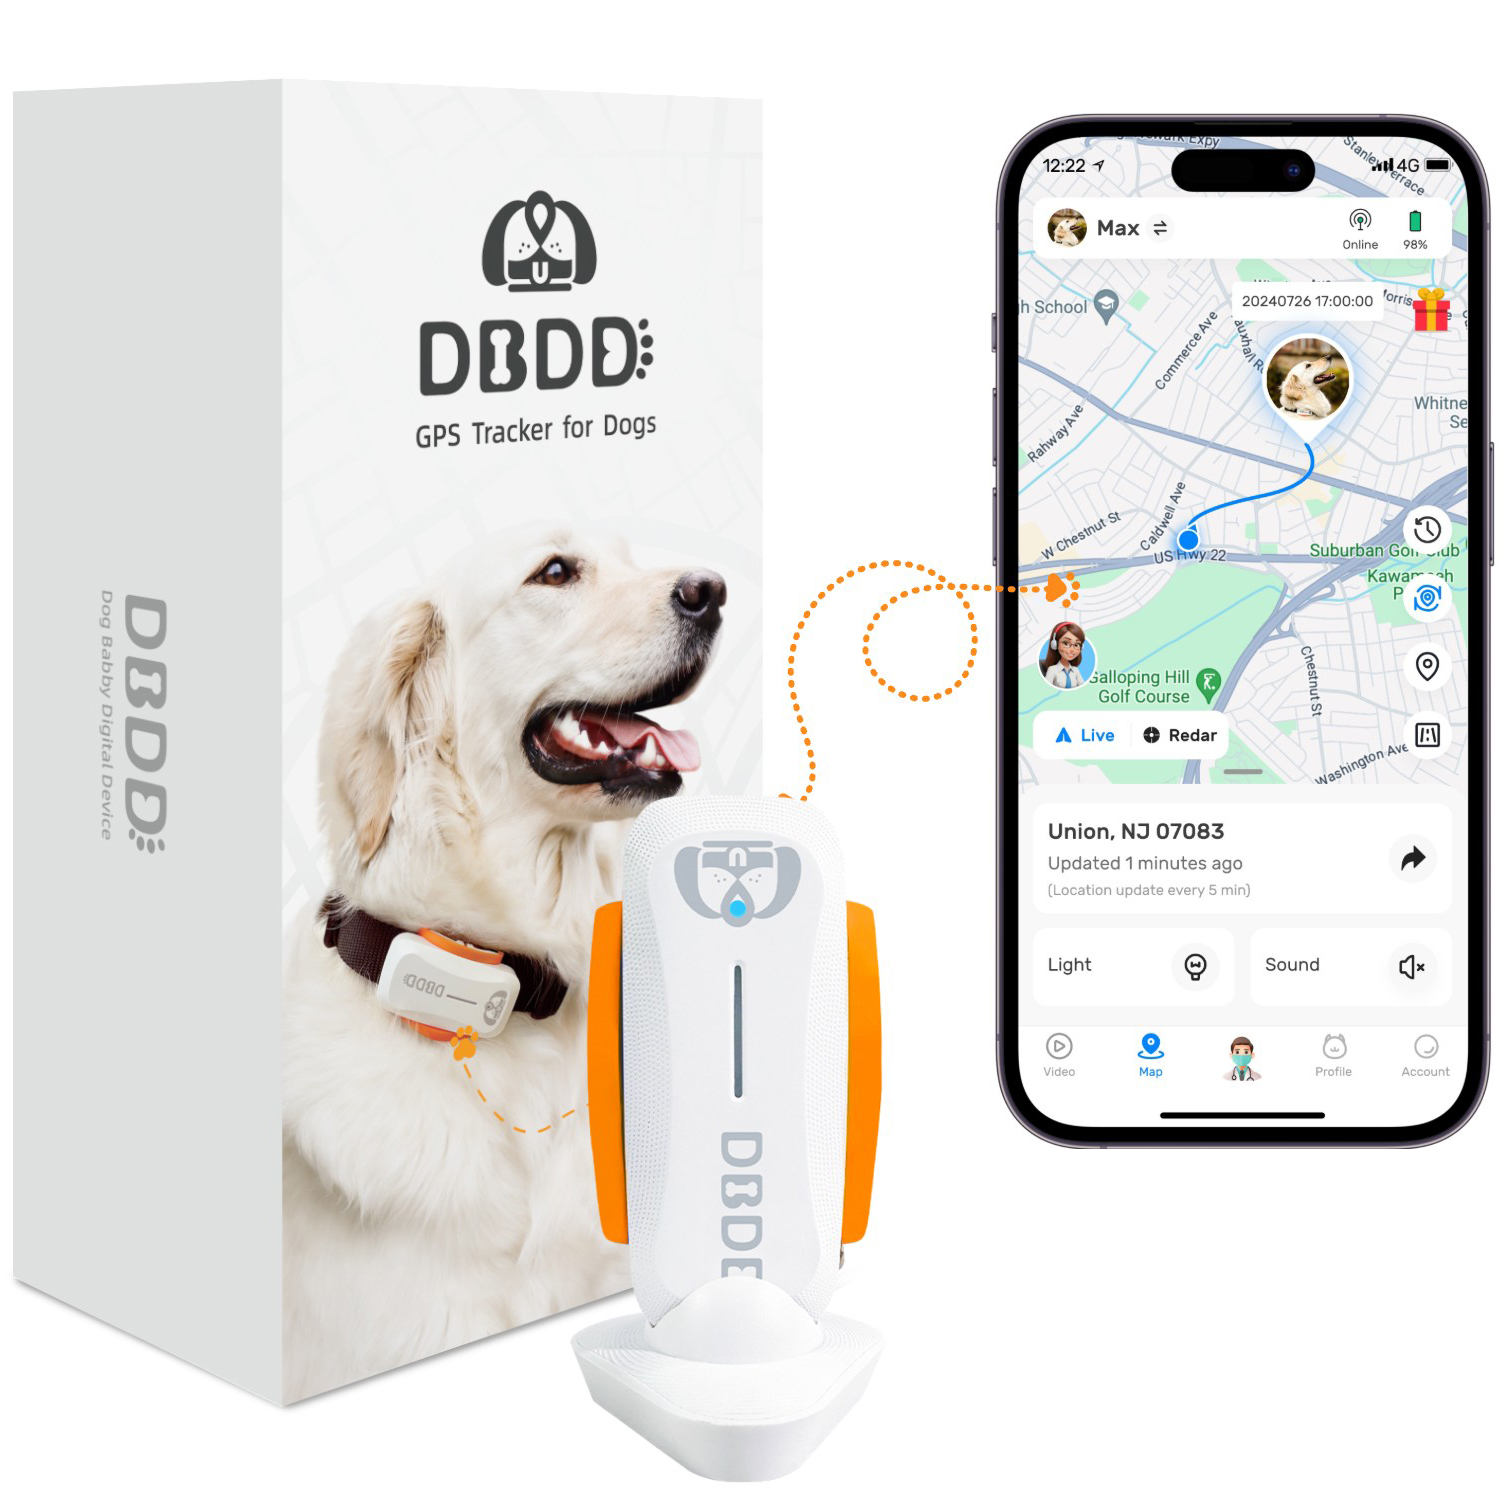
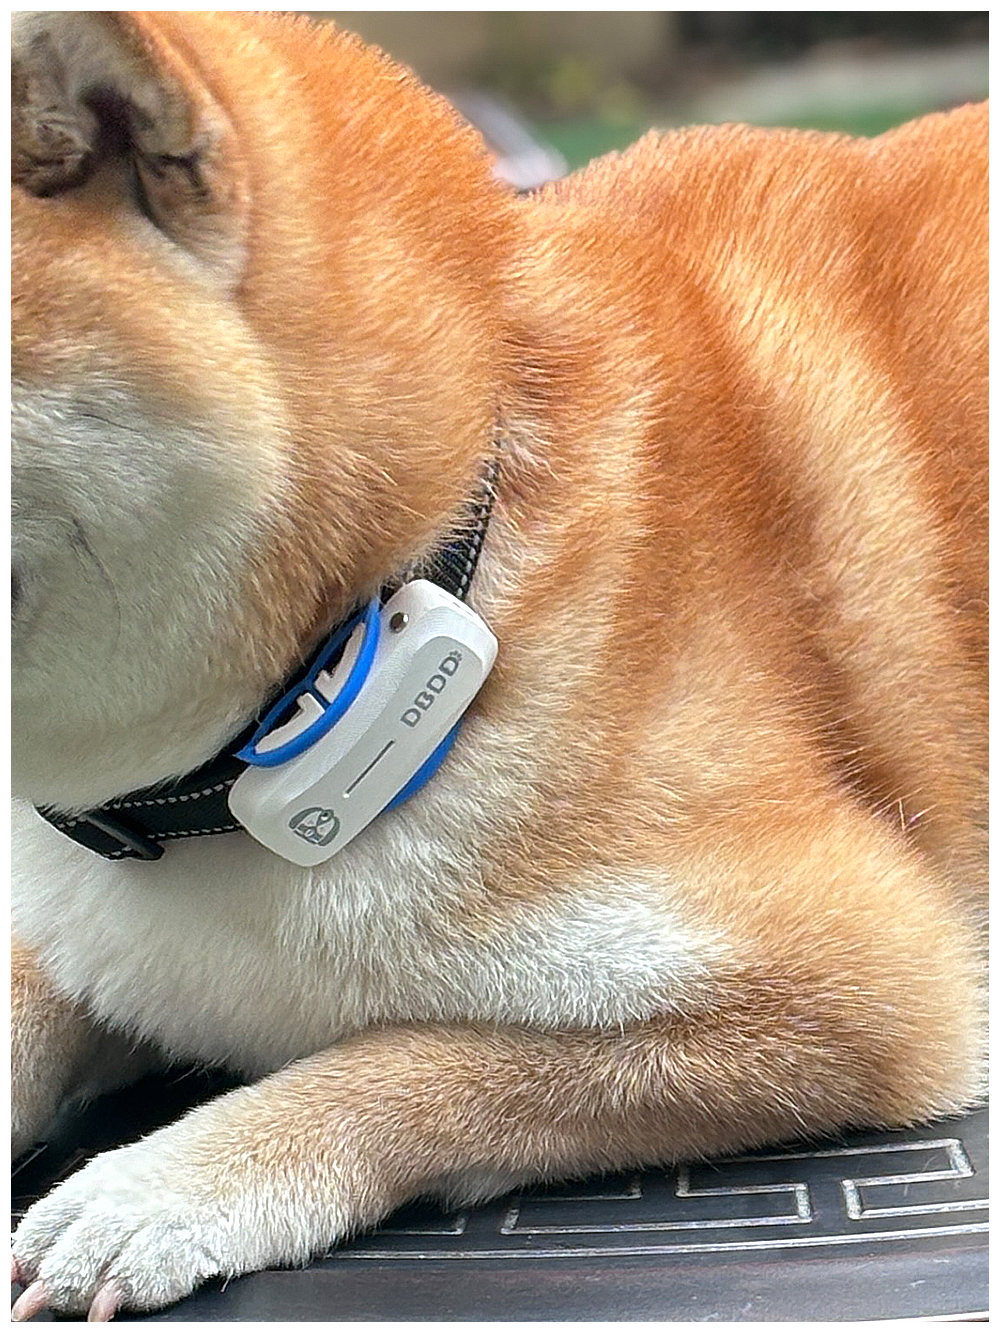
1. **GPS Module**: Essential for pinpointing your dog's location. Choose one with good accuracy and low power consumption.
2. **Microcontroller**: Acts as the brain of your system. Arduino boards or Raspberry Pi are popular choices due to their ease of use and extensive community support.
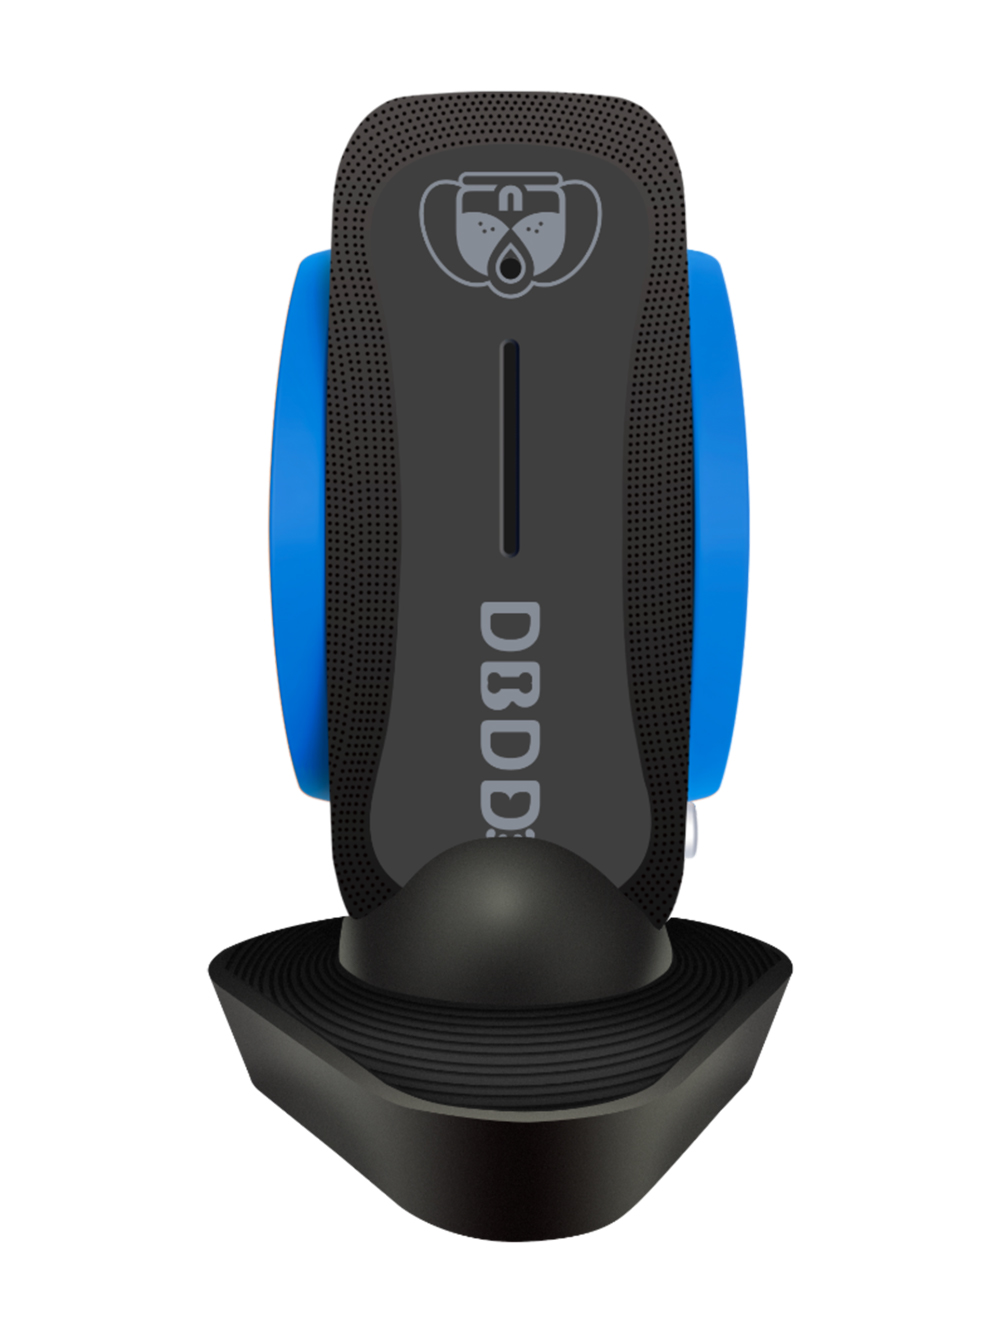
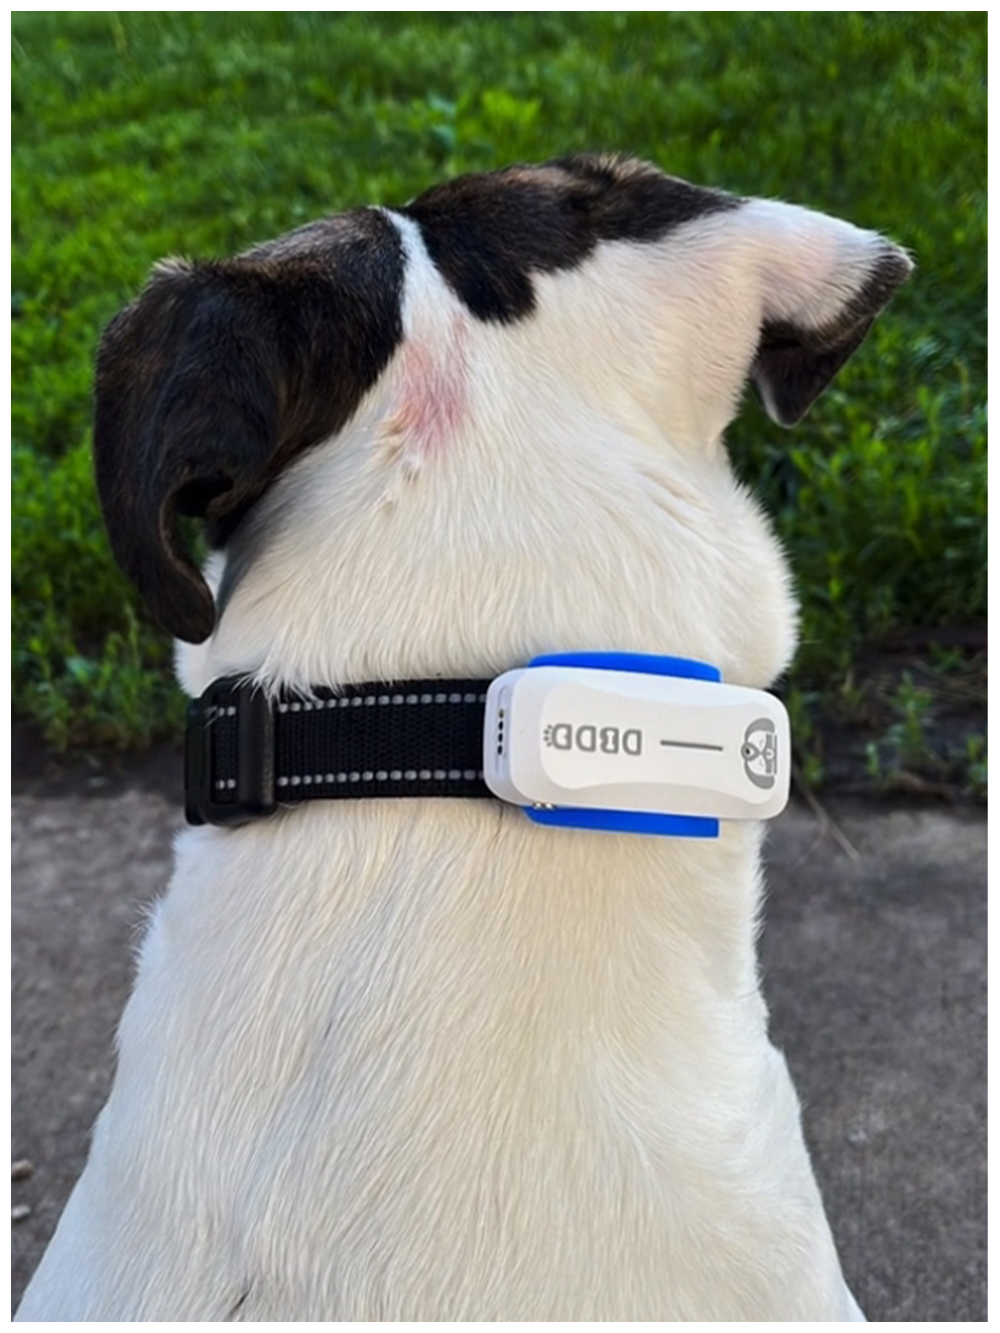
3. **Dog Whistle Sound Generator**: A small speaker capable of producing high-frequency sounds. Ensure it is durable enough to withstand outdoor conditions.
4. **Battery Pack**: Provides power to all components. Lithium-ion batteries are recommended for long-lasting performance.
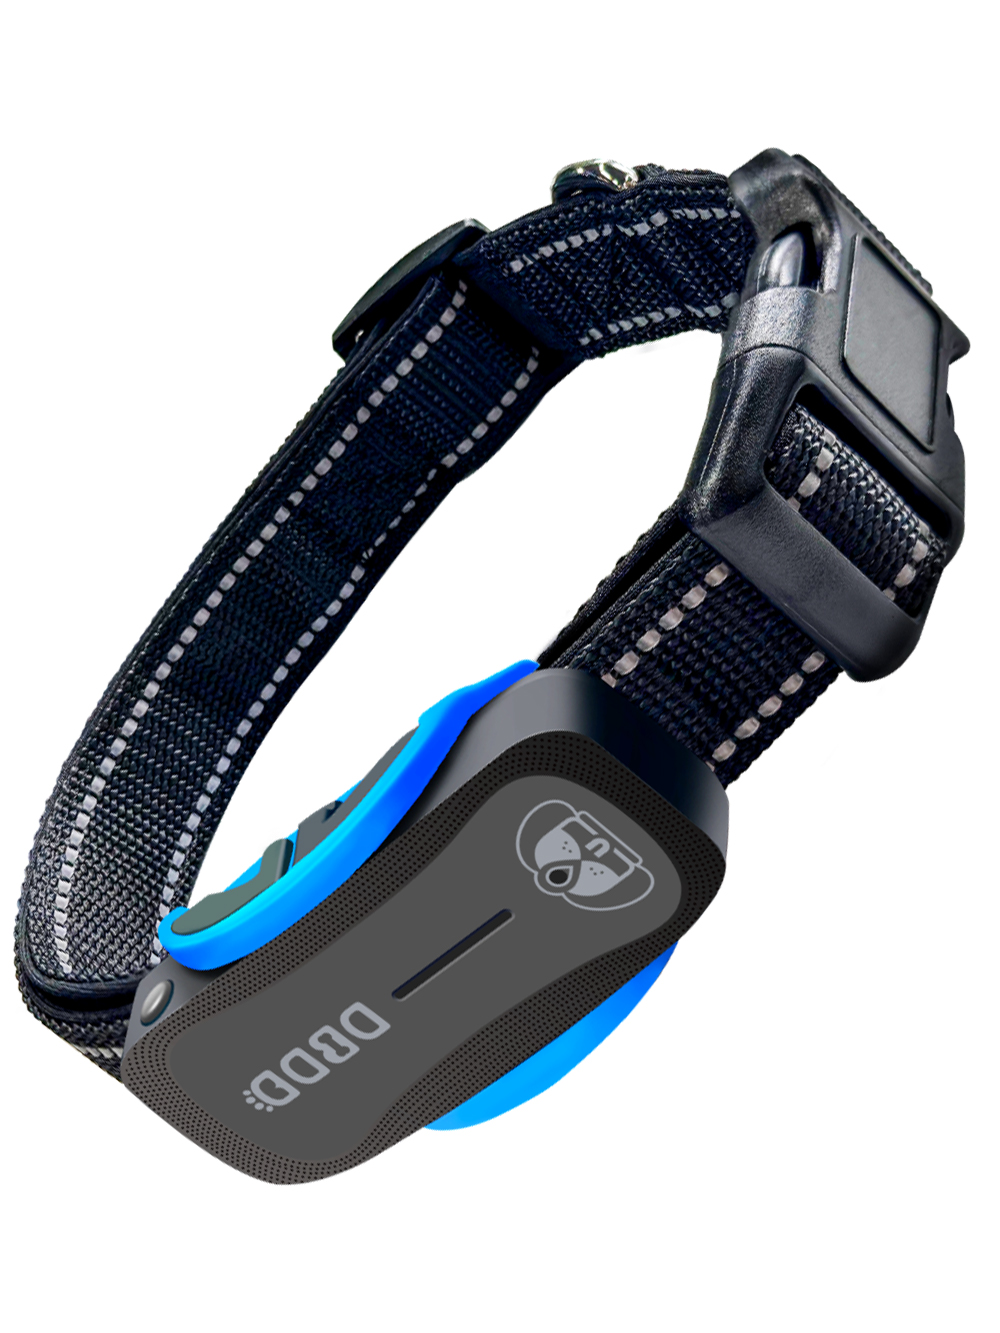
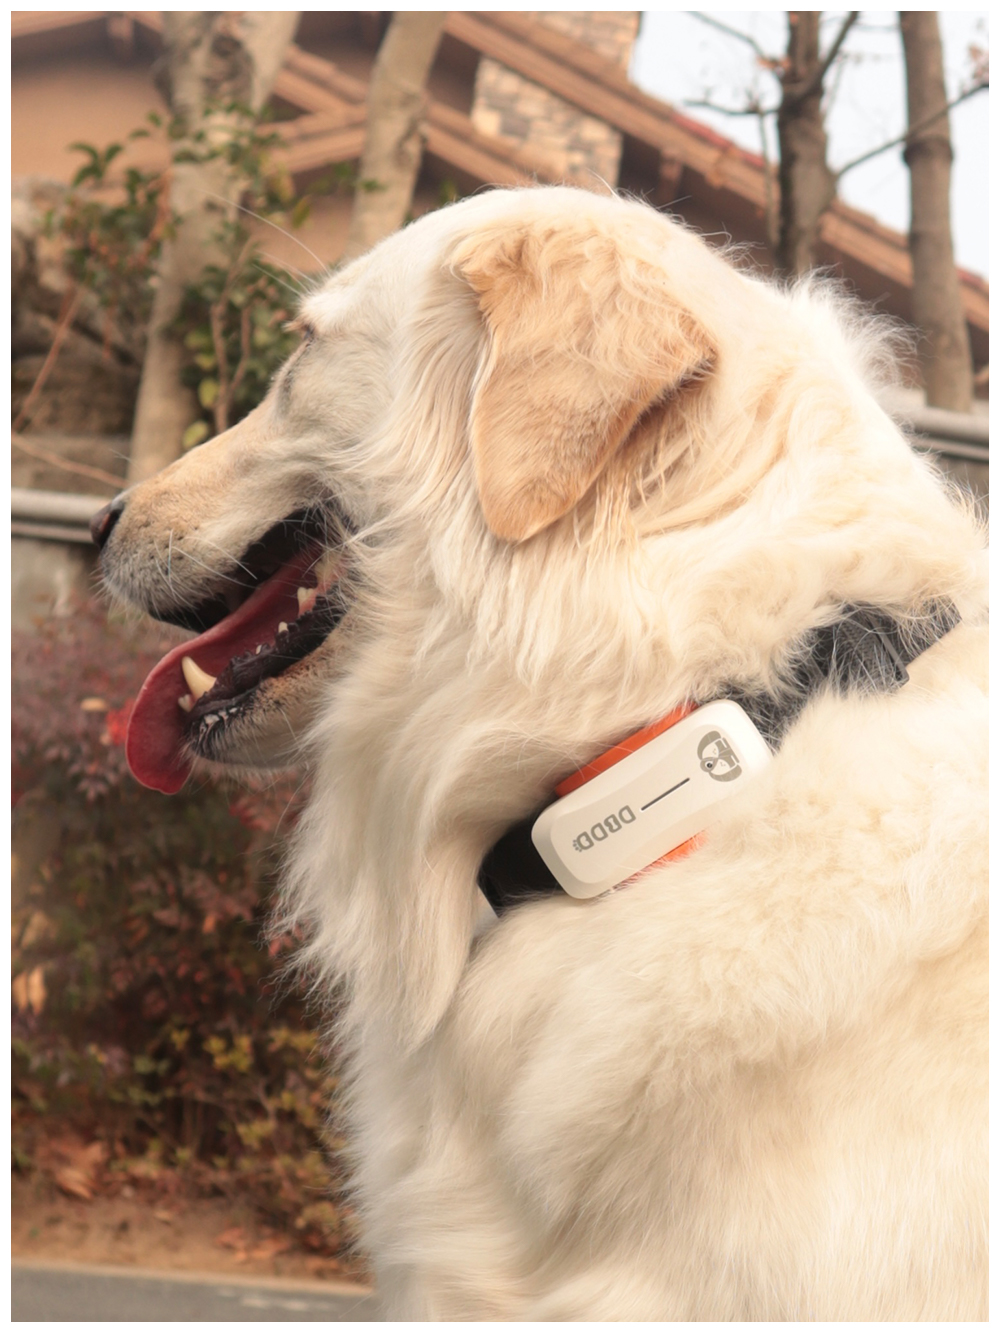
5. **Enclosure**: Protects the electronics from weather and impacts. Consider waterproof materials if your dog frequently ventures outdoors.
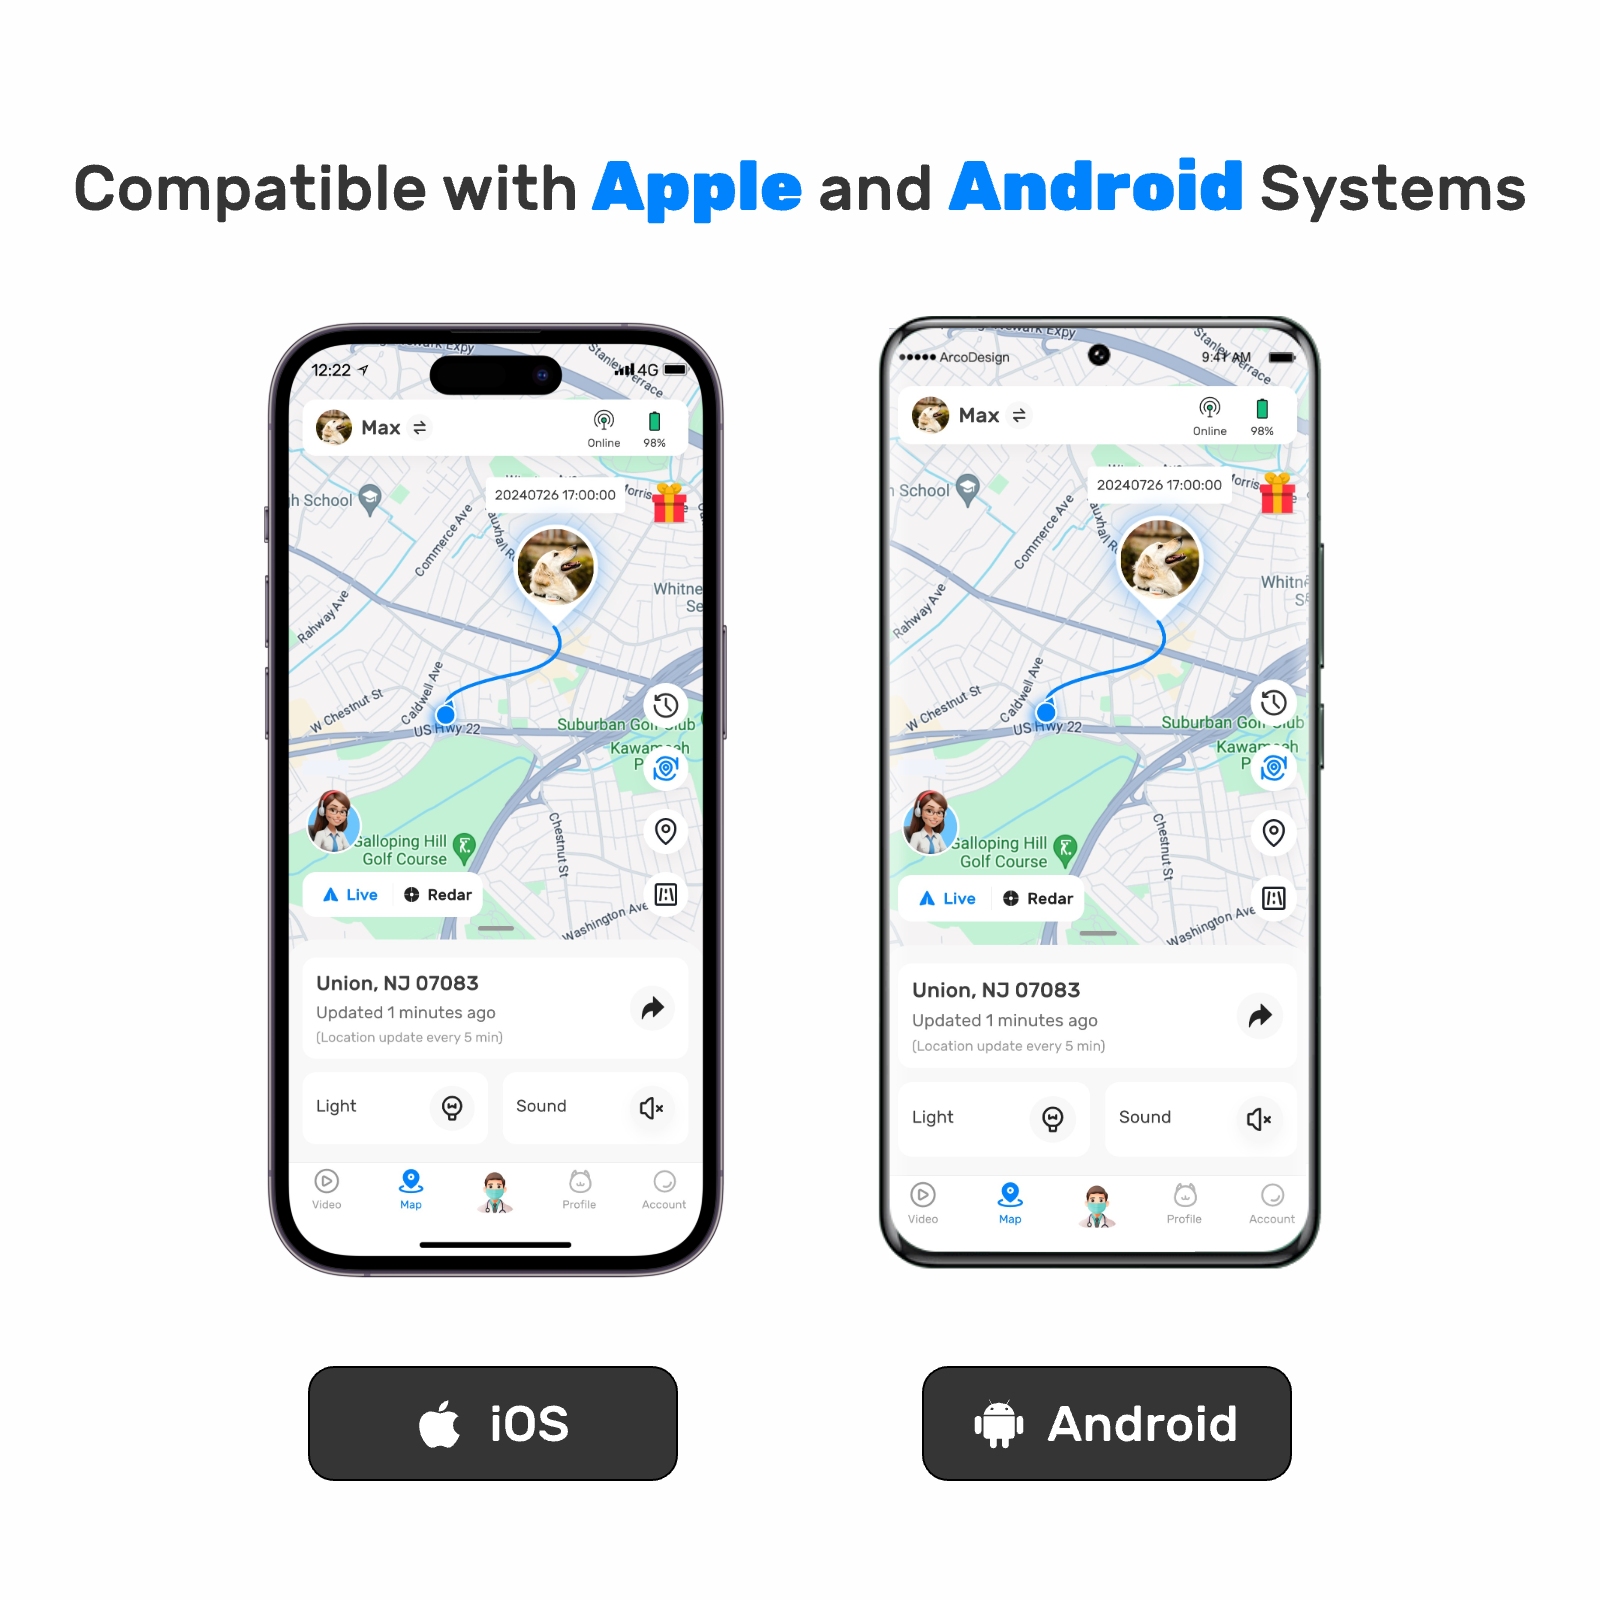
6. **Bluetooth/Wi-Fi Module**: Enables real-time data transmission to your smartphone or computer.
7. **Optional Accessories**: Such as accelerometers for activity monitoring or LED lights for nighttime visibility.
### Step-by-Step Guide to Building Your System
#### Step 1: Assembling the Hardware
Begin by connecting your GPS module to the microcontroller using appropriate cables. Make sure to follow the wiring diagram provided in the module’s documentation to avoid errors. Next, attach the dog whistle sound generator to the microcontroller’s output pin designated for audio signals. Securely mount all components inside the enclosure, ensuring there is adequate ventilation to prevent overheating.
#### Step 2: Writing the Software Code
Programming the microcontroller involves writing code that interprets GPS data and triggers the dog whistle sound under specific conditions. Here’s a basic outline of what your program should accomplish:
- Continuously read GPS coordinates.
- Compare current position against predefined boundaries (e.g., your backyard perimeter).
- If the dog exceeds these boundaries, send a signal to the sound generator to emit the dog whistle sound.
- Optionally, transmit location updates via Bluetooth or Wi-Fi to your device.
For beginners, numerous online tutorials and libraries exist to simplify coding tasks. Leveraging existing frameworks can save time and effort while still allowing customization.
#### Step 3: Testing the System
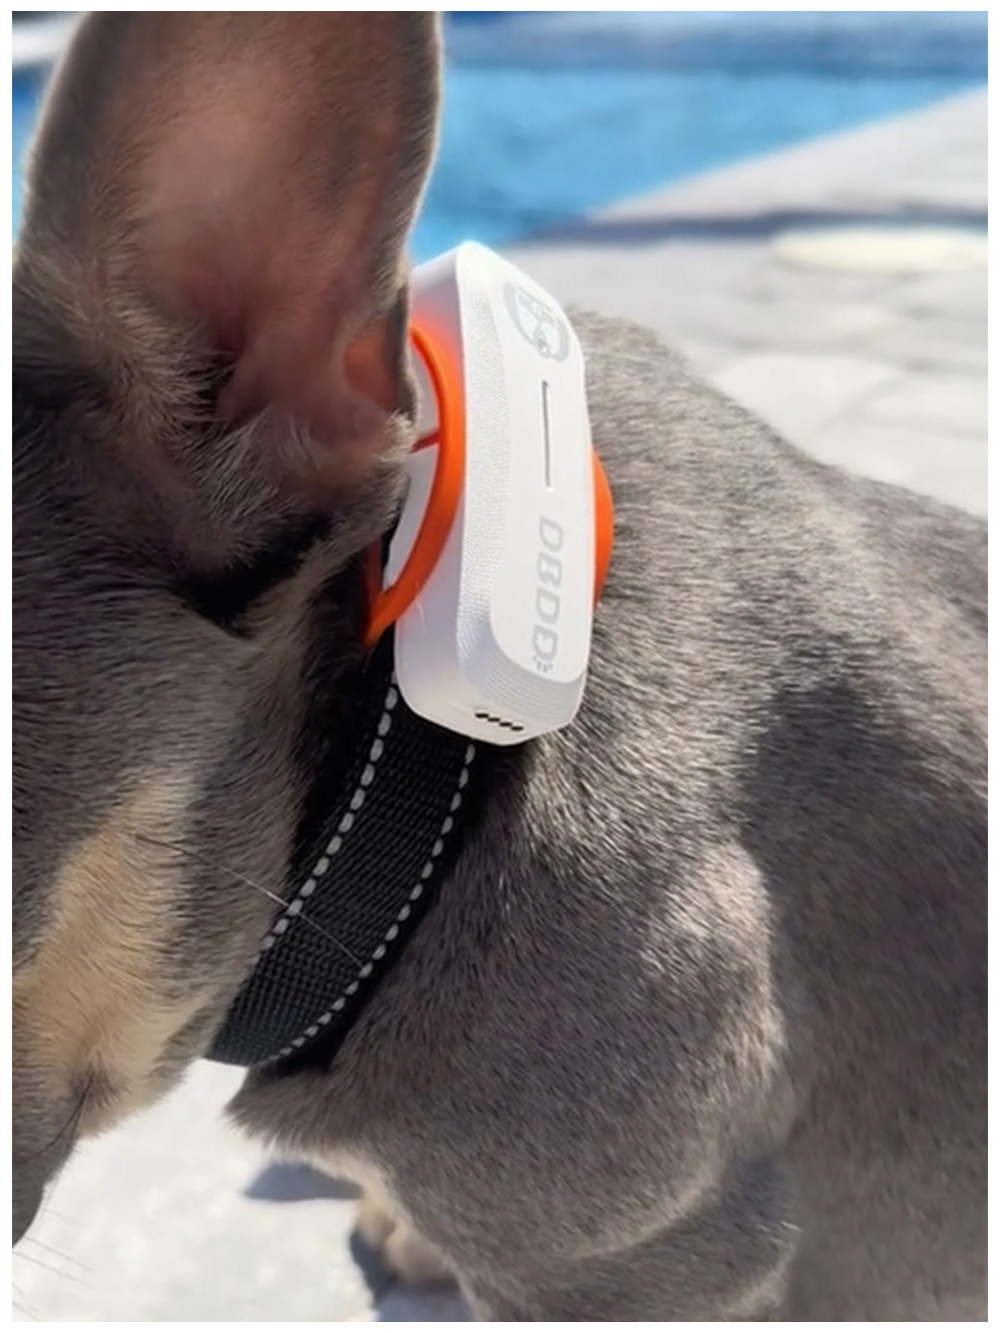
Before deploying the completed system onto your dog, thoroughly test each component individually and then together as a whole unit. Verify that the GPS accurately reports positions, the dog whistle sound plays correctly upon exceeding set limits, and wireless communication functions reliably. Adjust parameters like boundary size and volume level based on testing results until satisfied with overall performance.
### Enhancing Features with Advanced Techniques
Once comfortable with the basics, explore additional features to enhance functionality:
- **Machine Learning Integration**: Train algorithms to recognize patterns in your dog’s movements, predicting potential escapes before they happen.
- **Voice Command Recognition**: Incorporate speech-to-text capabilities so verbal commands trigger actions within the system.
- **Environmental Sensors**: Add temperature, humidity, or air quality sensors to monitor surrounding conditions affecting your dog’s health.
Remember, every feature added increases complexity, so balance innovation with usability.
### Safety Considerations
While creating your DIY dog tracking system, keep safety paramount. Regularly check battery levels to prevent unexpected shutdowns. Inspect wiring connections periodically to ensure nothing comes loose during active use. Furthermore, familiarize yourself with local regulations regarding radio frequency emissions since some areas impose restrictions on unlicensed devices operating within certain bands.
Also, introduce the dog whistle sound gradually to your pet. Sudden exposure to unfamiliar noises may startle them initially. Gradual acclimation helps reduce stress and improves acceptance of the new sound.
### Conclusion
Building a DIY dog tracking system that incorporates a dog whistle sound offers numerous benefits beyond mere tracking. It strengthens bonds between owner and pet through consistent interaction, promotes responsible pet ownership by encouraging awareness of surroundings, and provides valuable insights into canine behavior through collected data analysis. With patience and practice, anyone can construct such a system tailored specifically to meet their needs and preferences. Embrace creativity throughout the process – after all, part of the joy lies in discovering solutions uniquely suited to both you and your beloved companion.
Update Time:2025-05-14 21:42:31
### Understanding the Basics of Dog Whistle Sound
A dog whistle sound operates at frequencies higher than those typically audible to humans, often between 23 kHz and 54 kHz. Dogs, however, can hear these frequencies, making them ideal for training and attention-grabbing purposes. The primary purpose of integrating a dog whistle sound into your DIY tracking system is twofold: first, it serves as an auditory signal that alerts your dog when they are moving too far away; second, it provides a means of communication that does not disturb nearby people.
When designing your tracking system, consider how the dog whistle sound will be triggered. You might choose to activate it manually via a remote control or automatically when your dog moves beyond a certain range. Both methods have their advantages, depending on whether you prefer direct intervention or automated responses.
### Components Needed for Your DIY Dog Tracking System
To build a functional dog tracking system, you'll need several components:
1. **GPS Module**: Essential for pinpointing your dog's location. Choose one with good accuracy and low power consumption.
2. **Microcontroller**: Acts as the brain of your system. Arduino boards or Raspberry Pi are popular choices due to their ease of use and extensive community support.
3. **Dog Whistle Sound Generator**: A small speaker capable of producing high-frequency sounds. Ensure it is durable enough to withstand outdoor conditions.
4. **Battery Pack**: Provides power to all components. Lithium-ion batteries are recommended for long-lasting performance.
5. **Enclosure**: Protects the electronics from weather and impacts. Consider waterproof materials if your dog frequently ventures outdoors.
6. **Bluetooth/Wi-Fi Module**: Enables real-time data transmission to your smartphone or computer.
7. **Optional Accessories**: Such as accelerometers for activity monitoring or LED lights for nighttime visibility.
### Step-by-Step Guide to Building Your System
#### Step 1: Assembling the Hardware
Begin by connecting your GPS module to the microcontroller using appropriate cables. Make sure to follow the wiring diagram provided in the module’s documentation to avoid errors. Next, attach the dog whistle sound generator to the microcontroller’s output pin designated for audio signals. Securely mount all components inside the enclosure, ensuring there is adequate ventilation to prevent overheating.
#### Step 2: Writing the Software Code
Programming the microcontroller involves writing code that interprets GPS data and triggers the dog whistle sound under specific conditions. Here’s a basic outline of what your program should accomplish:
- Continuously read GPS coordinates.
- Compare current position against predefined boundaries (e.g., your backyard perimeter).
- If the dog exceeds these boundaries, send a signal to the sound generator to emit the dog whistle sound.
- Optionally, transmit location updates via Bluetooth or Wi-Fi to your device.
For beginners, numerous online tutorials and libraries exist to simplify coding tasks. Leveraging existing frameworks can save time and effort while still allowing customization.
#### Step 3: Testing the System
Before deploying the completed system onto your dog, thoroughly test each component individually and then together as a whole unit. Verify that the GPS accurately reports positions, the dog whistle sound plays correctly upon exceeding set limits, and wireless communication functions reliably. Adjust parameters like boundary size and volume level based on testing results until satisfied with overall performance.
### Enhancing Features with Advanced Techniques
Once comfortable with the basics, explore additional features to enhance functionality:
- **Machine Learning Integration**: Train algorithms to recognize patterns in your dog’s movements, predicting potential escapes before they happen.
- **Voice Command Recognition**: Incorporate speech-to-text capabilities so verbal commands trigger actions within the system.
- **Environmental Sensors**: Add temperature, humidity, or air quality sensors to monitor surrounding conditions affecting your dog’s health.
Remember, every feature added increases complexity, so balance innovation with usability.
### Safety Considerations
While creating your DIY dog tracking system, keep safety paramount. Regularly check battery levels to prevent unexpected shutdowns. Inspect wiring connections periodically to ensure nothing comes loose during active use. Furthermore, familiarize yourself with local regulations regarding radio frequency emissions since some areas impose restrictions on unlicensed devices operating within certain bands.
Also, introduce the dog whistle sound gradually to your pet. Sudden exposure to unfamiliar noises may startle them initially. Gradual acclimation helps reduce stress and improves acceptance of the new sound.
### Conclusion
Building a DIY dog tracking system that incorporates a dog whistle sound offers numerous benefits beyond mere tracking. It strengthens bonds between owner and pet through consistent interaction, promotes responsible pet ownership by encouraging awareness of surroundings, and provides valuable insights into canine behavior through collected data analysis. With patience and practice, anyone can construct such a system tailored specifically to meet their needs and preferences. Embrace creativity throughout the process – after all, part of the joy lies in discovering solutions uniquely suited to both you and your beloved companion.
Update Time:2025-05-14 21:42:31
Bluetooth Tracking Accessories Daily rankings


Correction of product information
If you notice any omissions or errors in the product information on this page, please use the correction request form below.
Correction Request Form


