


New ArrivalsBack in stock


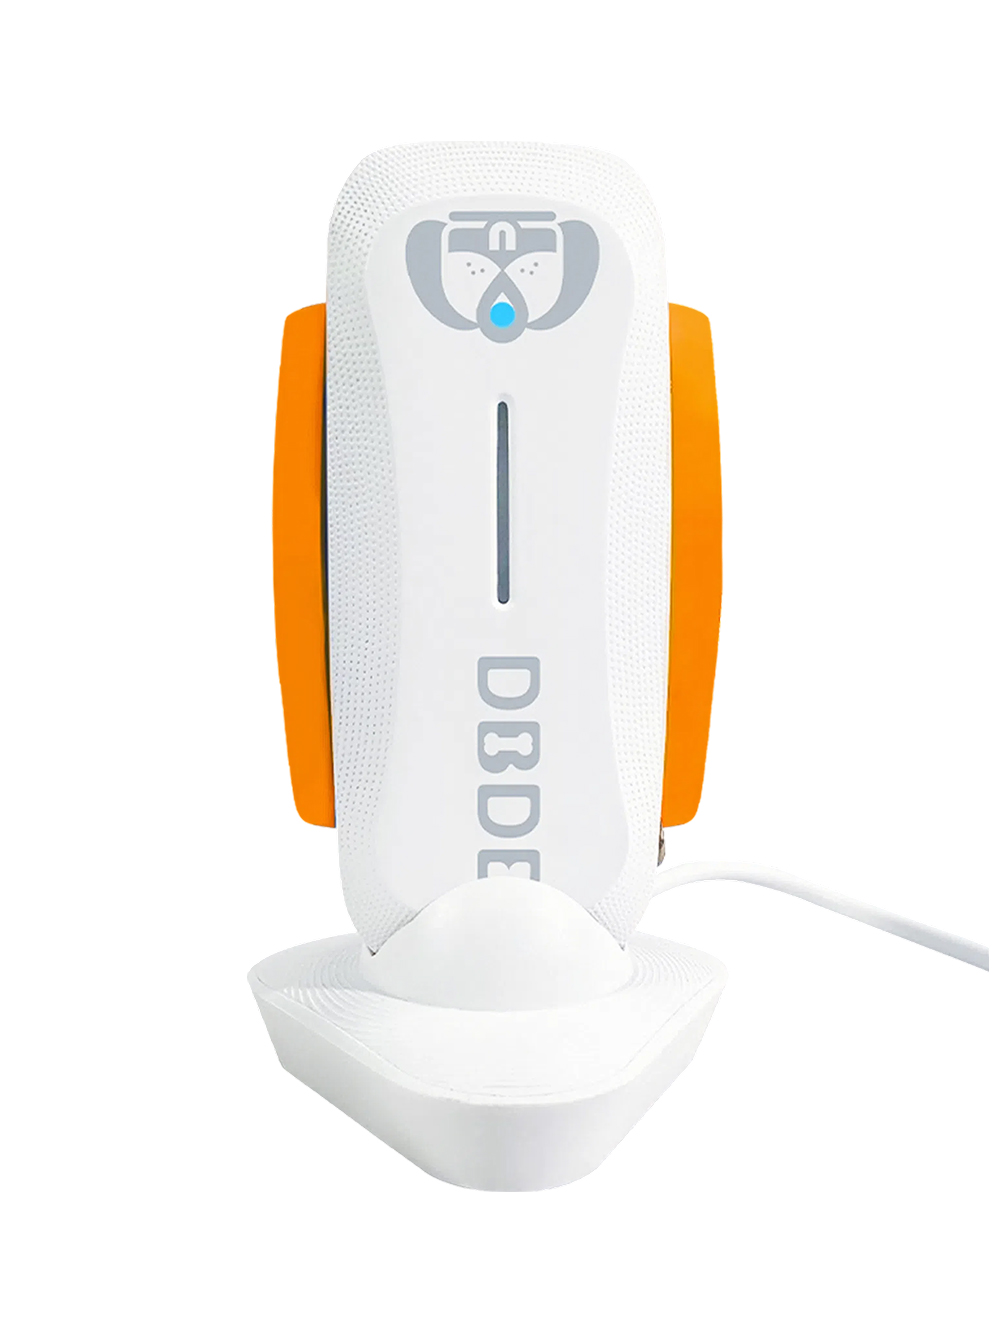
waterproof dog tracking collar
 4
(430件)
4
(430件)
 Limited Time Sale
Until the end
00
00
00
Free shipping on orders over 999 ※)
If you buy it for 999 or more, you can buy it on behalf of the customer. There is no material for the number of hands.
If you buy it for 999 or more, you can buy it on behalf of the customer. There is no material for the number of hands.
There is stock in your local store.
Please note that the sales price and tax displayed may differ between online and in-store. Also, the product may be out of stock in-store.


Coupon giveaway!
| Control number |
New :D660311743 second hand :D660311743 |
Manufacturer | waterproof dog | release date | 2025-05-15 | List price | $39 | ||
|---|---|---|---|---|---|---|---|---|---|
| prototype | dog tracking | ||||||||
| category | |||||||||
Precision Agriculture#Livestock Tracking
In recent years, the concept of a DIY dog tracking system has gained significant traction among pet owners. This trend is driven by a growing desire for personalized solutions that cater to specific needs and budgets. Among the various components of such systems, one standout item is the waterproof dog tracking collar. These collars are not only essential for ensuring your pet's safety but also provide peace of mind in scenarios where traditional methods might fall short. In this article, we will explore how to set up a DIY dog tracking system using a waterproof dog tracking collar, focusing on its benefits, necessary components, and step-by-step instructions.
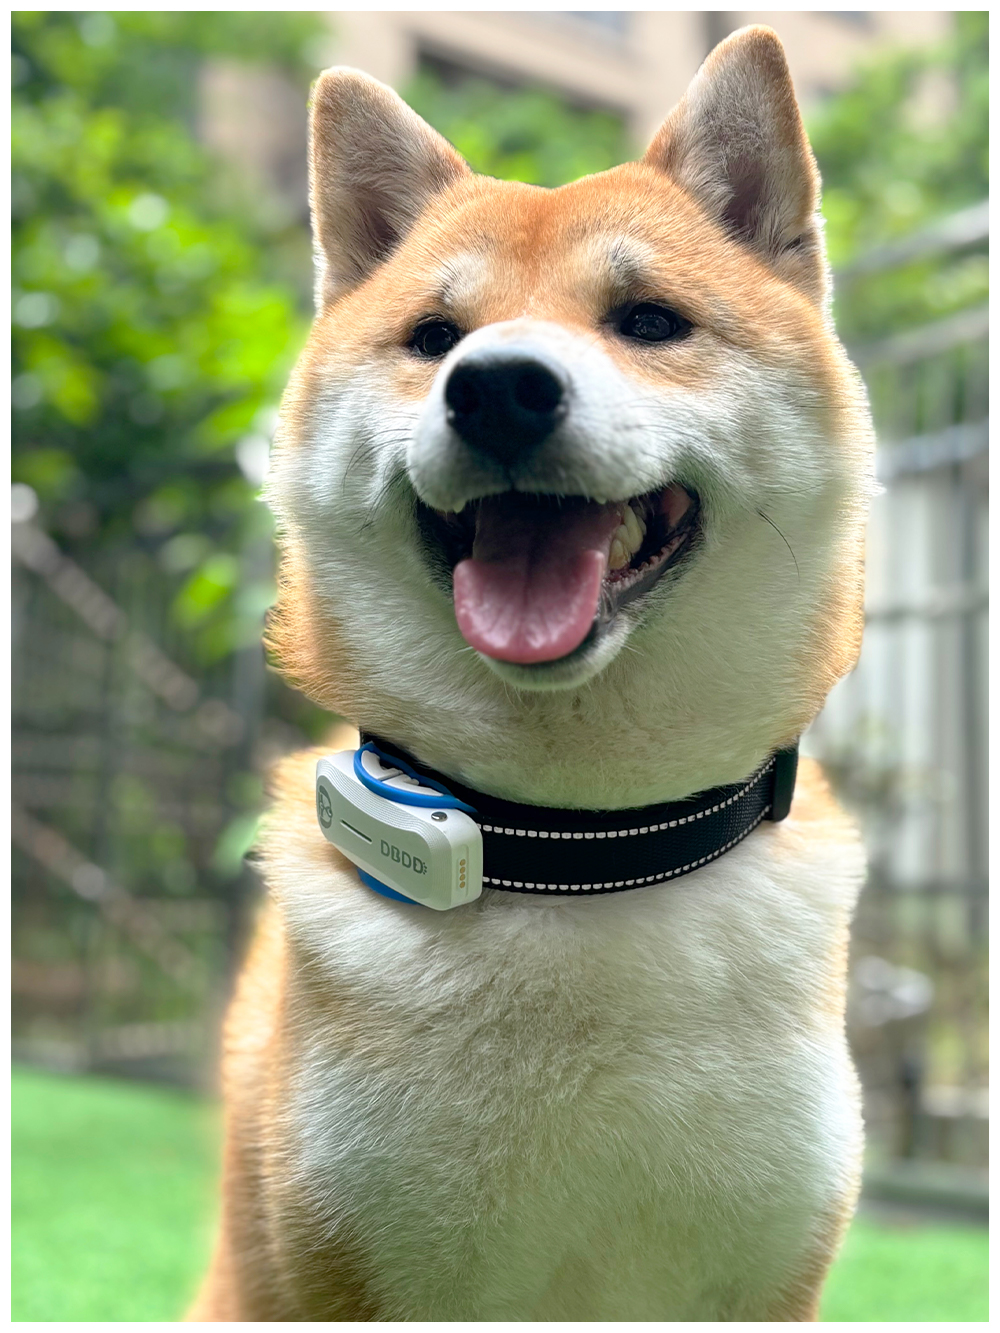
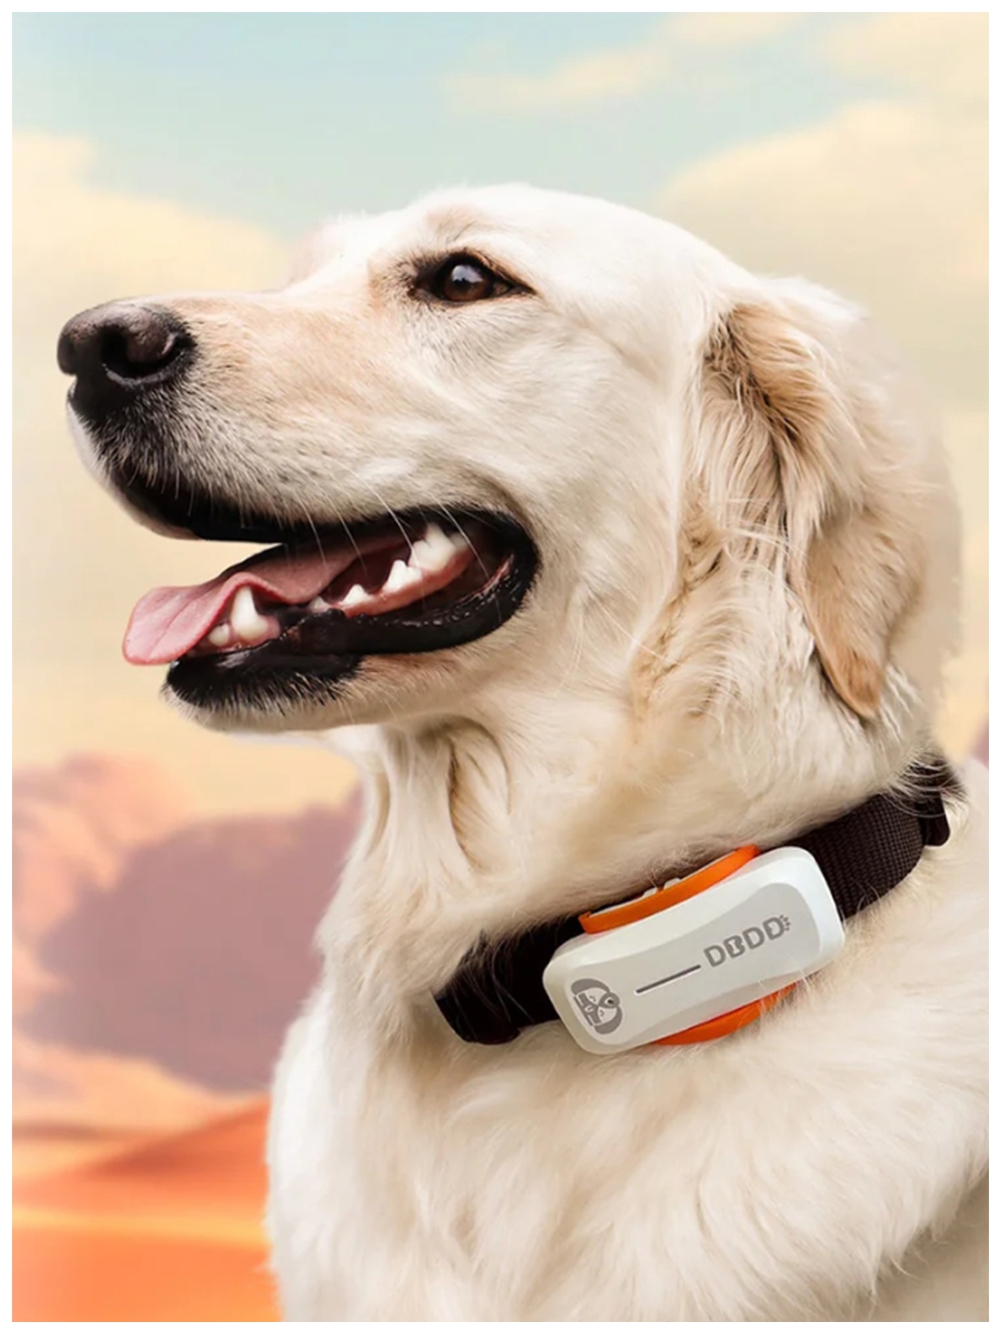
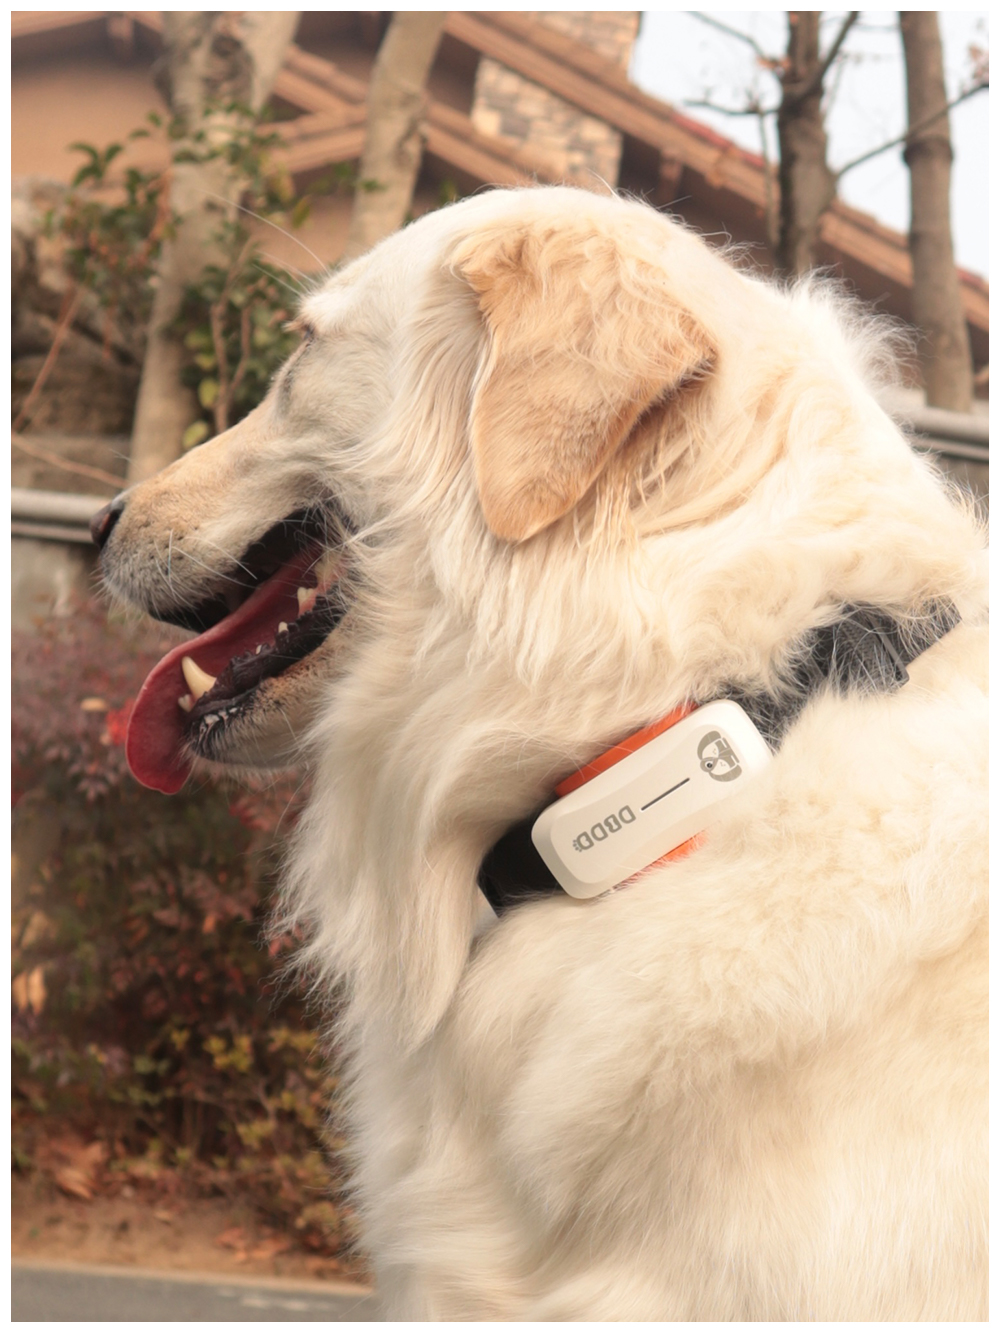
To begin with, let’s delve into why a waterproof dog tracking collar is crucial for any dog owner. Dogs, especially those who love outdoor activities like hiking or swimming, can easily find themselves in situations where they wander off or get lost. A waterproof dog tracking collar ensures that even if your dog takes an unexpected dip in a river or lake, the device remains functional and provides accurate location data. Moreover, these collars are designed to withstand harsh weather conditions, making them ideal for all-year-round use regardless of climate changes.
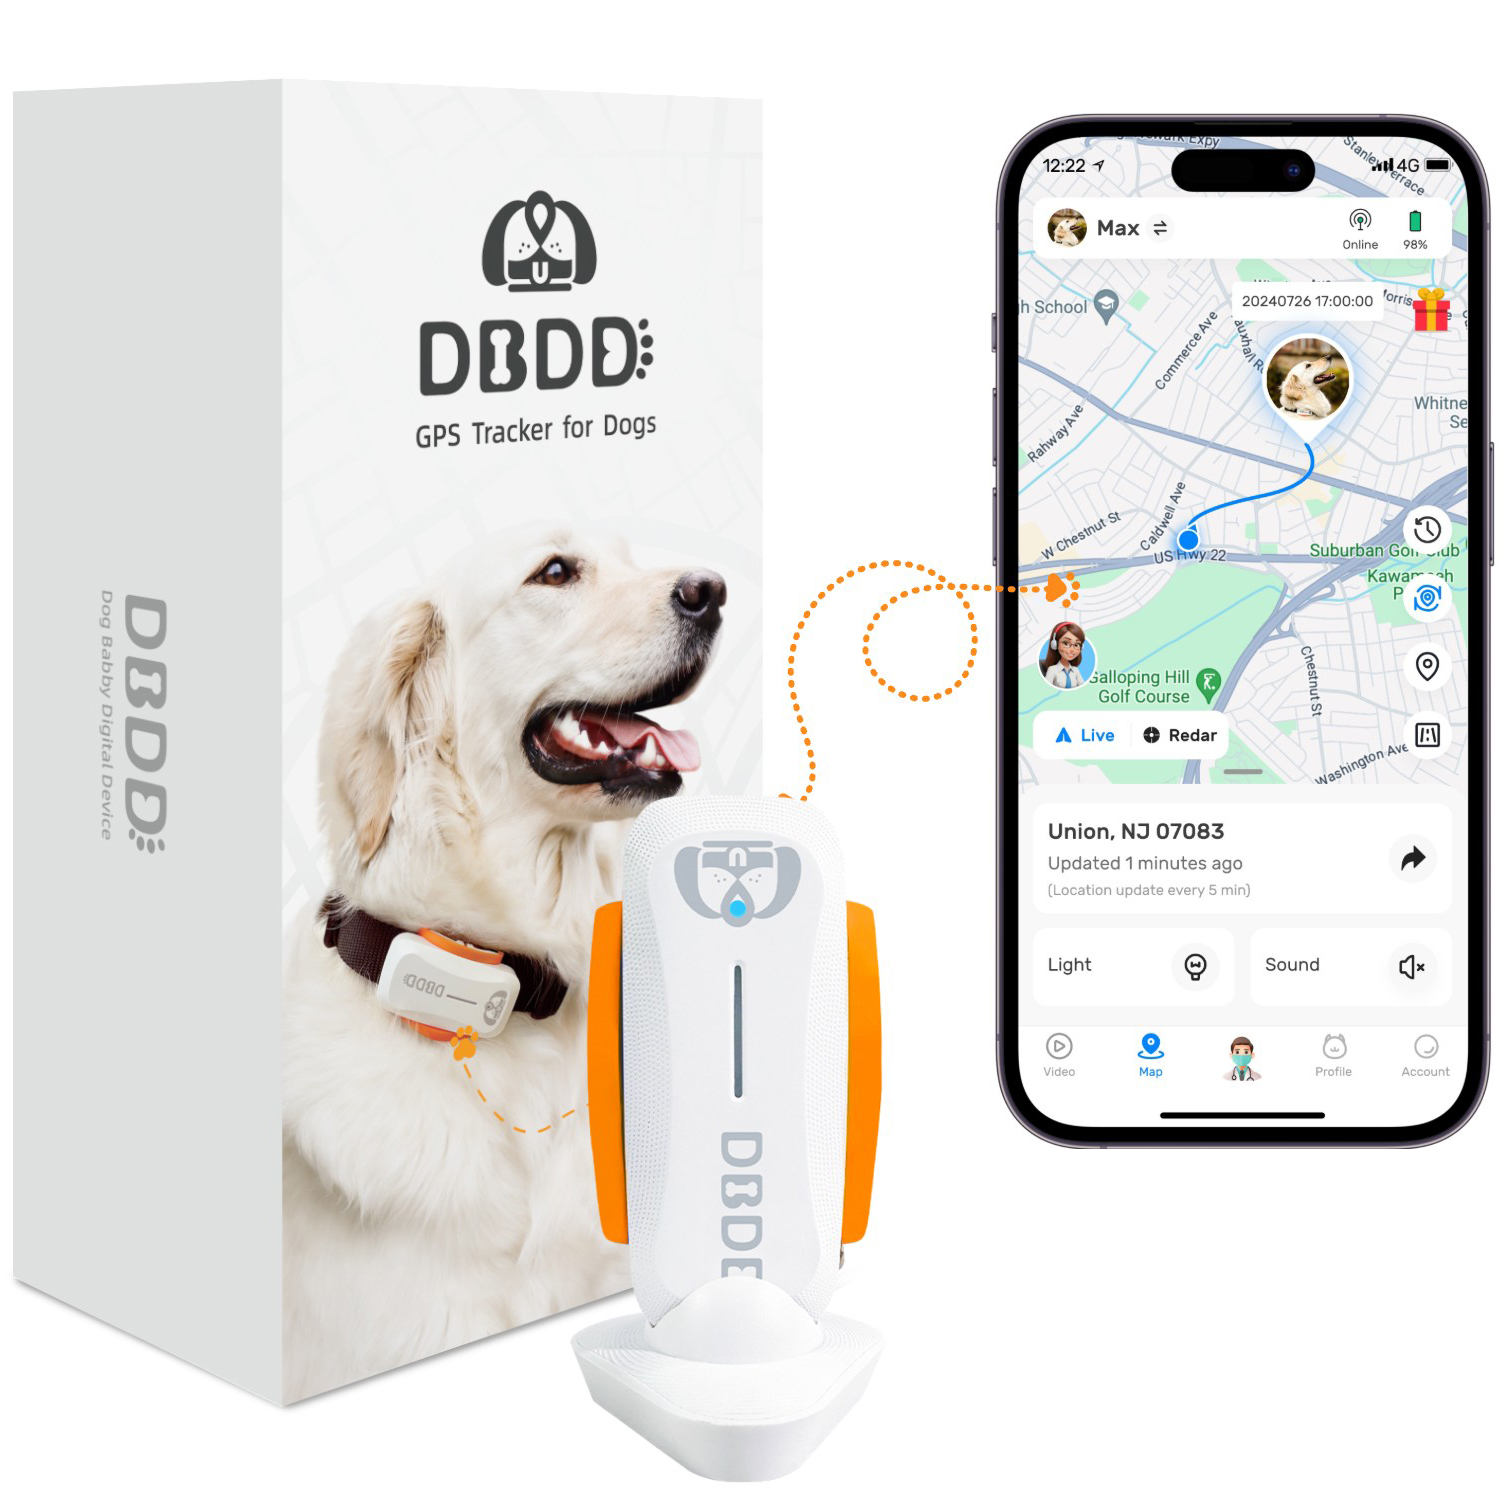
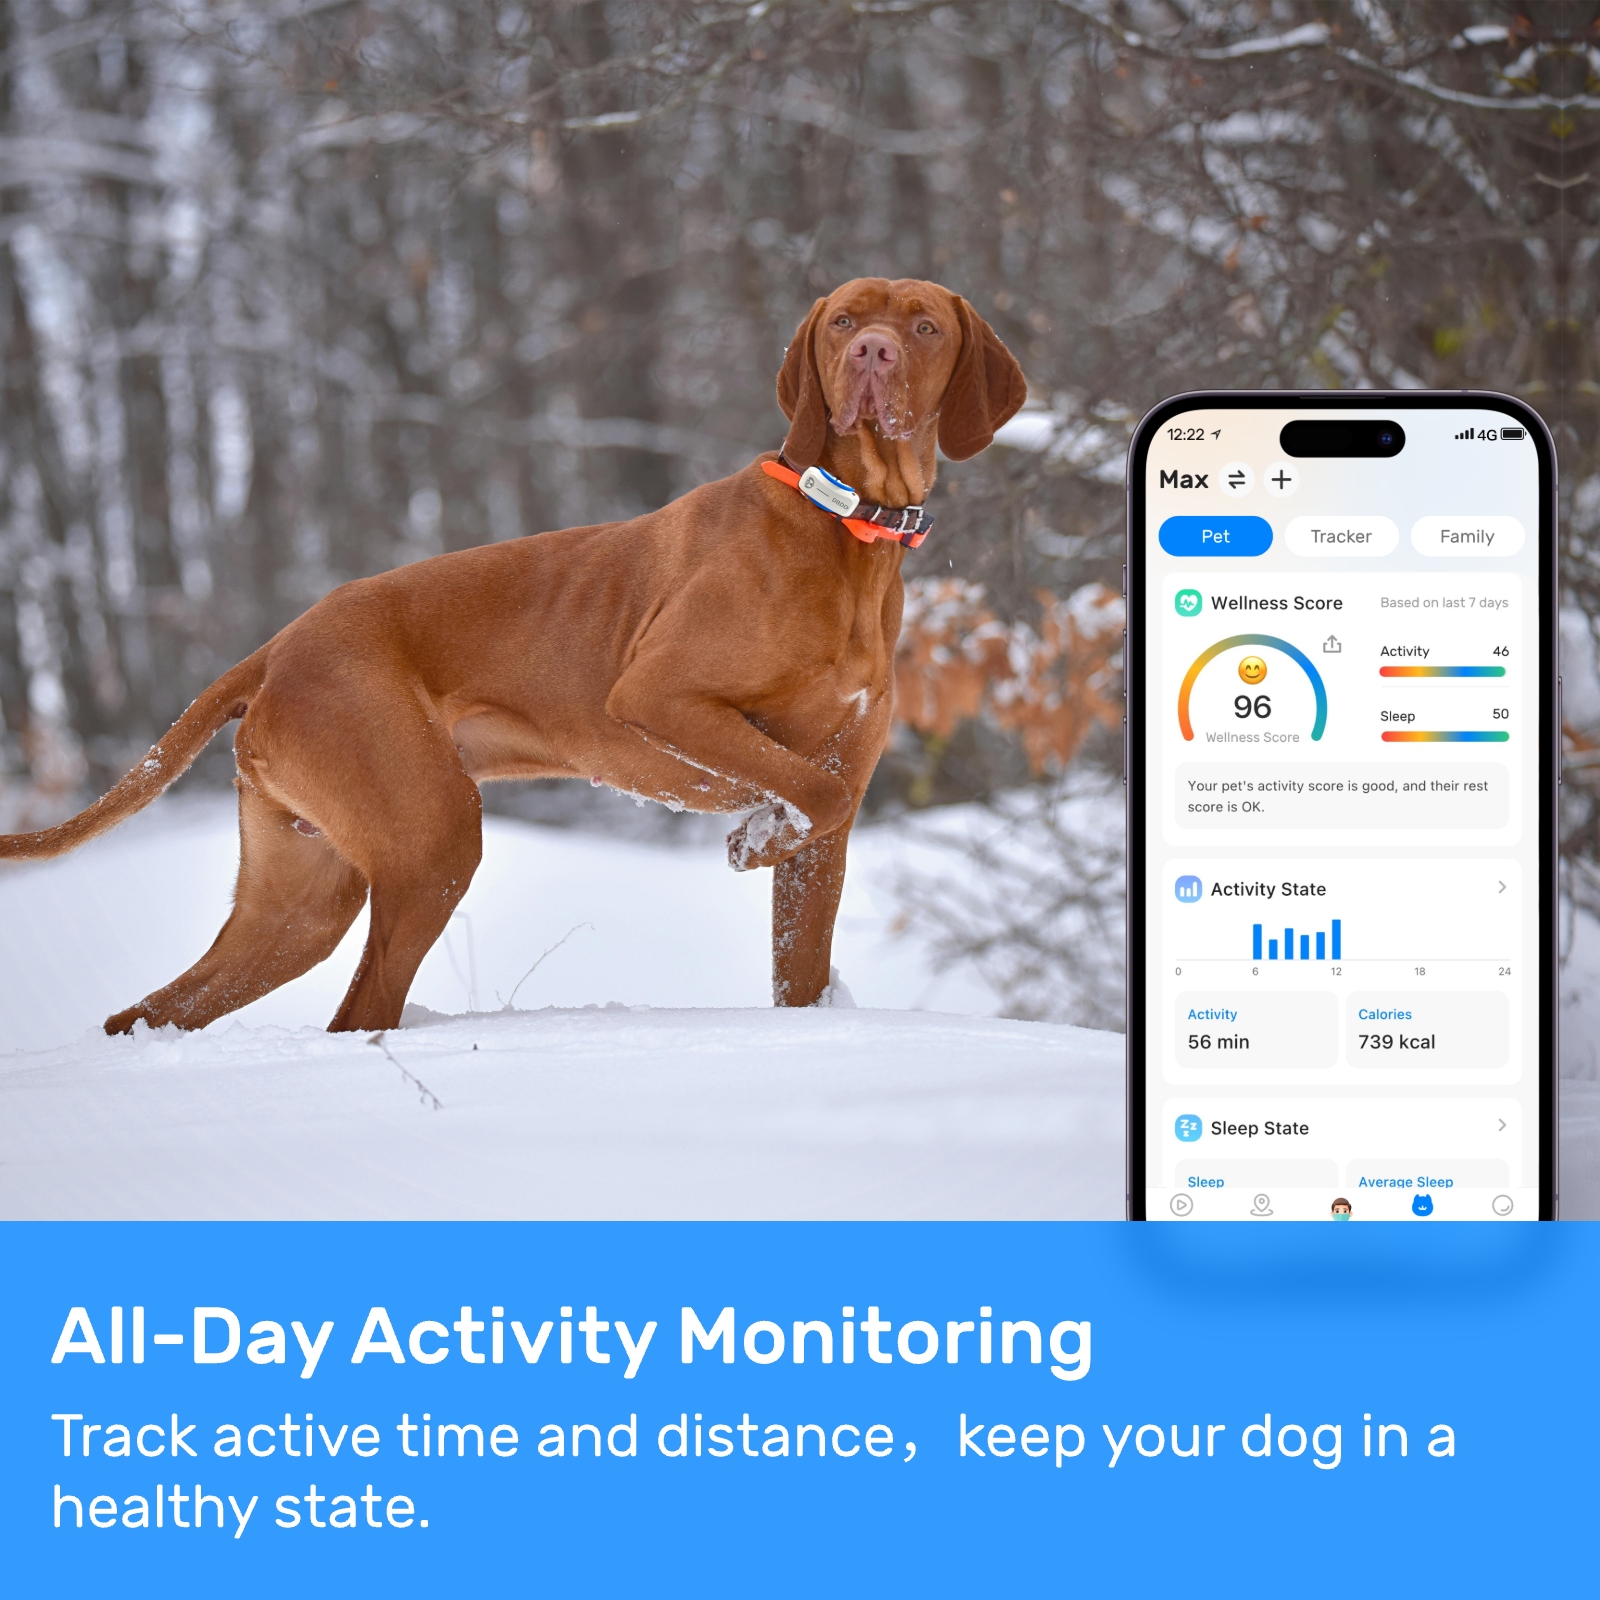
Setting up a DIY dog tracking system involves several key steps. First, you need to choose the right waterproof dog tracking collar. Look for a collar that offers GPS functionality, real-time tracking, and long battery life. Some models also come with additional features such as geofencing, which alerts you if your dog leaves a predefined area, and activity monitoring, which helps track your pet's daily exercise routine. Once you have selected the appropriate collar, the next step is to assemble the rest of the system.
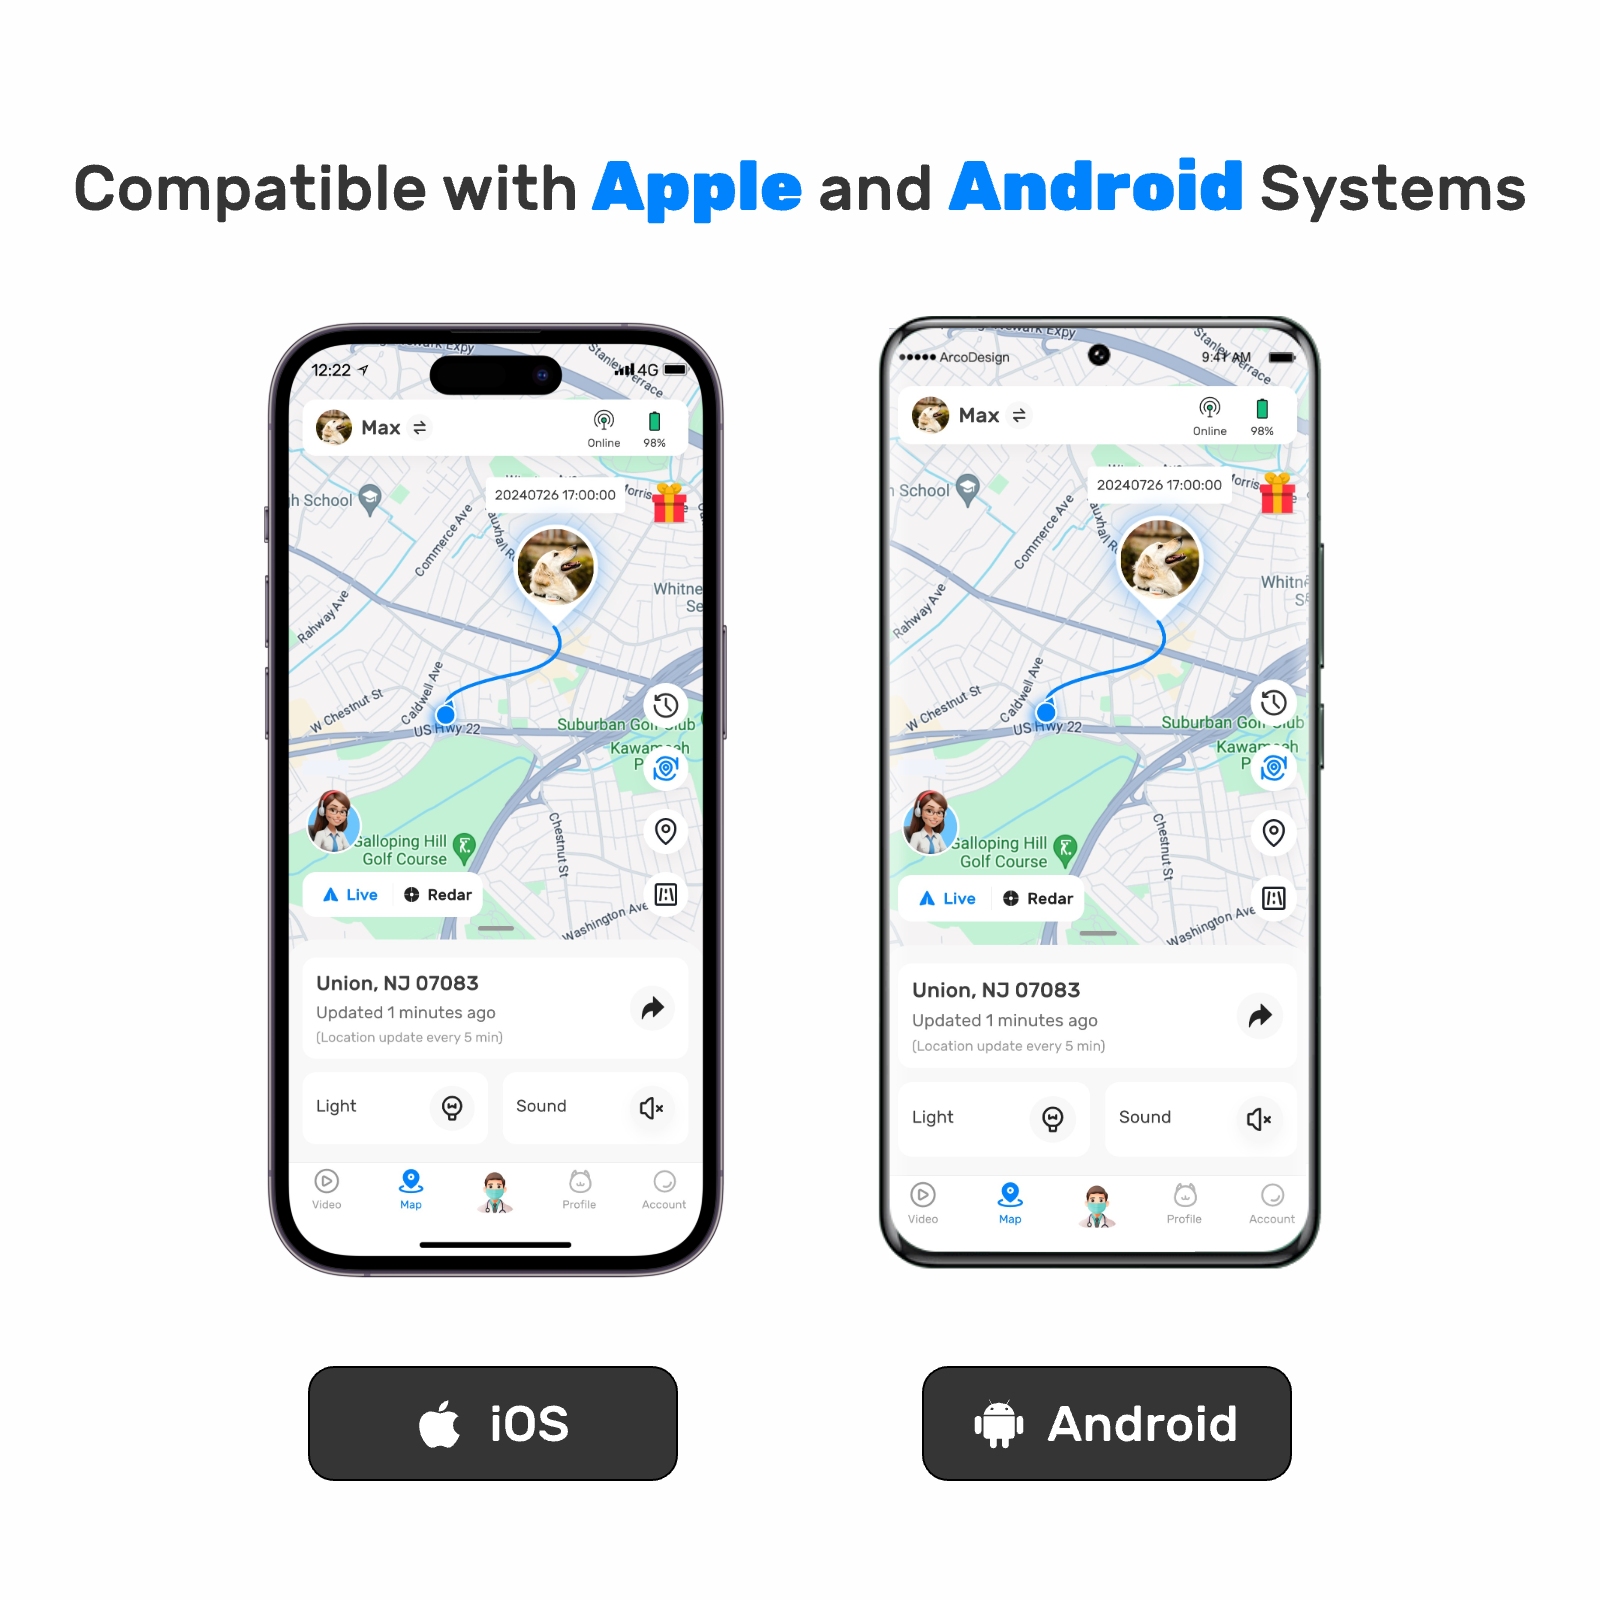
The primary components of a DIY dog tracking system include the waterproof dog tracking collar, a smartphone app compatible with the collar's technology, and possibly a base station or router if the collar uses a local network rather than cellular data. The smartphone app serves as the control center, allowing you to monitor your dog's location, set up geofences, and receive notifications. It is important to ensure that the app is user-friendly and supports all the functionalities provided by the collar.
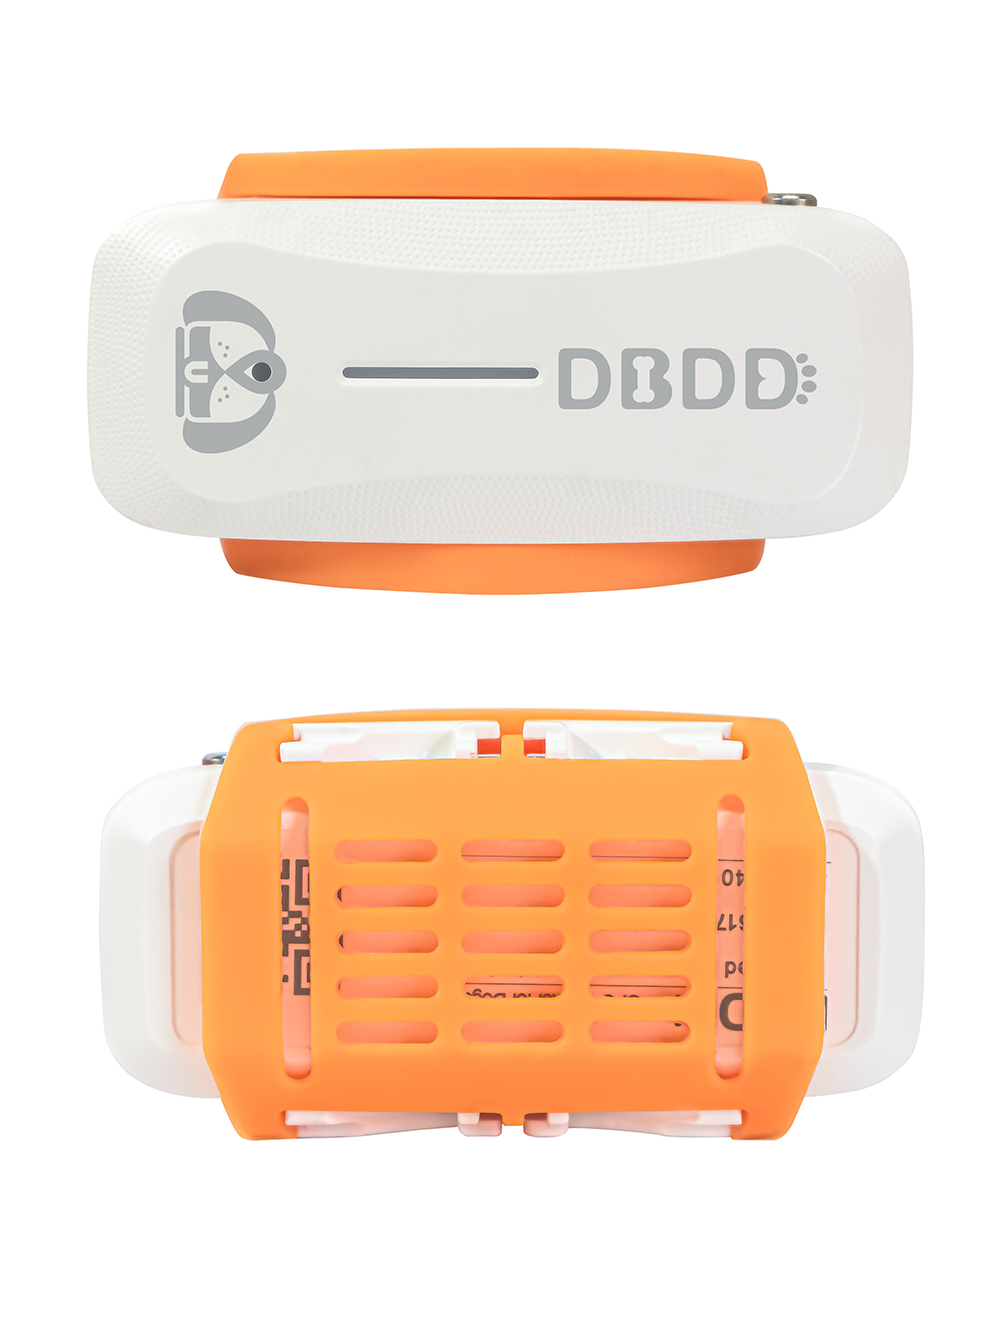
Now, let’s move on to the setup process. Begin by charging the waterproof dog tracking collar fully before attaching it to your dog. Most collars come with a USB cable for easy charging. Next, download the corresponding smartphone app and create an account. During the account setup, follow the instructions to pair the collar with your smartphone. This usually involves entering a unique identifier found on the collar or scanning a QR code.
Once the pairing is complete, test the system by taking your dog for a walk. Use the app to track your dog's movements and verify that the location updates are accurate. If the collar includes geofencing capabilities, set up a virtual boundary around your home or yard. You can adjust the size and shape of this boundary according to your preferences. If your dog crosses this boundary, the app will send you an alert, enabling you to take immediate action.
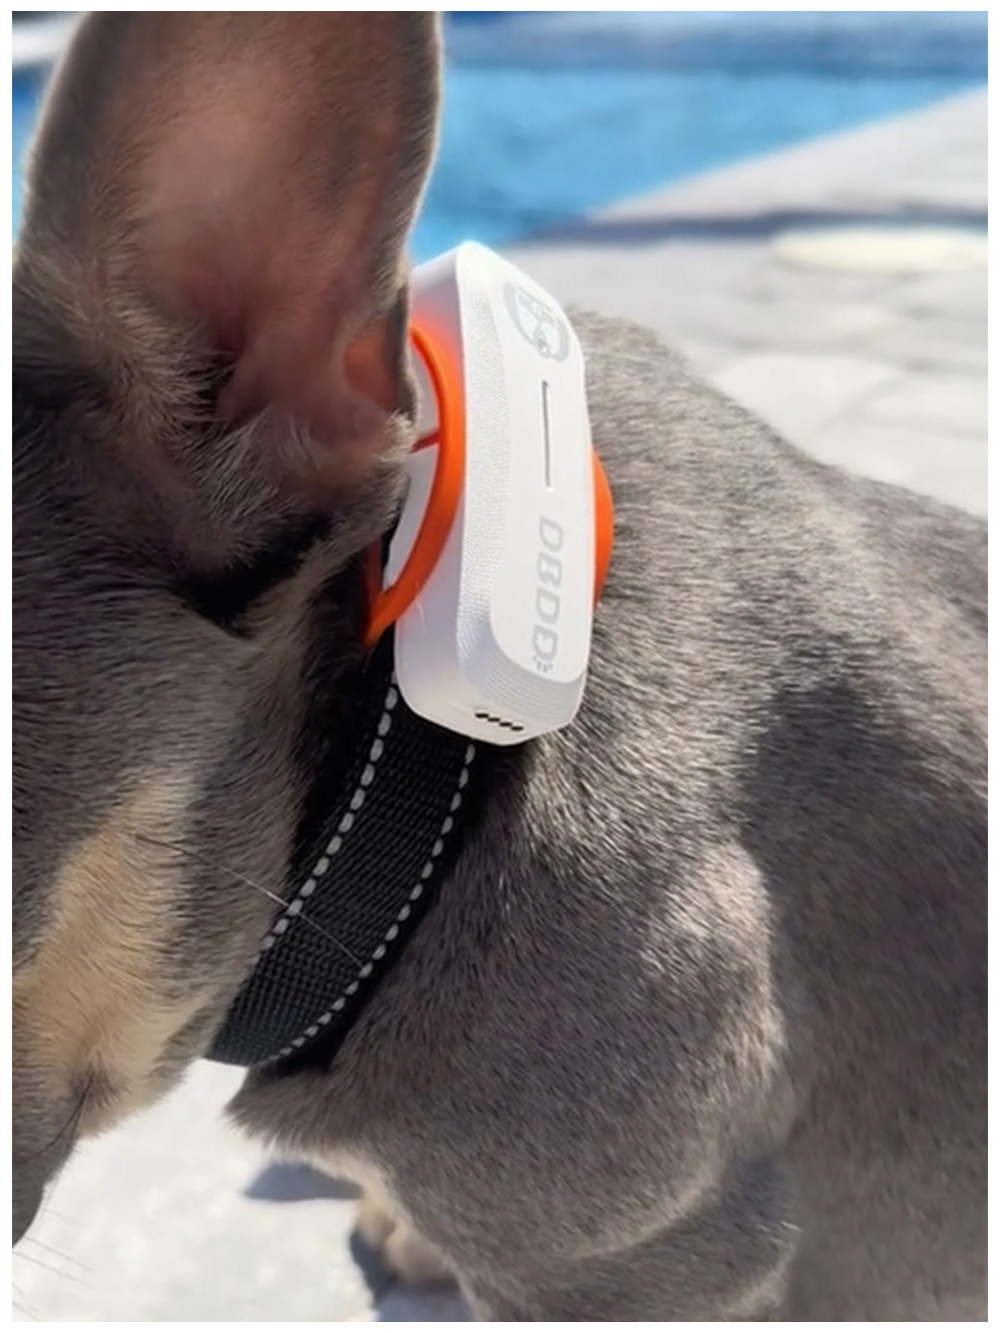
Another critical aspect of maintaining a DIY dog tracking system is regular maintenance. Ensure that the waterproof dog tracking collar is cleaned regularly, especially after exposure to water or mud. Although these collars are designed to be waterproof, dirt and debris can still accumulate and affect performance. Additionally, check the battery status frequently and recharge the collar as needed. Some models offer replaceable batteries, providing another option for extending usage time.

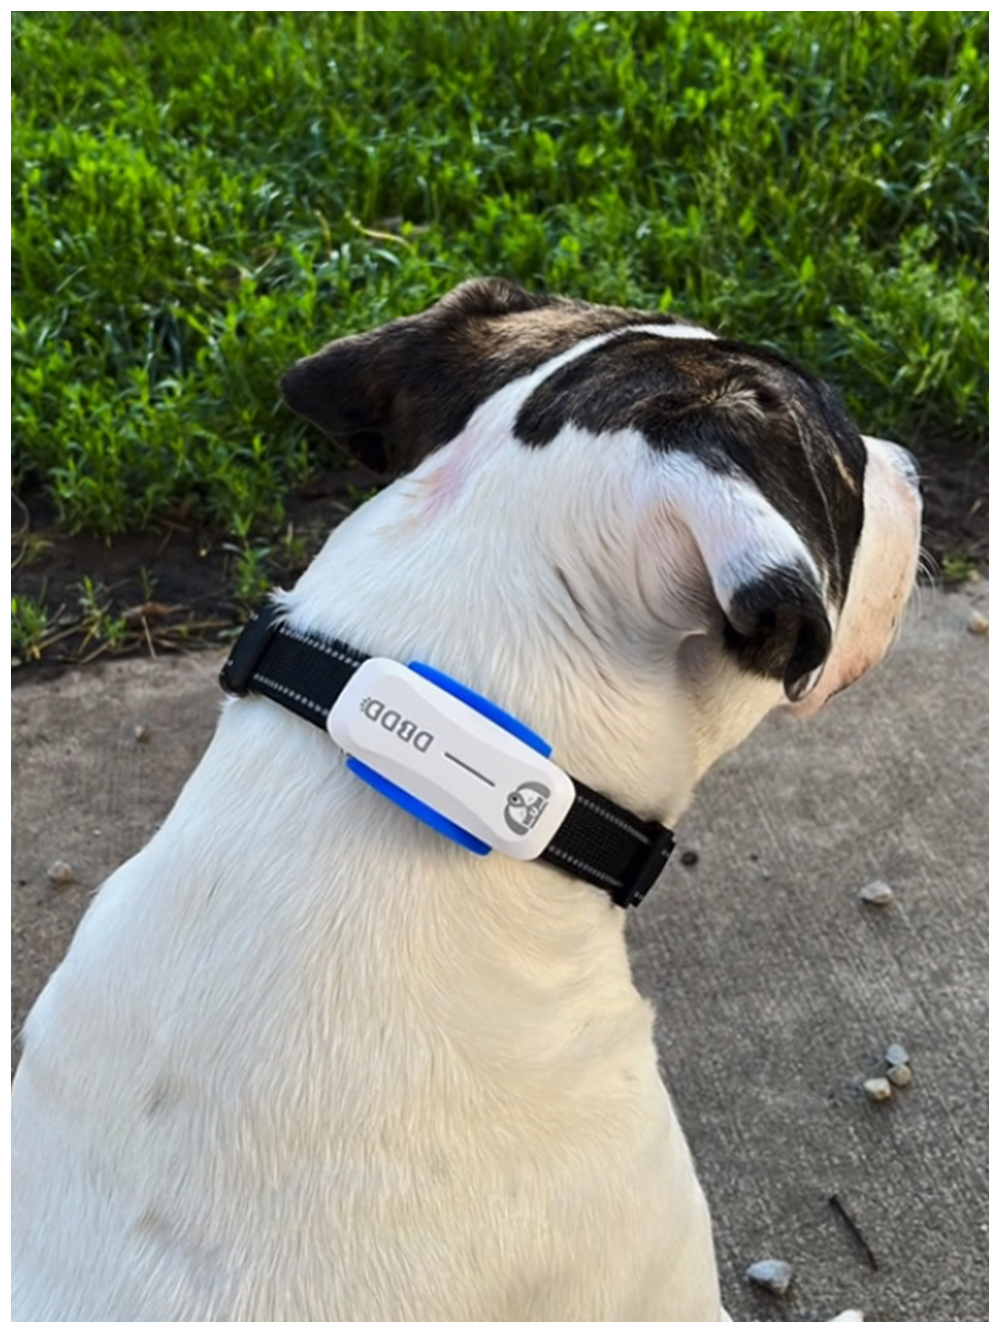
When selecting a waterproof dog tracking collar, consider factors such as weight and comfort. The collar should be lightweight enough not to burden your dog yet sturdy enough to endure rough play and outdoor adventures. Adjustable straps allow for a customized fit, ensuring maximum comfort for your pet. Also, pay attention to the range and accuracy of the GPS signal. While most modern collars offer excellent coverage, areas with dense foliage or tall buildings may interfere with the signal strength.
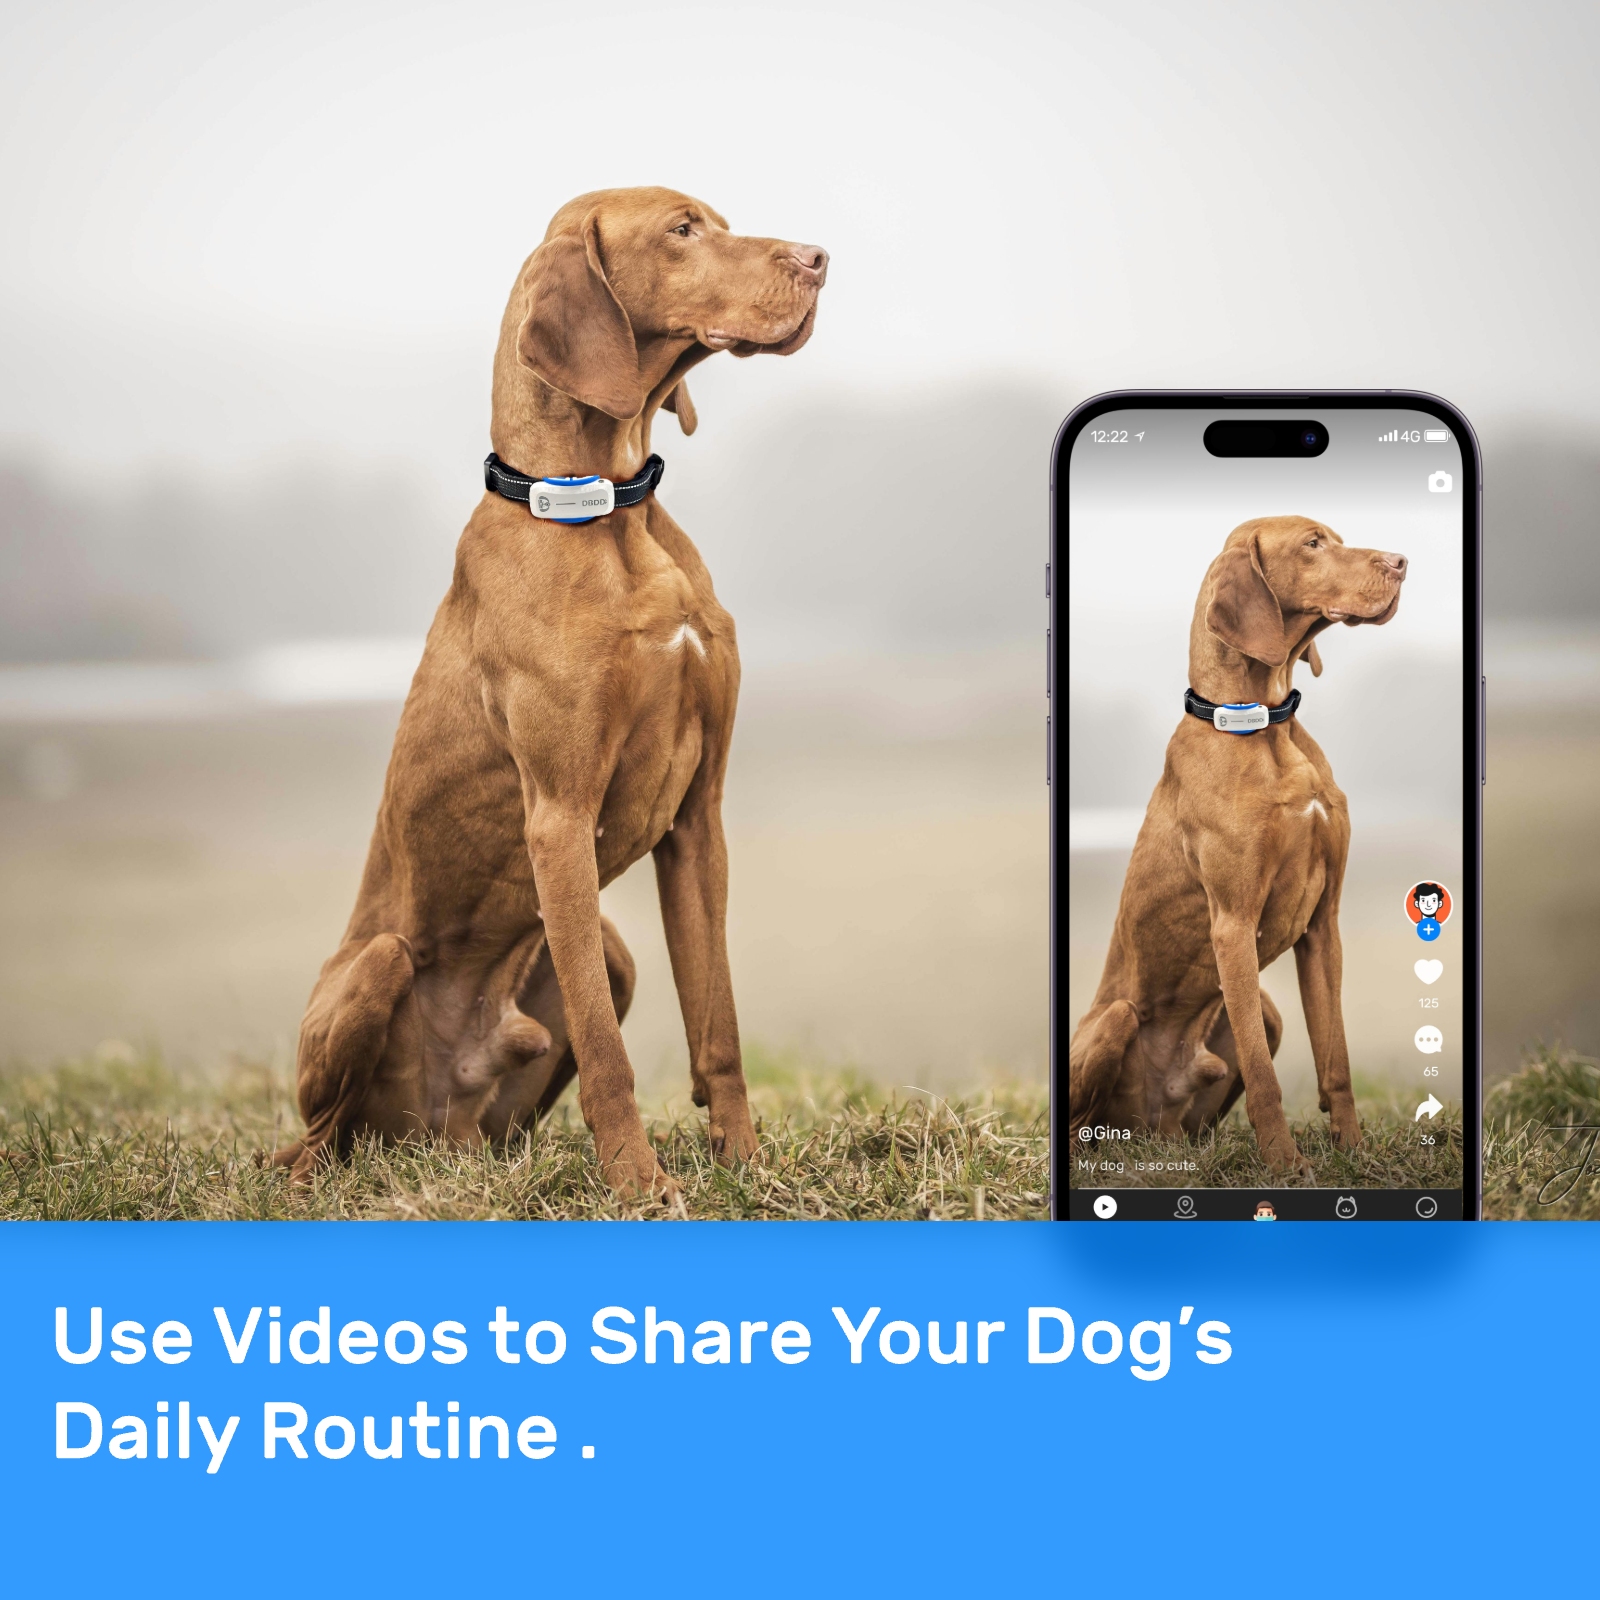
For those interested in enhancing their DIY dog tracking system, there are several optional accessories available. For instance, some collars can be paired with smart feeders or water dispensers, creating a comprehensive pet management solution. Others integrate with home security systems, offering an added layer of protection. Furthermore, certain apps allow multiple users to access the same data, making it convenient for families or dog walkers to keep track of the pet simultaneously.
Despite the numerous advantages, it is important to recognize potential limitations of a DIY dog tracking system. One common issue is reliance on internet connectivity or cellular service. Areas without adequate coverage may result in temporary loss of signal. To mitigate this, choose a collar that supports offline functionality or stores location data until reconnected to the network. Another consideration is cost. While DIY systems can save money compared to commercial alternatives, initial investment in high-quality components can still be substantial.
In conclusion, setting up a DIY dog tracking system using a waterproof dog tracking collar is a practical and effective way to enhance your pet's safety. By carefully selecting the right collar, assembling the necessary components, and following detailed setup instructions, you can create a reliable system tailored to your specific needs. Regular maintenance and awareness of potential limitations will further optimize the performance of your system. Ultimately, investing in a waterproof dog tracking collar not only protects your beloved pet but also enriches your bond through enhanced understanding and care. Whether you're a seasoned DIY enthusiast or a first-time builder, this project promises both satisfaction and reassurance.
Update Time:2025-05-15 19:02:25
To begin with, let’s delve into why a waterproof dog tracking collar is crucial for any dog owner. Dogs, especially those who love outdoor activities like hiking or swimming, can easily find themselves in situations where they wander off or get lost. A waterproof dog tracking collar ensures that even if your dog takes an unexpected dip in a river or lake, the device remains functional and provides accurate location data. Moreover, these collars are designed to withstand harsh weather conditions, making them ideal for all-year-round use regardless of climate changes.
Setting up a DIY dog tracking system involves several key steps. First, you need to choose the right waterproof dog tracking collar. Look for a collar that offers GPS functionality, real-time tracking, and long battery life. Some models also come with additional features such as geofencing, which alerts you if your dog leaves a predefined area, and activity monitoring, which helps track your pet's daily exercise routine. Once you have selected the appropriate collar, the next step is to assemble the rest of the system.
The primary components of a DIY dog tracking system include the waterproof dog tracking collar, a smartphone app compatible with the collar's technology, and possibly a base station or router if the collar uses a local network rather than cellular data. The smartphone app serves as the control center, allowing you to monitor your dog's location, set up geofences, and receive notifications. It is important to ensure that the app is user-friendly and supports all the functionalities provided by the collar.
Now, let’s move on to the setup process. Begin by charging the waterproof dog tracking collar fully before attaching it to your dog. Most collars come with a USB cable for easy charging. Next, download the corresponding smartphone app and create an account. During the account setup, follow the instructions to pair the collar with your smartphone. This usually involves entering a unique identifier found on the collar or scanning a QR code.
Once the pairing is complete, test the system by taking your dog for a walk. Use the app to track your dog's movements and verify that the location updates are accurate. If the collar includes geofencing capabilities, set up a virtual boundary around your home or yard. You can adjust the size and shape of this boundary according to your preferences. If your dog crosses this boundary, the app will send you an alert, enabling you to take immediate action.
Another critical aspect of maintaining a DIY dog tracking system is regular maintenance. Ensure that the waterproof dog tracking collar is cleaned regularly, especially after exposure to water or mud. Although these collars are designed to be waterproof, dirt and debris can still accumulate and affect performance. Additionally, check the battery status frequently and recharge the collar as needed. Some models offer replaceable batteries, providing another option for extending usage time.
When selecting a waterproof dog tracking collar, consider factors such as weight and comfort. The collar should be lightweight enough not to burden your dog yet sturdy enough to endure rough play and outdoor adventures. Adjustable straps allow for a customized fit, ensuring maximum comfort for your pet. Also, pay attention to the range and accuracy of the GPS signal. While most modern collars offer excellent coverage, areas with dense foliage or tall buildings may interfere with the signal strength.
For those interested in enhancing their DIY dog tracking system, there are several optional accessories available. For instance, some collars can be paired with smart feeders or water dispensers, creating a comprehensive pet management solution. Others integrate with home security systems, offering an added layer of protection. Furthermore, certain apps allow multiple users to access the same data, making it convenient for families or dog walkers to keep track of the pet simultaneously.
Despite the numerous advantages, it is important to recognize potential limitations of a DIY dog tracking system. One common issue is reliance on internet connectivity or cellular service. Areas without adequate coverage may result in temporary loss of signal. To mitigate this, choose a collar that supports offline functionality or stores location data until reconnected to the network. Another consideration is cost. While DIY systems can save money compared to commercial alternatives, initial investment in high-quality components can still be substantial.
In conclusion, setting up a DIY dog tracking system using a waterproof dog tracking collar is a practical and effective way to enhance your pet's safety. By carefully selecting the right collar, assembling the necessary components, and following detailed setup instructions, you can create a reliable system tailored to your specific needs. Regular maintenance and awareness of potential limitations will further optimize the performance of your system. Ultimately, investing in a waterproof dog tracking collar not only protects your beloved pet but also enriches your bond through enhanced understanding and care. Whether you're a seasoned DIY enthusiast or a first-time builder, this project promises both satisfaction and reassurance.
Update Time:2025-05-15 19:02:25
Livestock Tracking Daily rankings
Correction of product information
If you notice any omissions or errors in the product information on this page, please use the correction request form below.
Correction Request Form


