


New ArrivalsBack in stock


dog training
 4.4
(207件)
4.4
(207件)
 Limited Time Sale
Until the end
00
00
00
Free shipping on orders over 999 ※)
If you buy it for 999 or more, you can buy it on behalf of the customer. There is no material for the number of hands.
If you buy it for 999 or more, you can buy it on behalf of the customer. There is no material for the number of hands.
There is stock in your local store.
Please note that the sales price and tax displayed may differ between online and in-store. Also, the product may be out of stock in-store.


Coupon giveaway!
| Control number |
New :D636378019 second hand :D636378019 |
Manufacturer | dog training | release date | 2025-05-15 | List price | $42 | ||
|---|---|---|---|---|---|---|---|---|---|
| prototype | dog training | ||||||||
| category | |||||||||
Travel Accessories#Pet Journey Safety

### Understanding the Basics
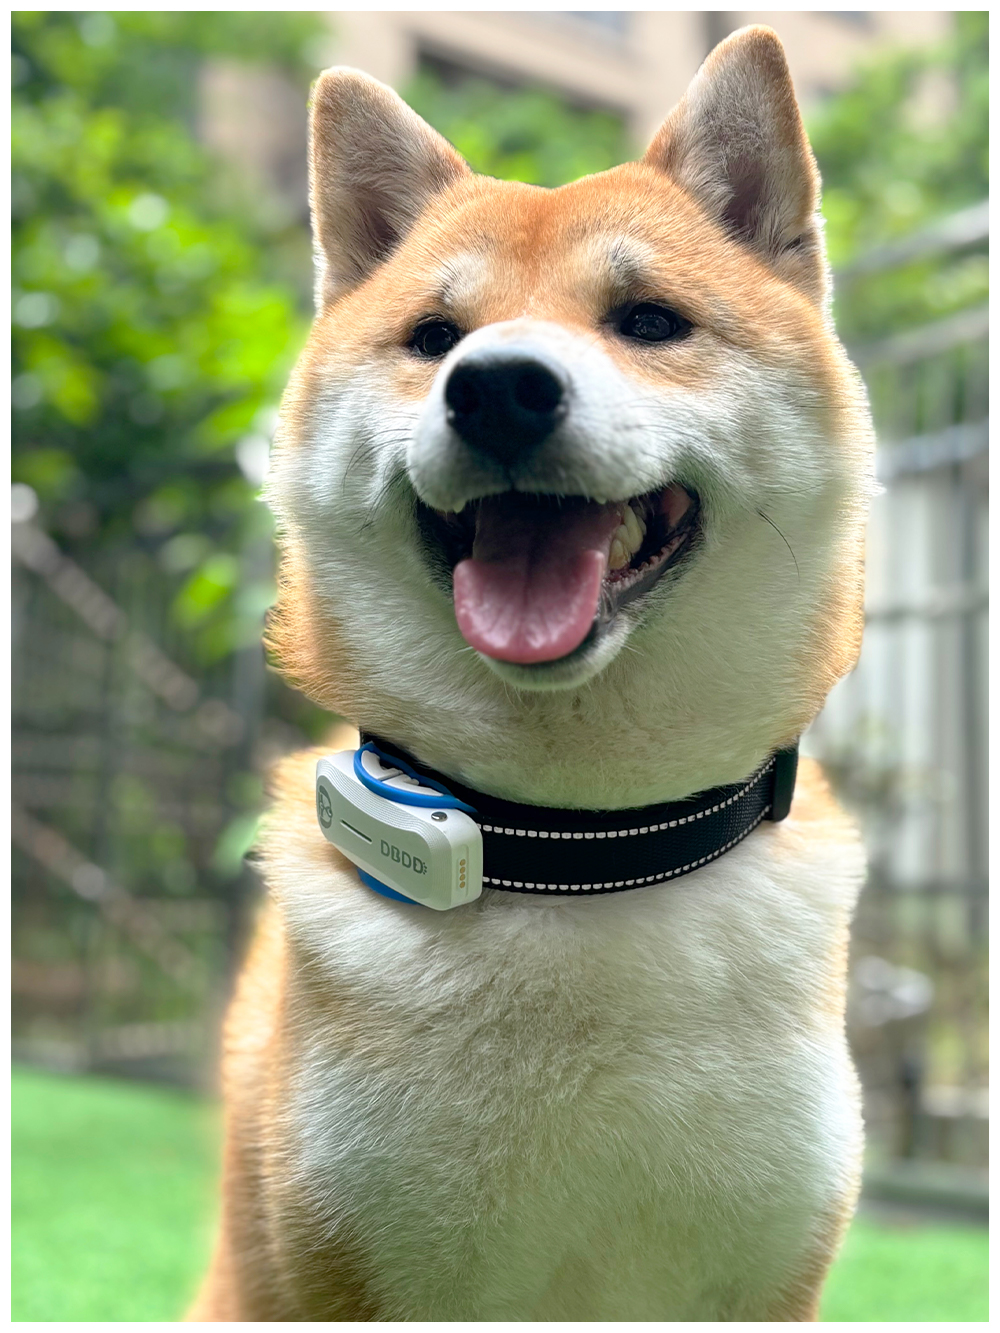
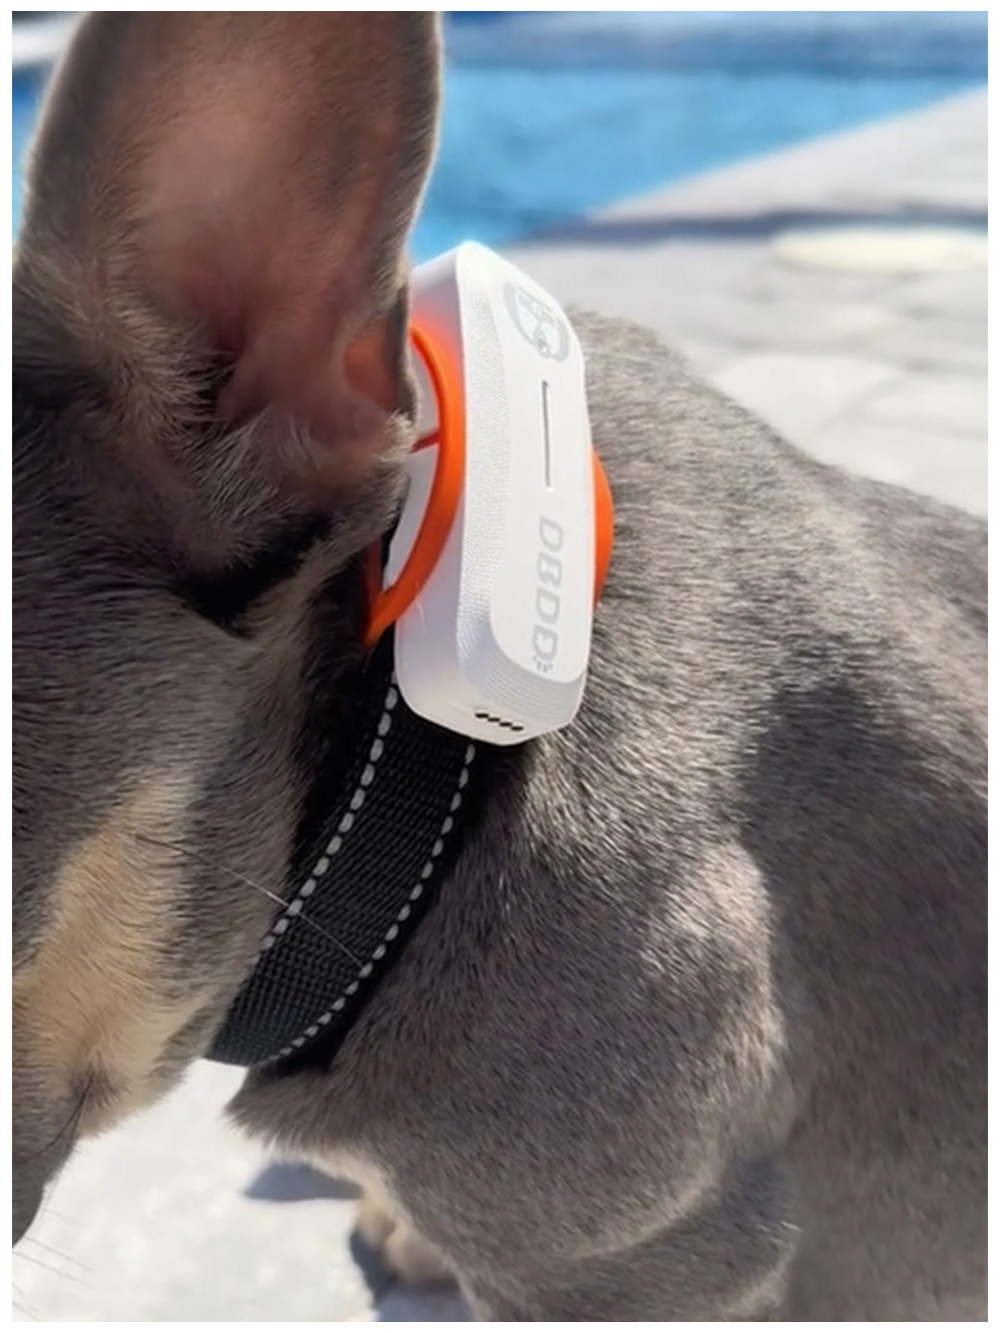
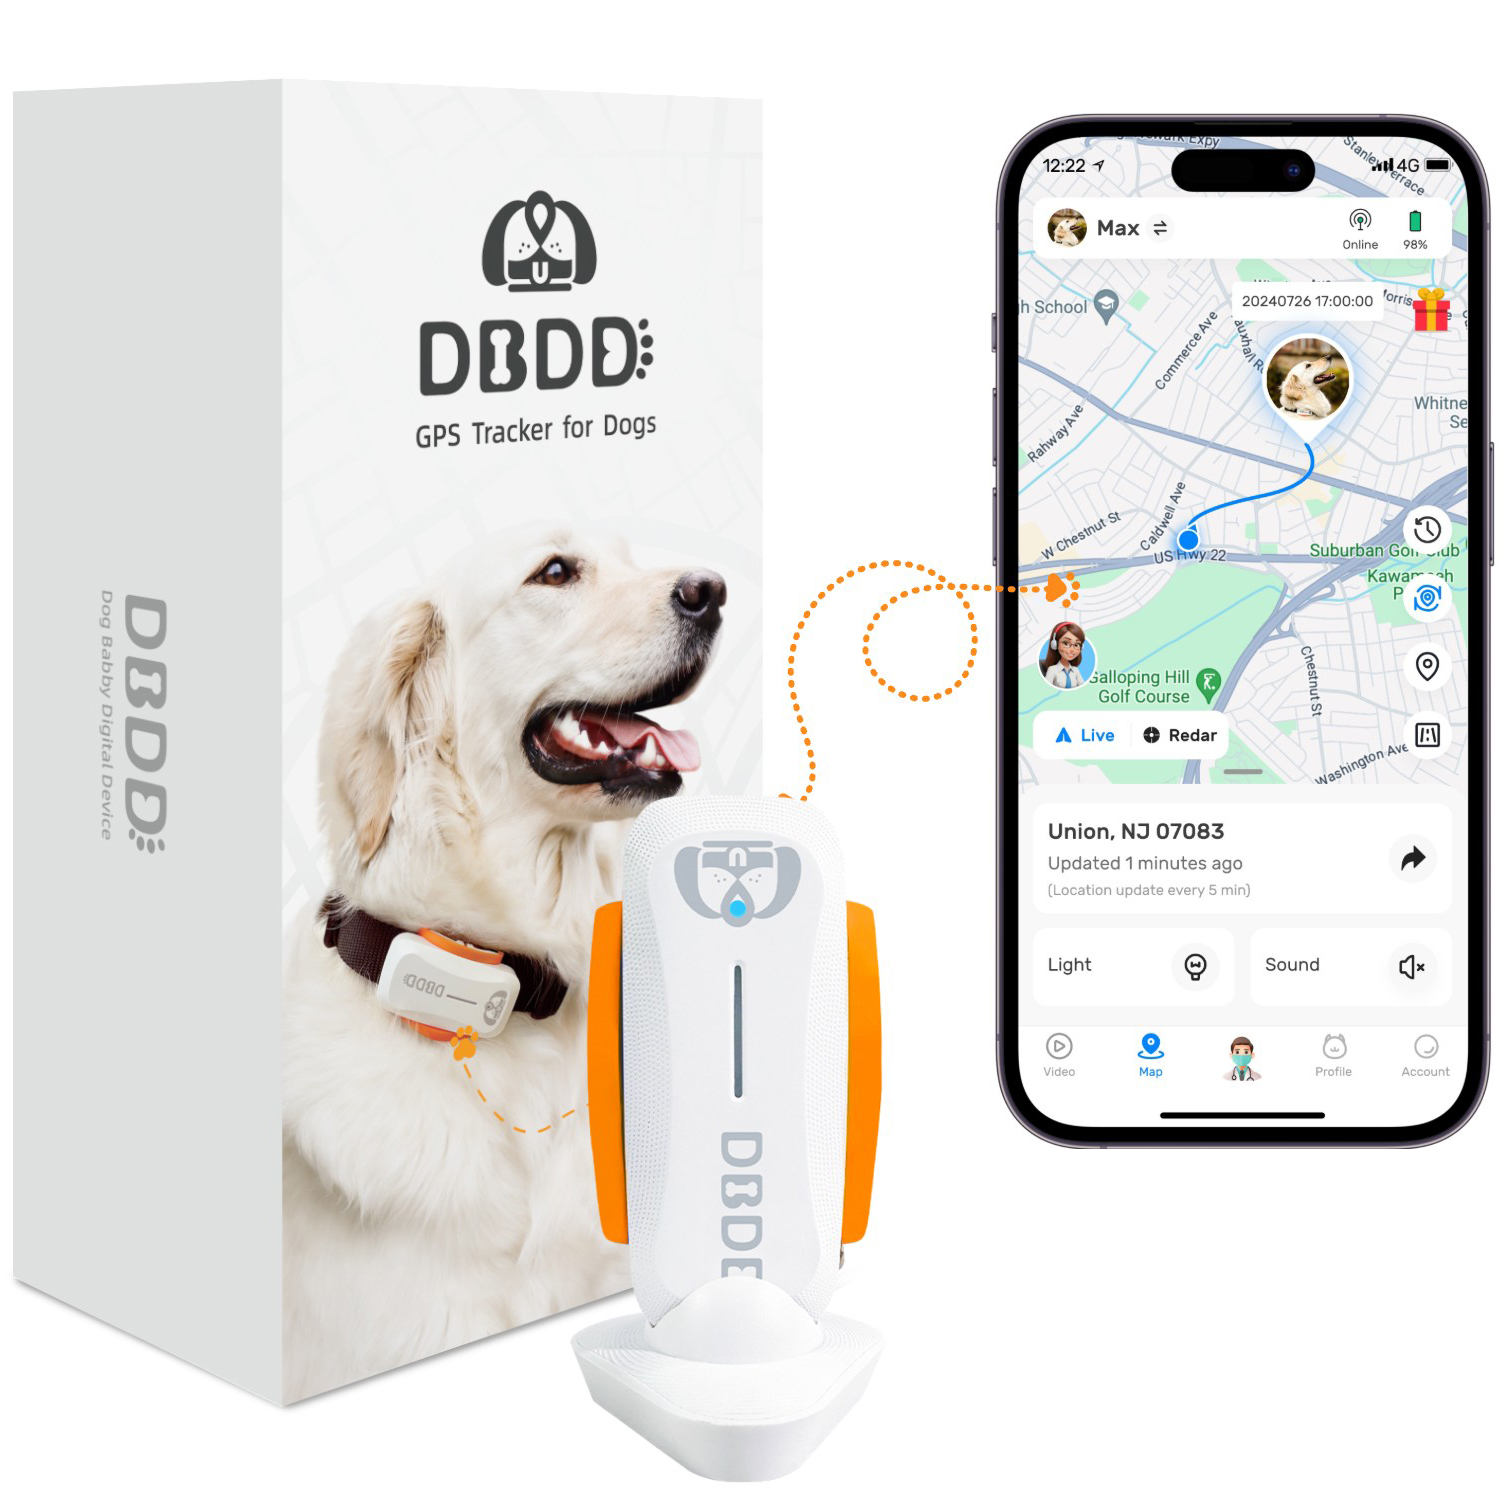
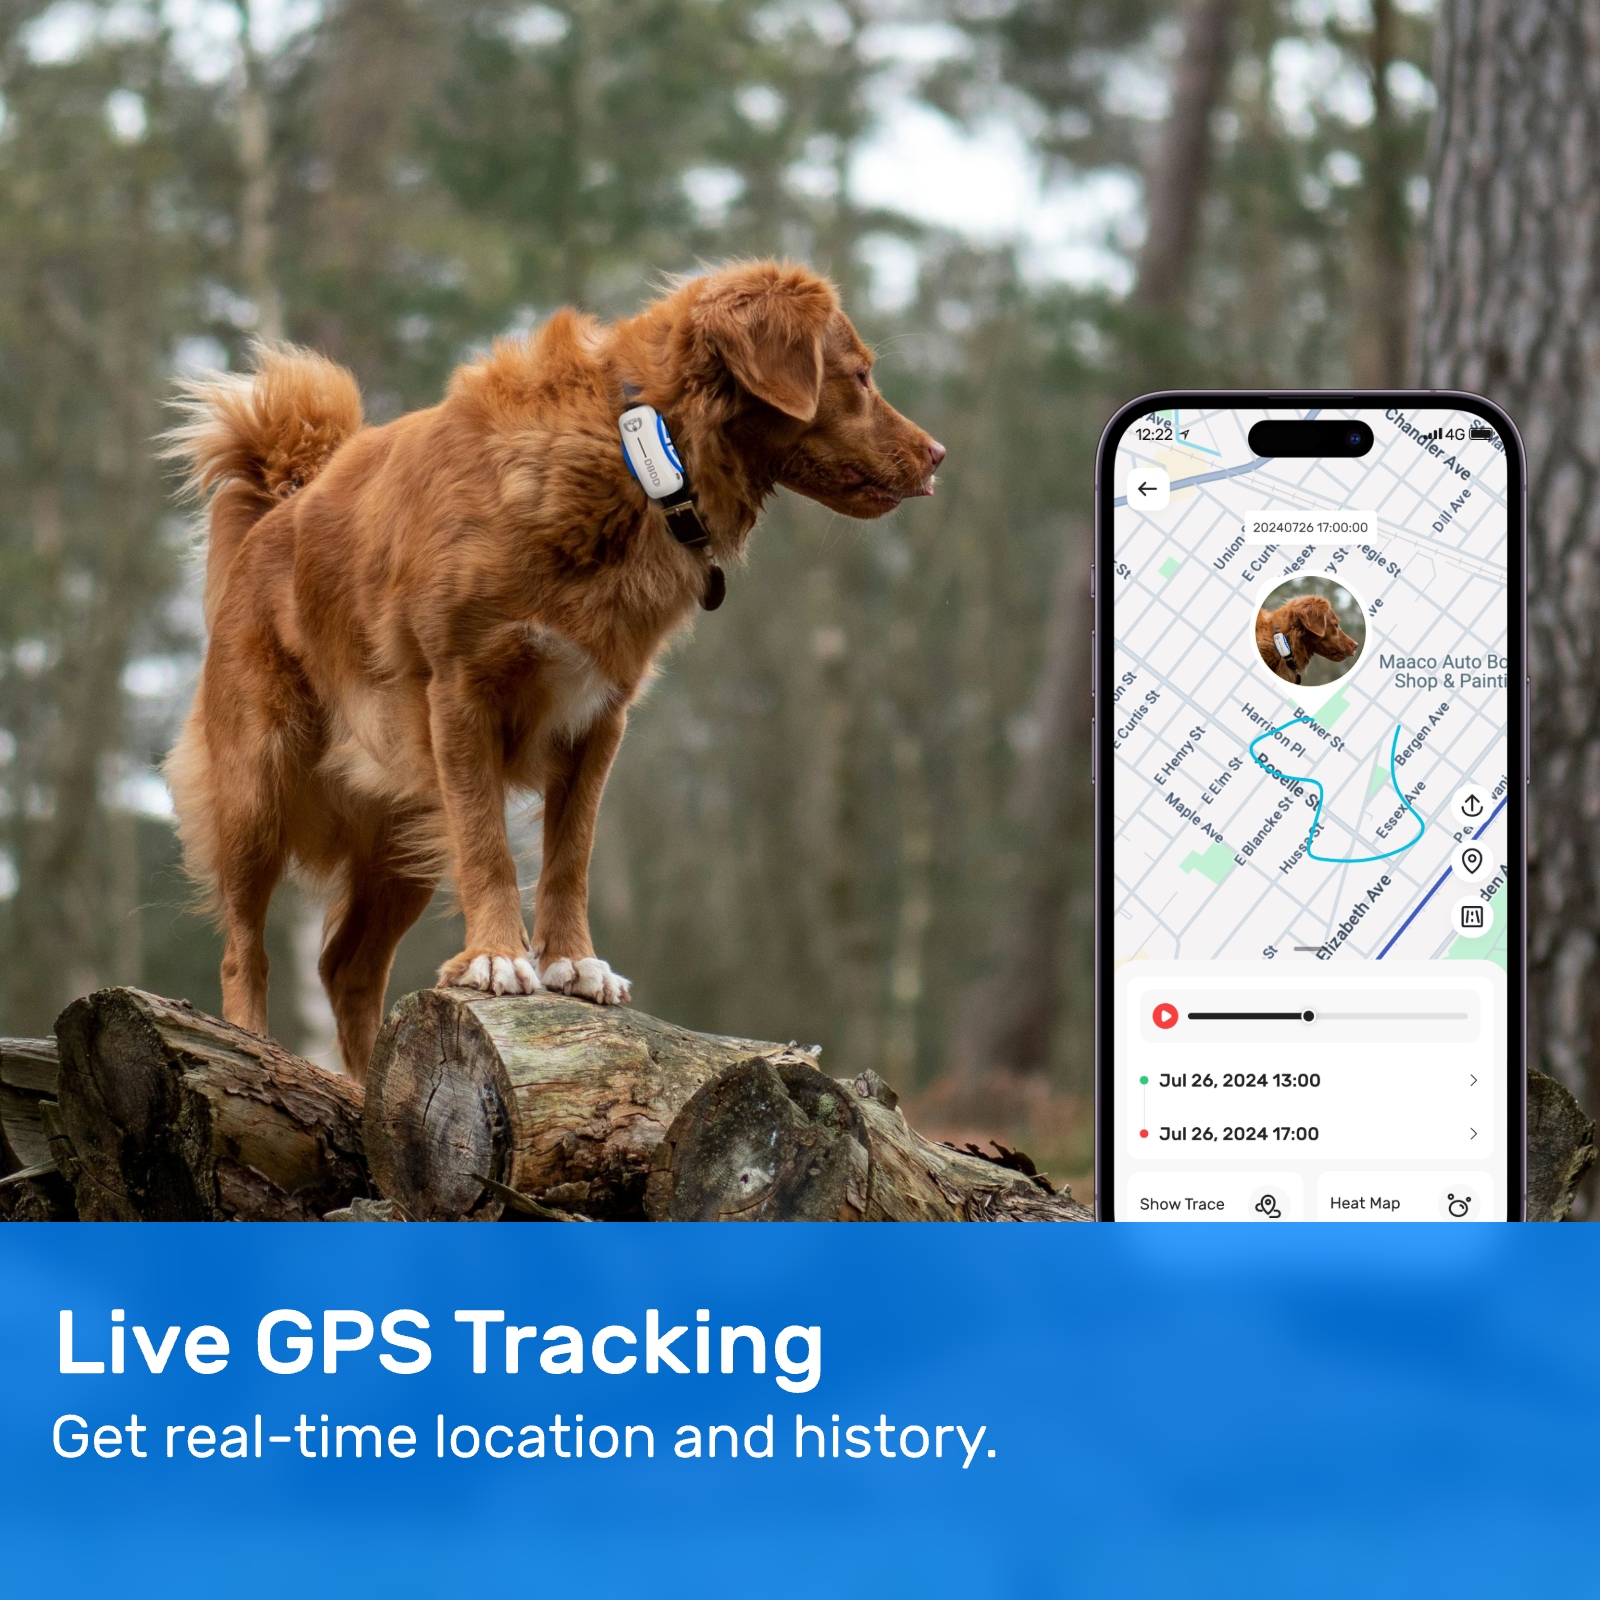
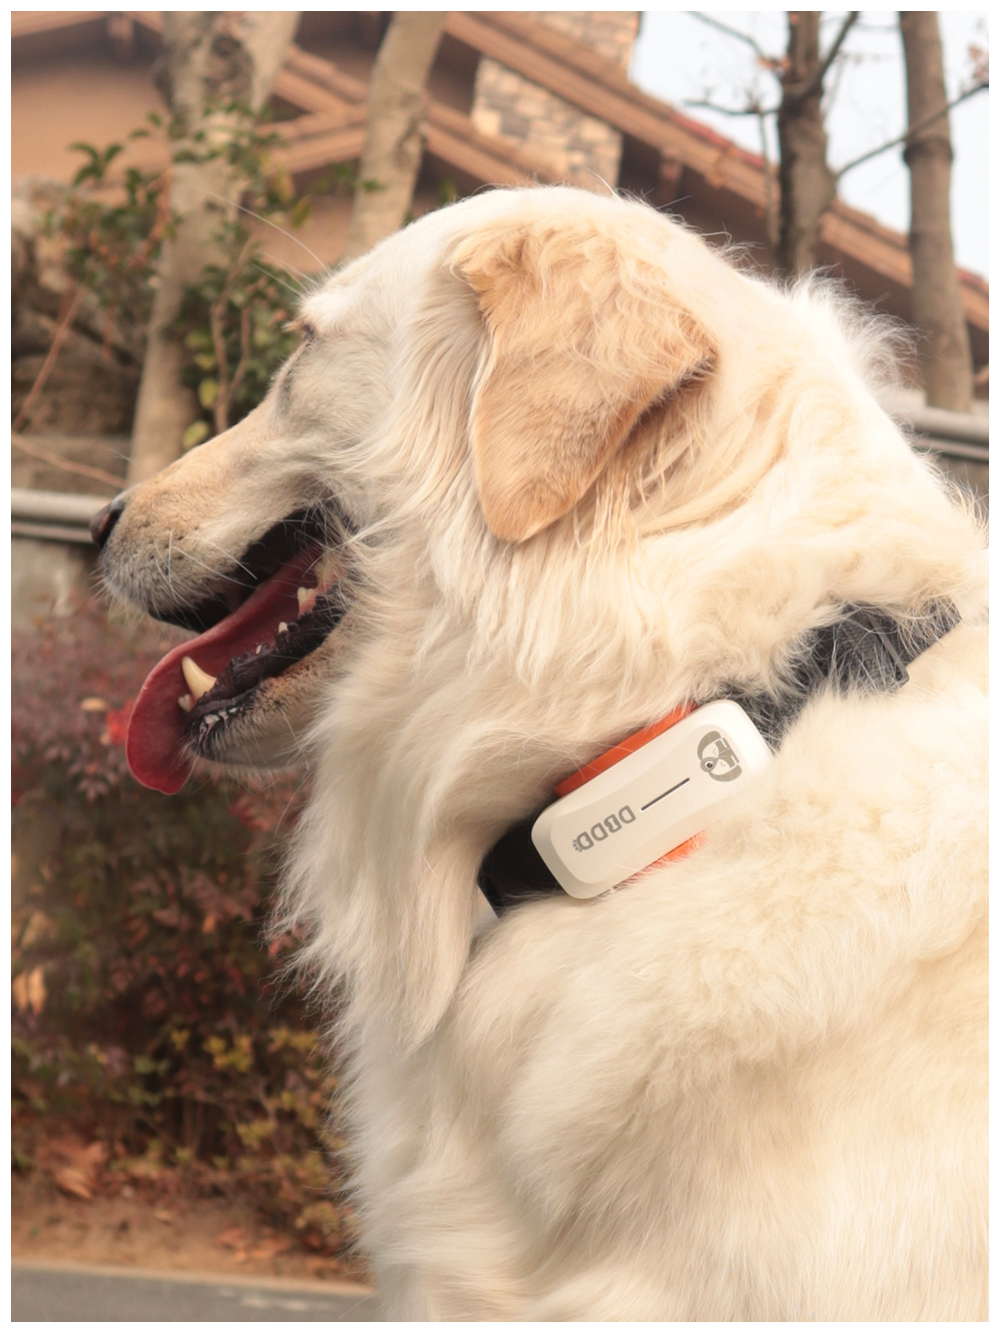
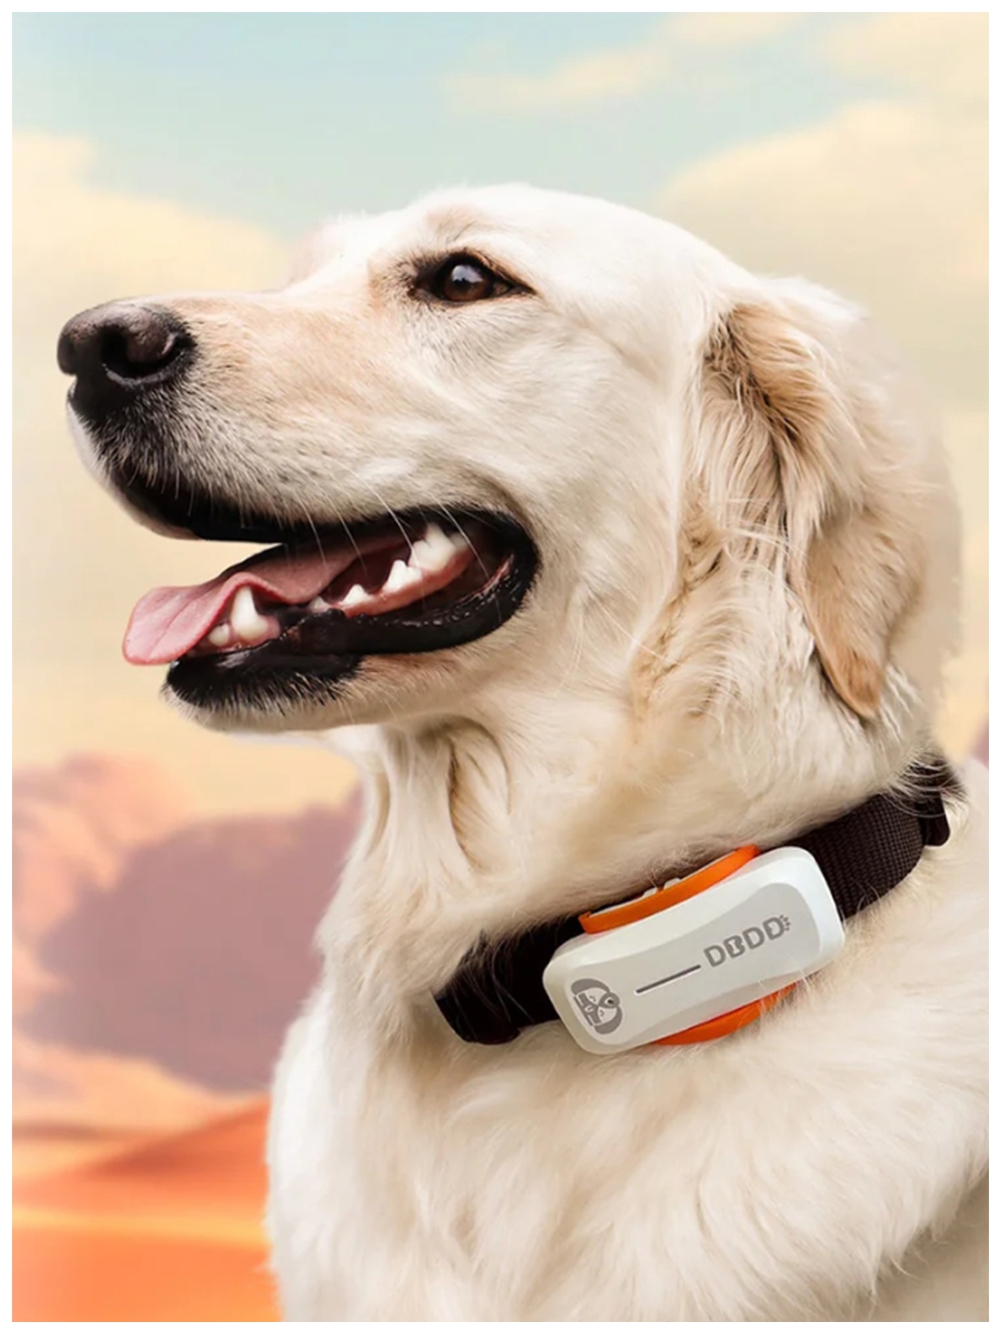
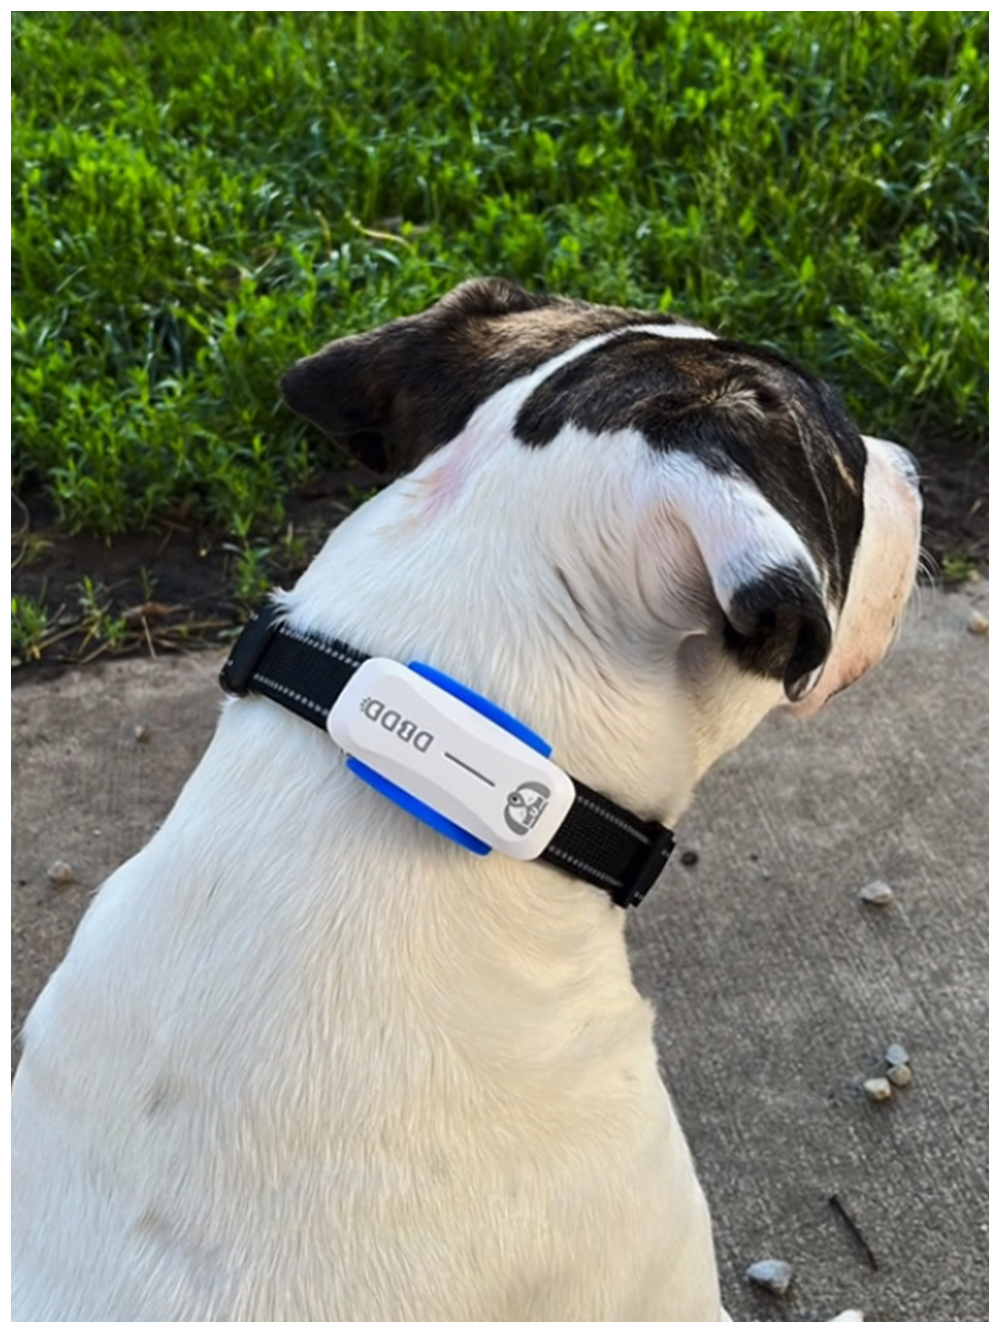
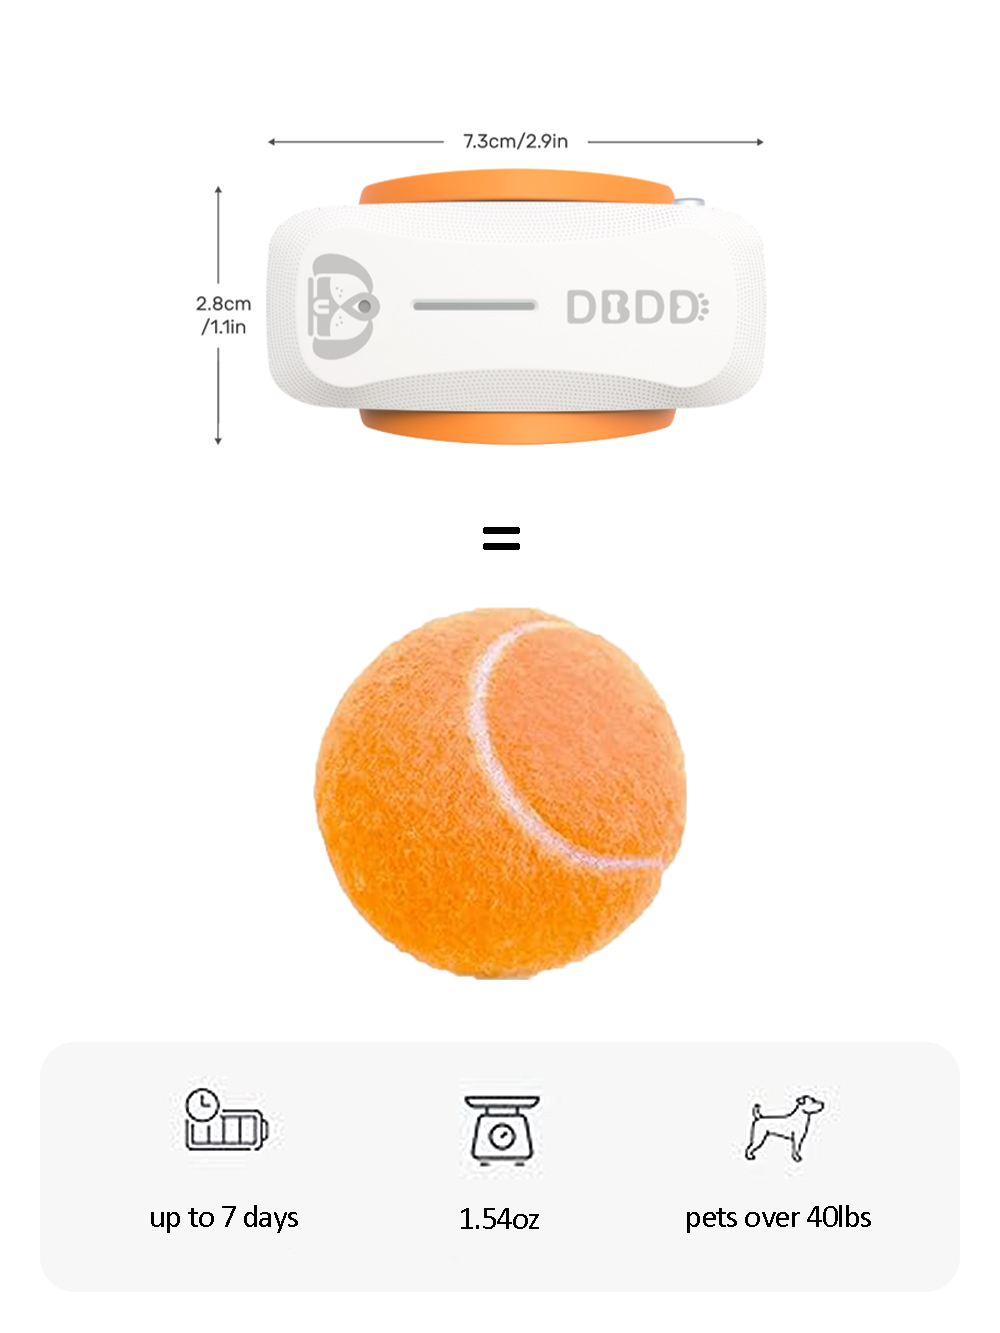
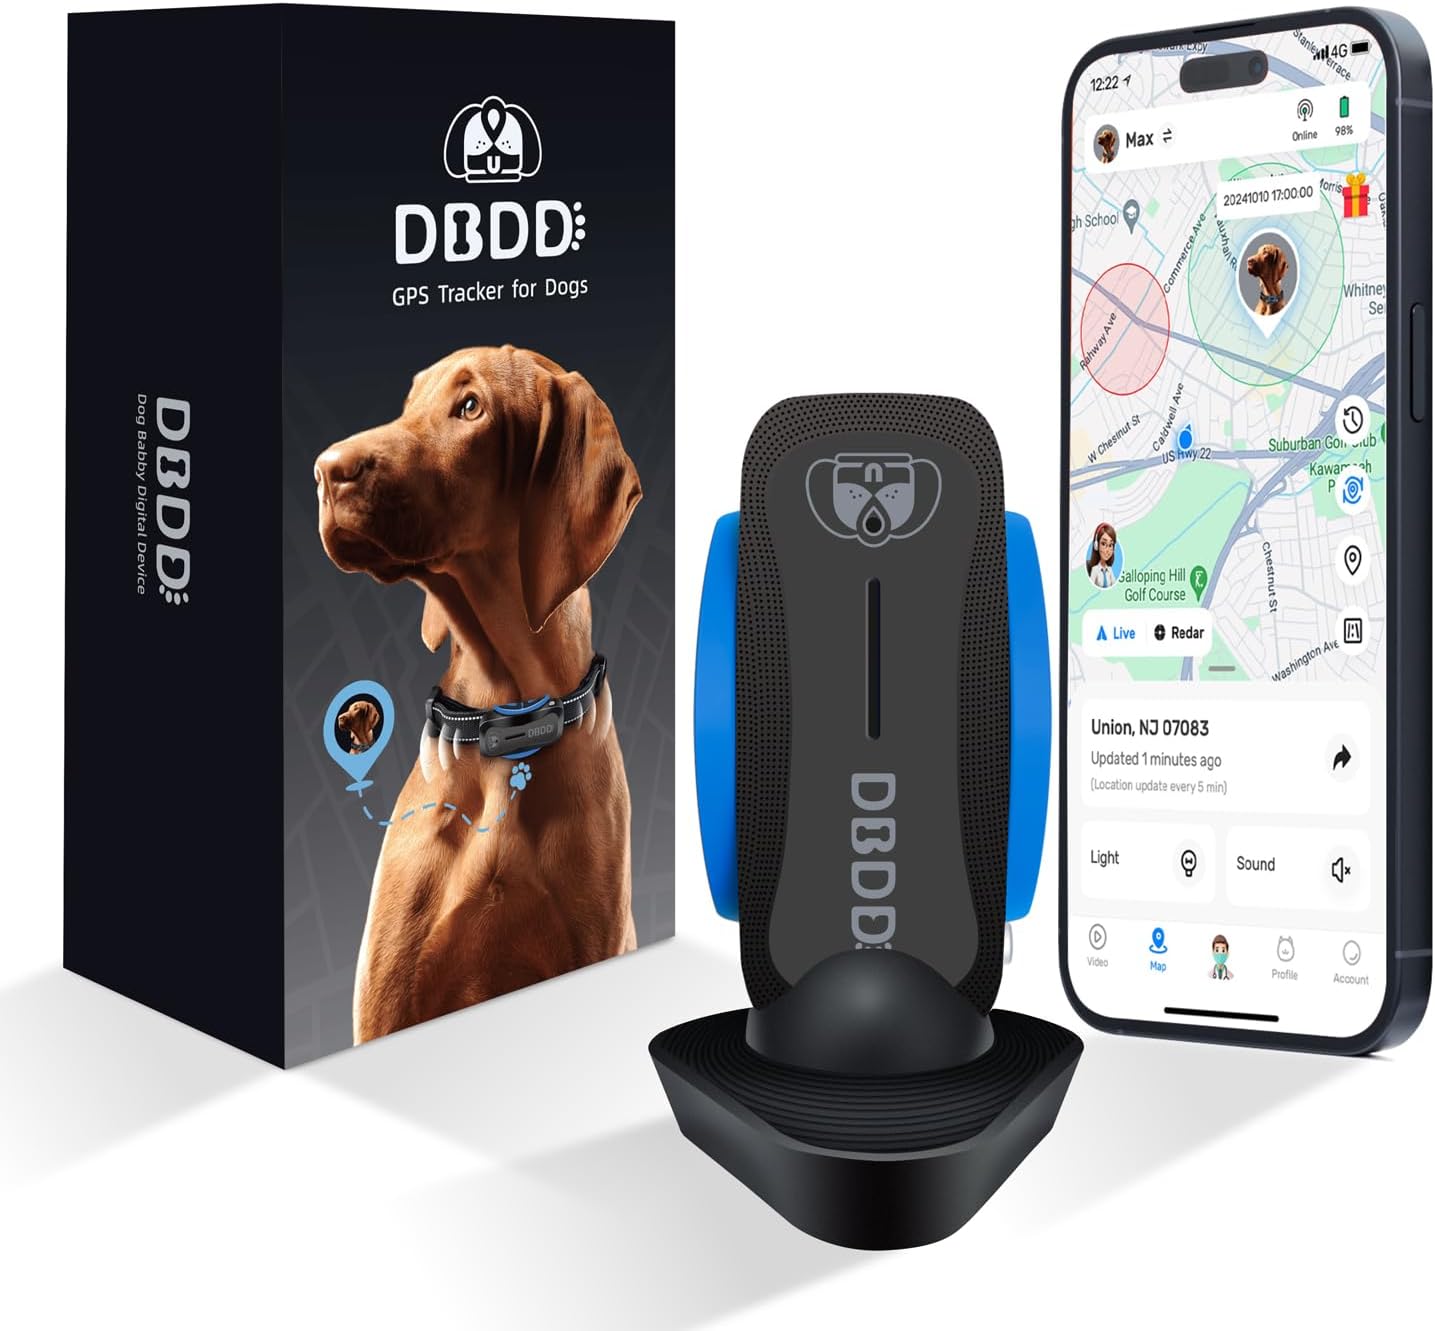
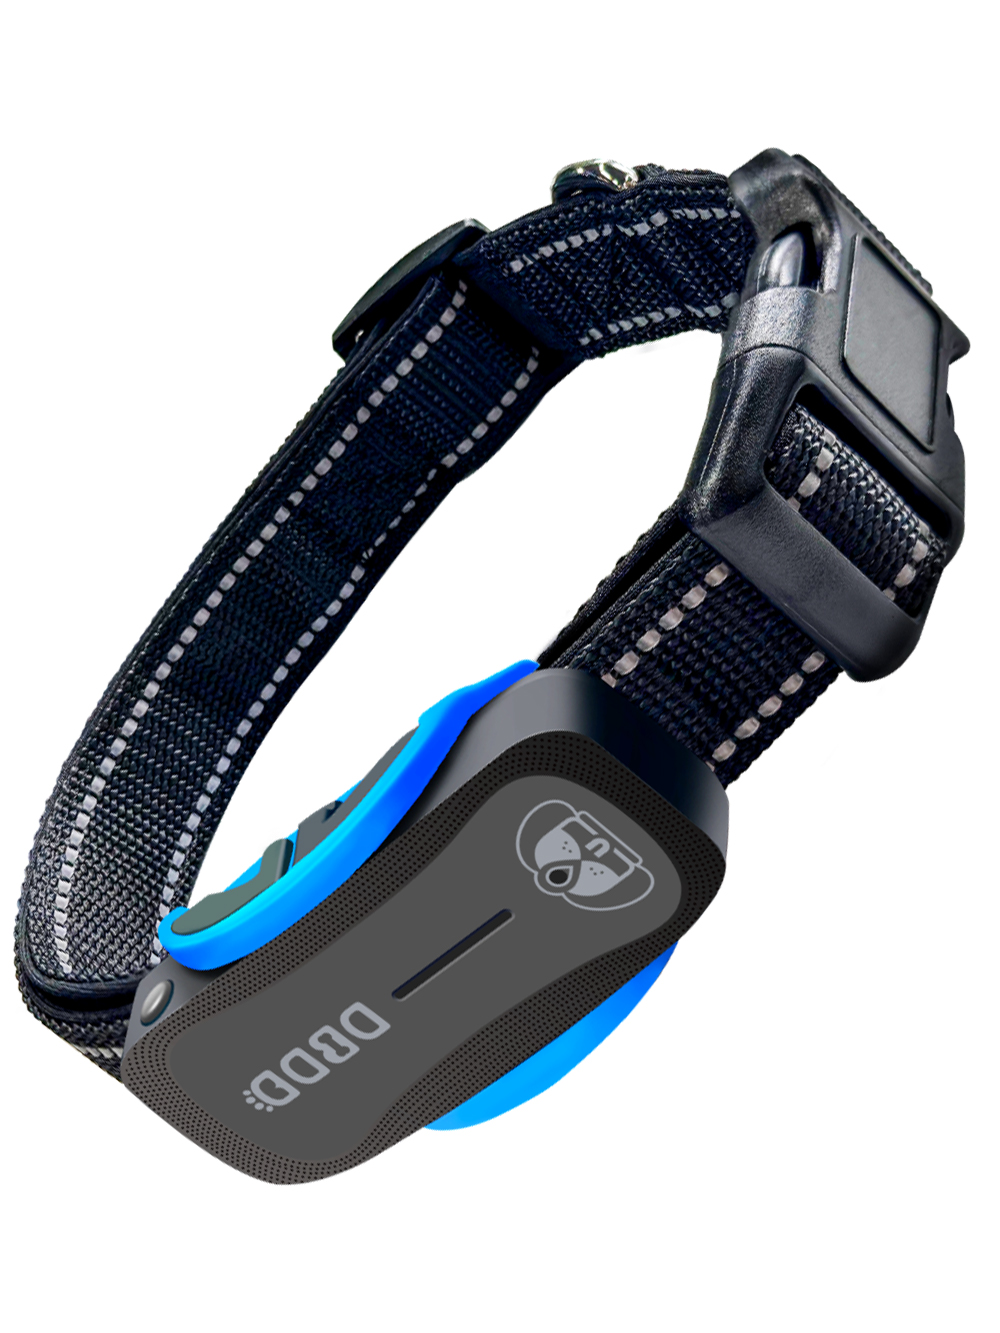
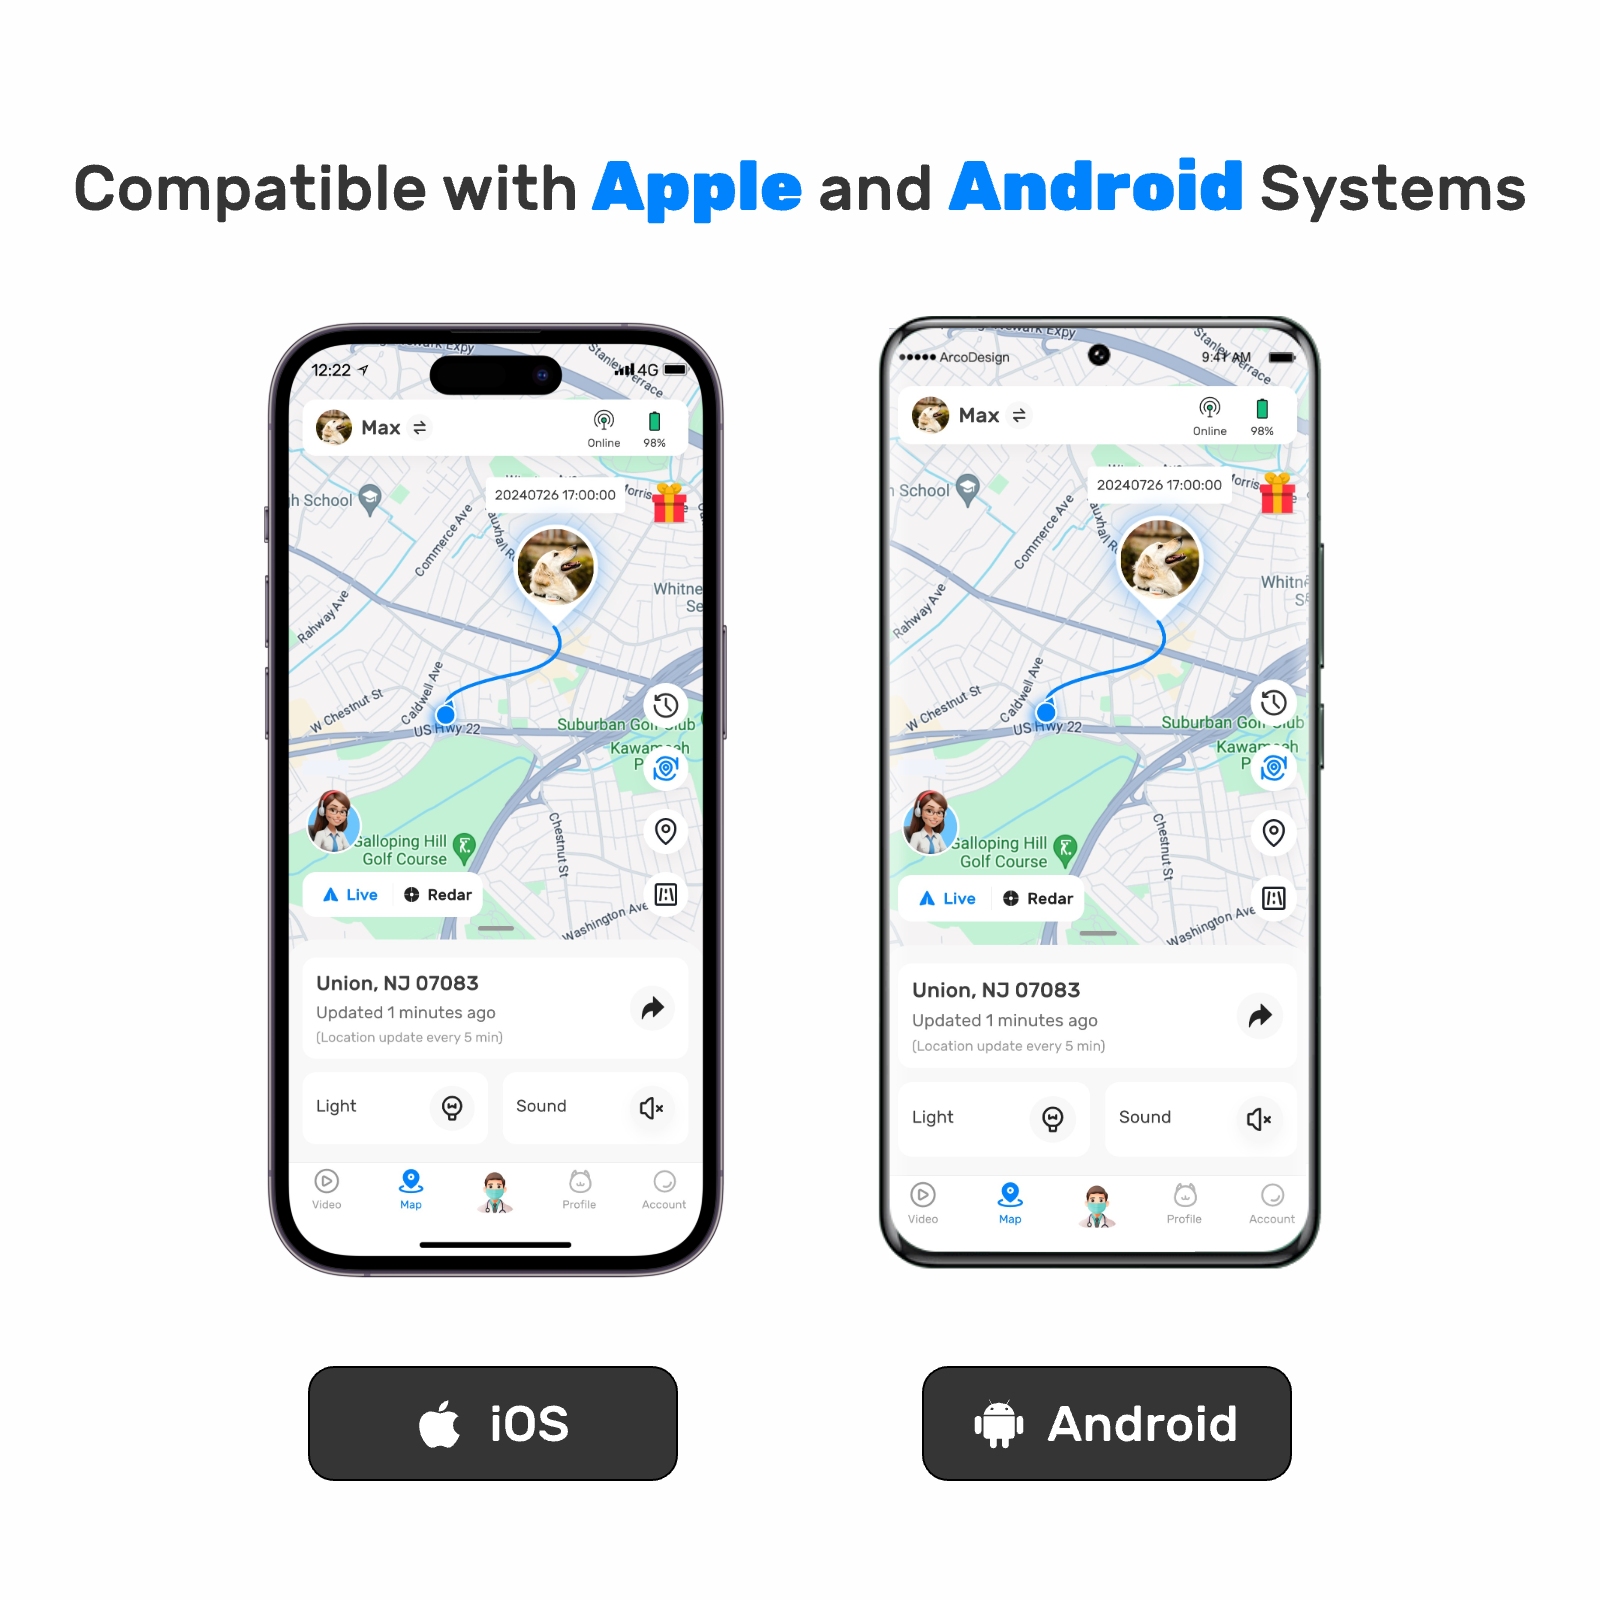
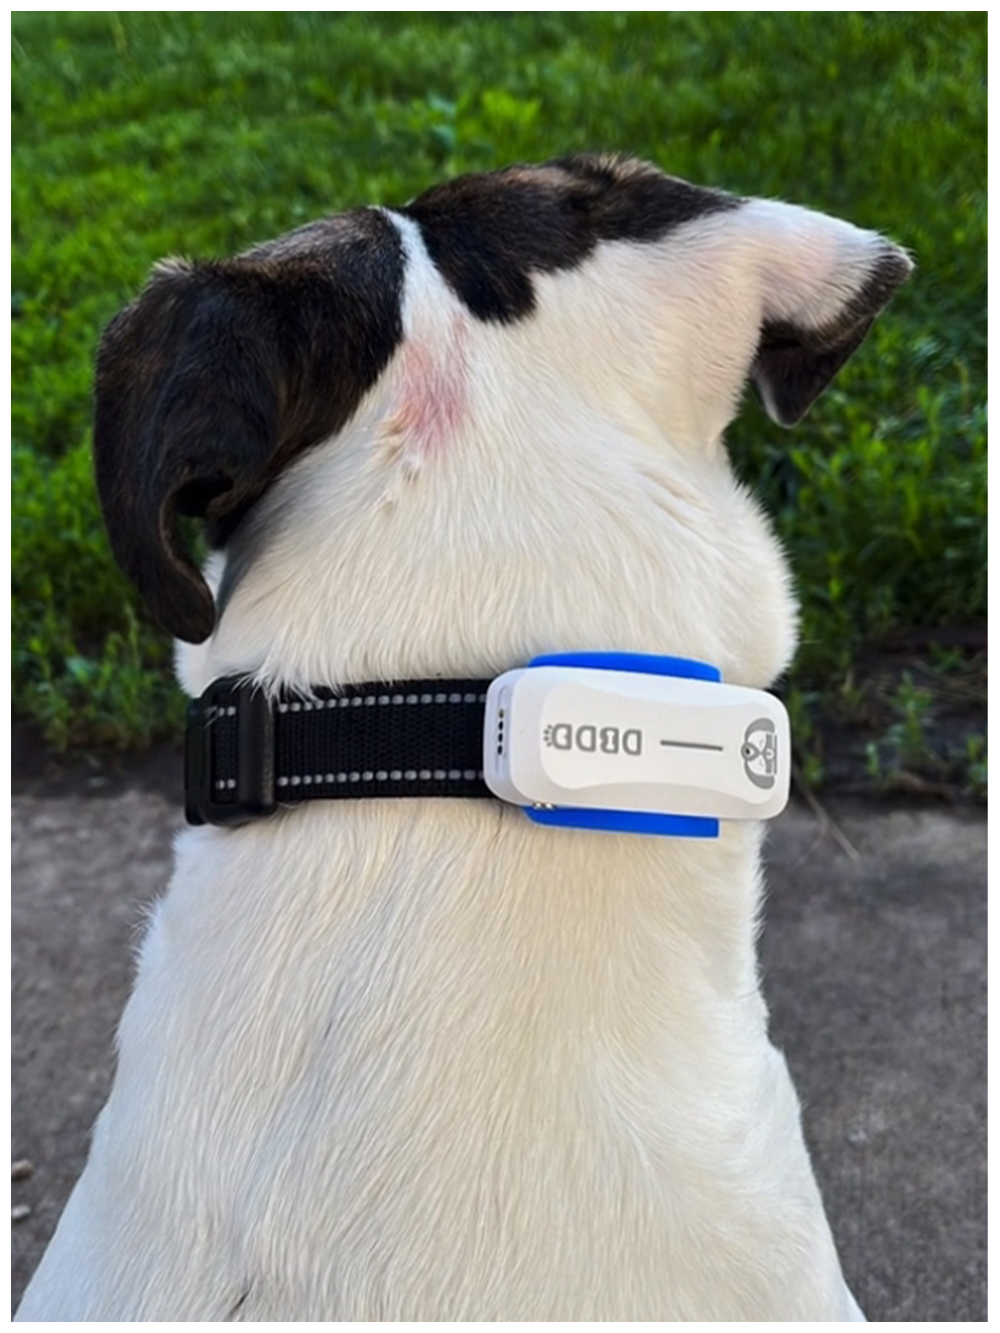
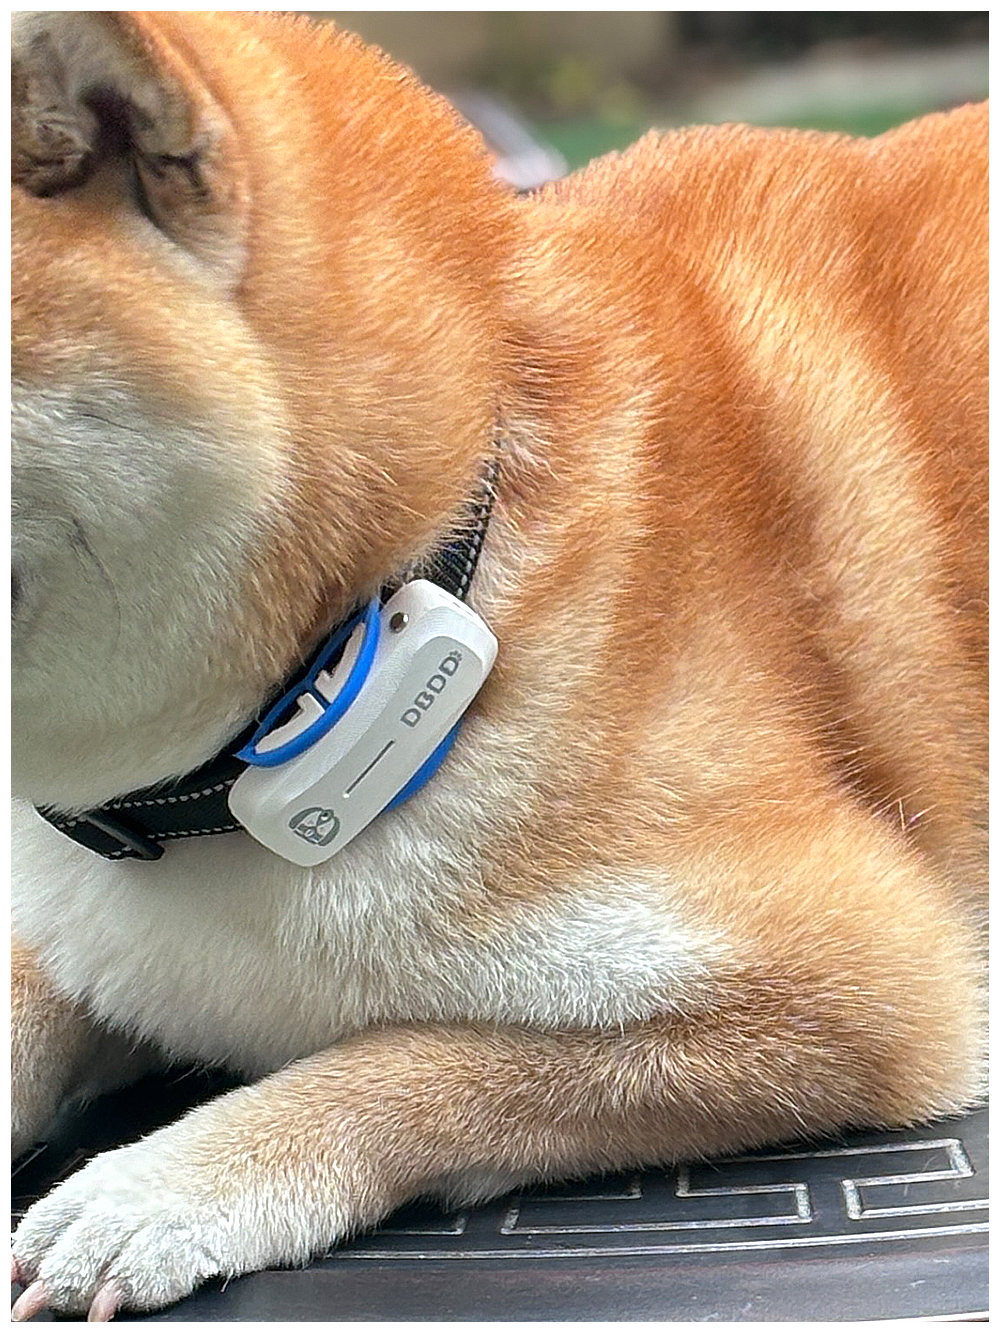
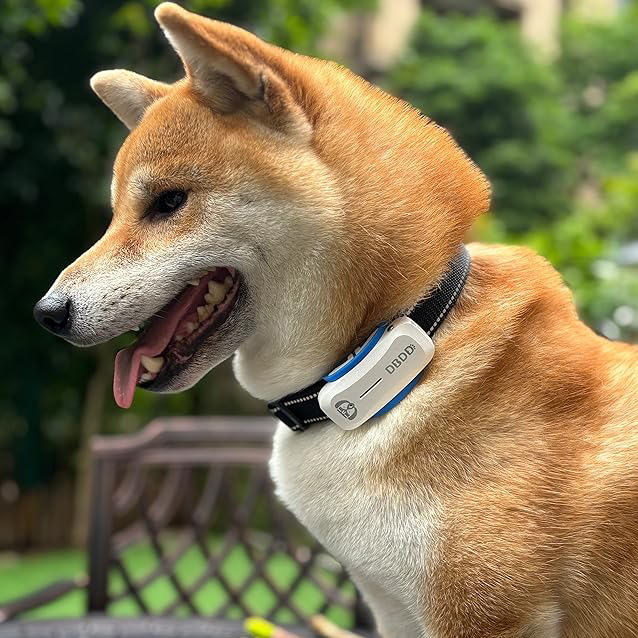
Before diving into the setup process, it’s essential to understand what a dog tracking system entails. At its core, this system uses GPS technology to locate your dog in real-time. The device typically attaches to your dog’s collar, sending location updates to your smartphone or computer. Beyond just tracking, these systems can enhance dog training by providing data on movement patterns, activity levels, and even behavior analysis over time.
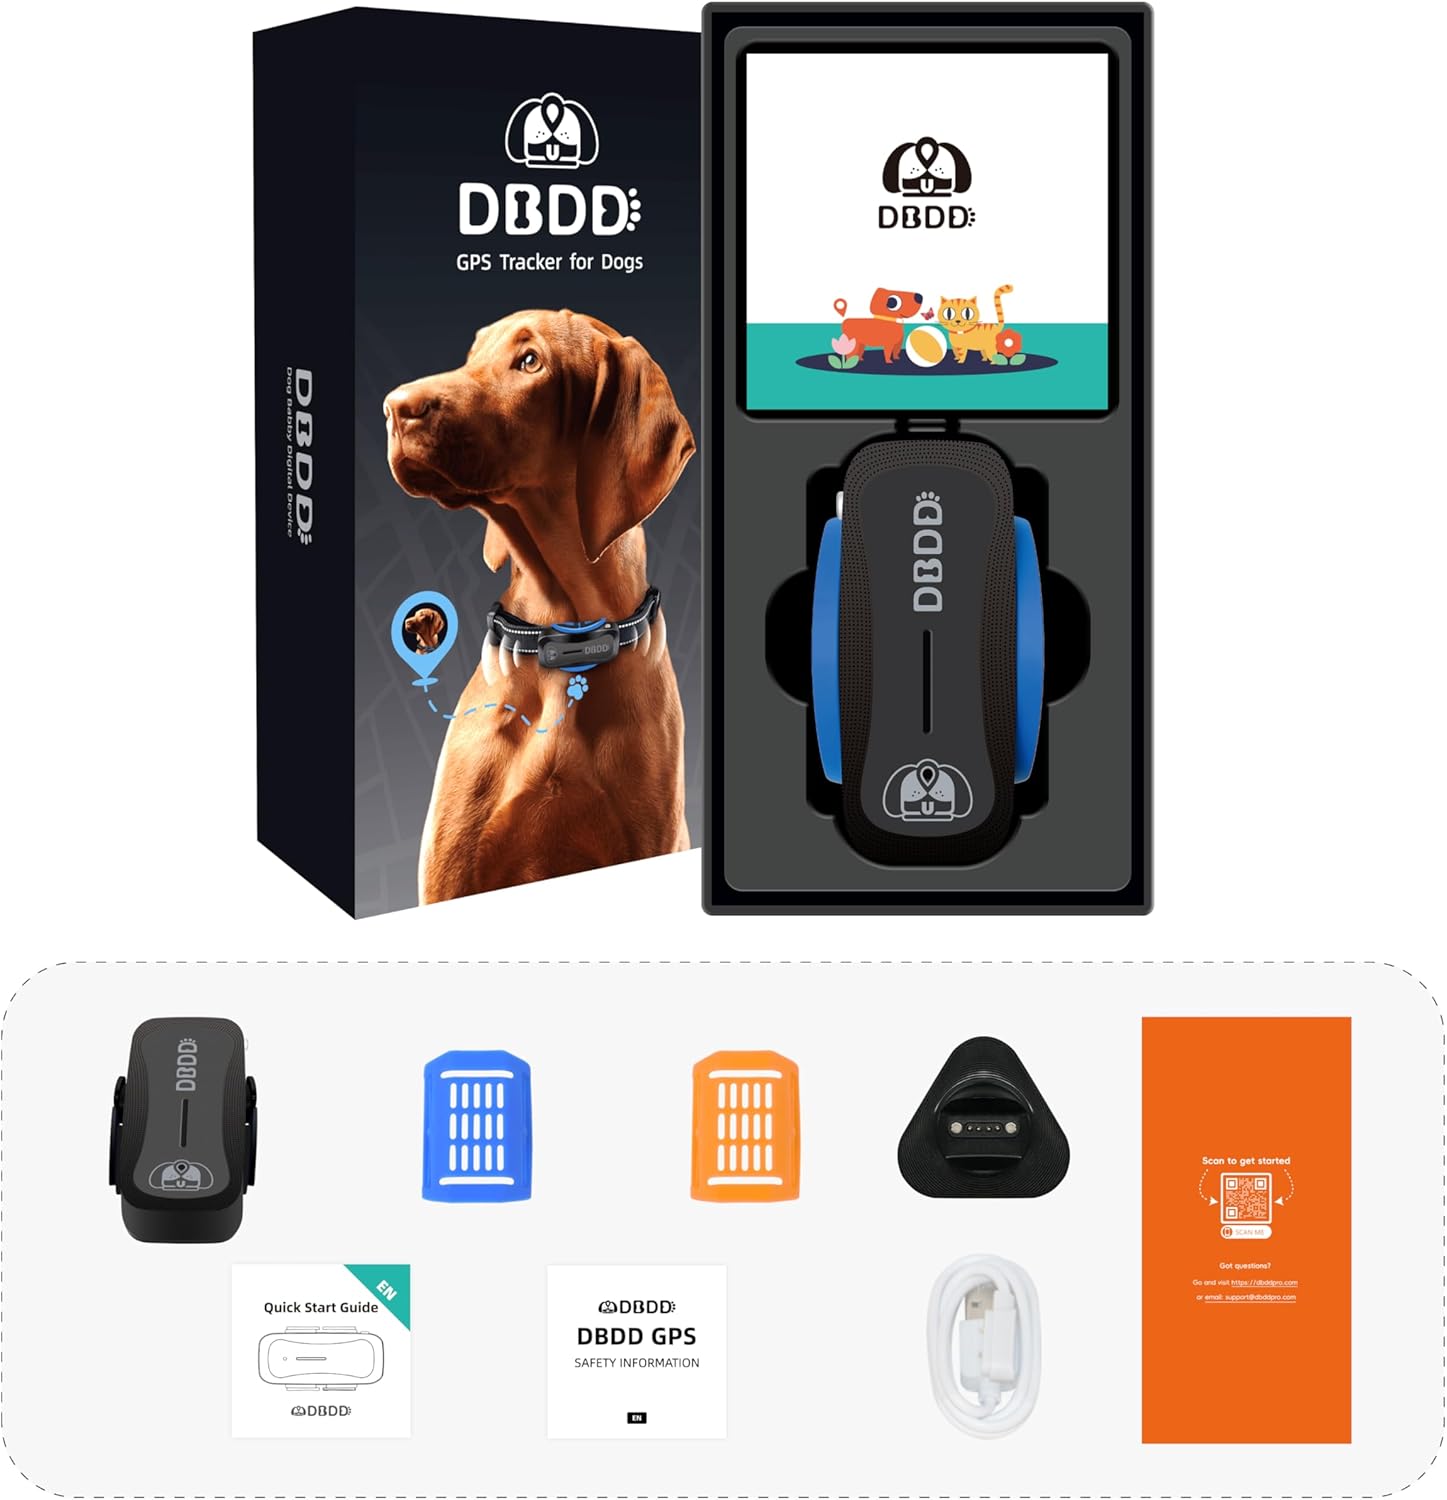
The primary components of a DIY dog tracking system include:
1. **GPS Module**: This is the heart of the system, responsible for pinpointing the exact location.
2. **Microcontroller**: Acts as the brain of the system, processing information from the GPS module.
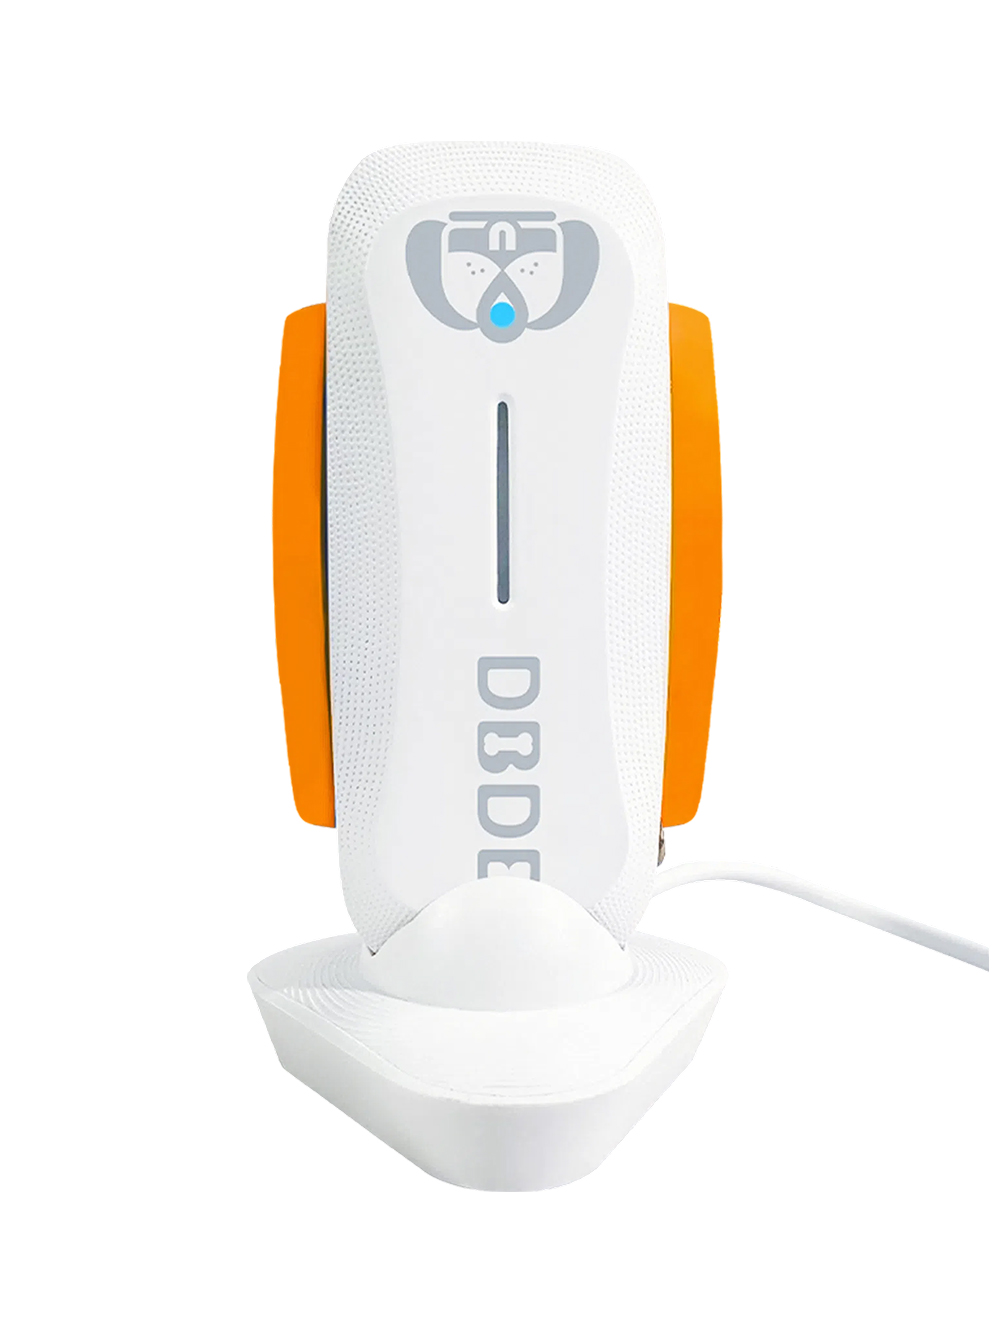
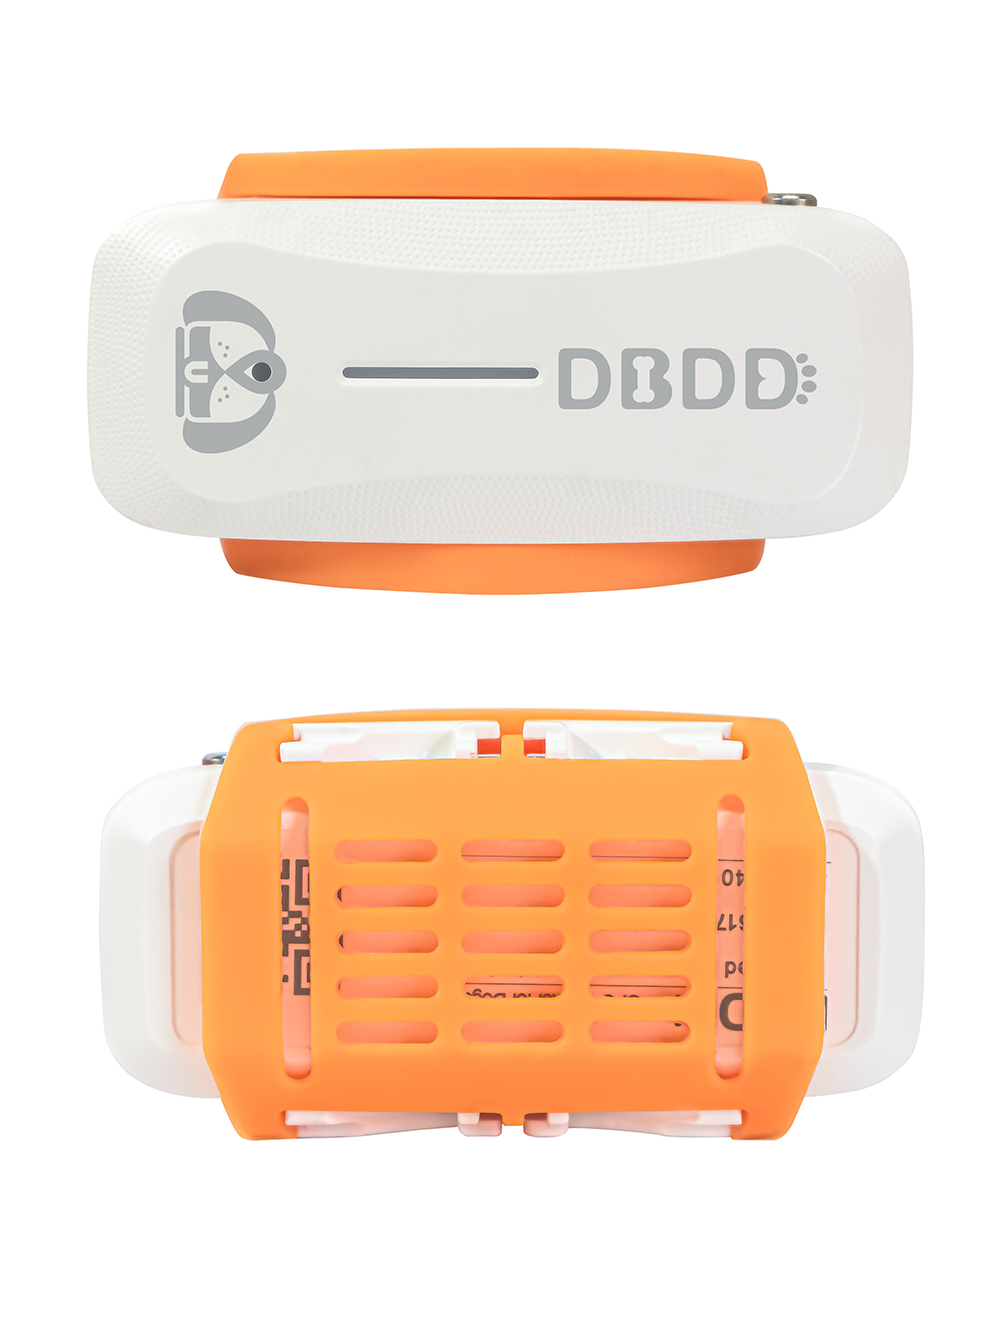
3. **Battery**: Powers the entire setup, chosen based on desired battery life and size constraints.
4. **Enclosure**: Protects the electronics from weather and wear.
5. **Software/App**: Allows you to view and manage data remotely.
### Selecting Components
When selecting components for your DIY dog tracking system, consider factors like accuracy, range, power consumption, and durability. For instance, choose a GPS module with high sensitivity for better performance in urban areas or dense forests. A microcontroller like Arduino or Raspberry Pi can handle the computational tasks efficiently. Ensure that the battery provides sufficient runtime without being too bulky for your dog's comfort.
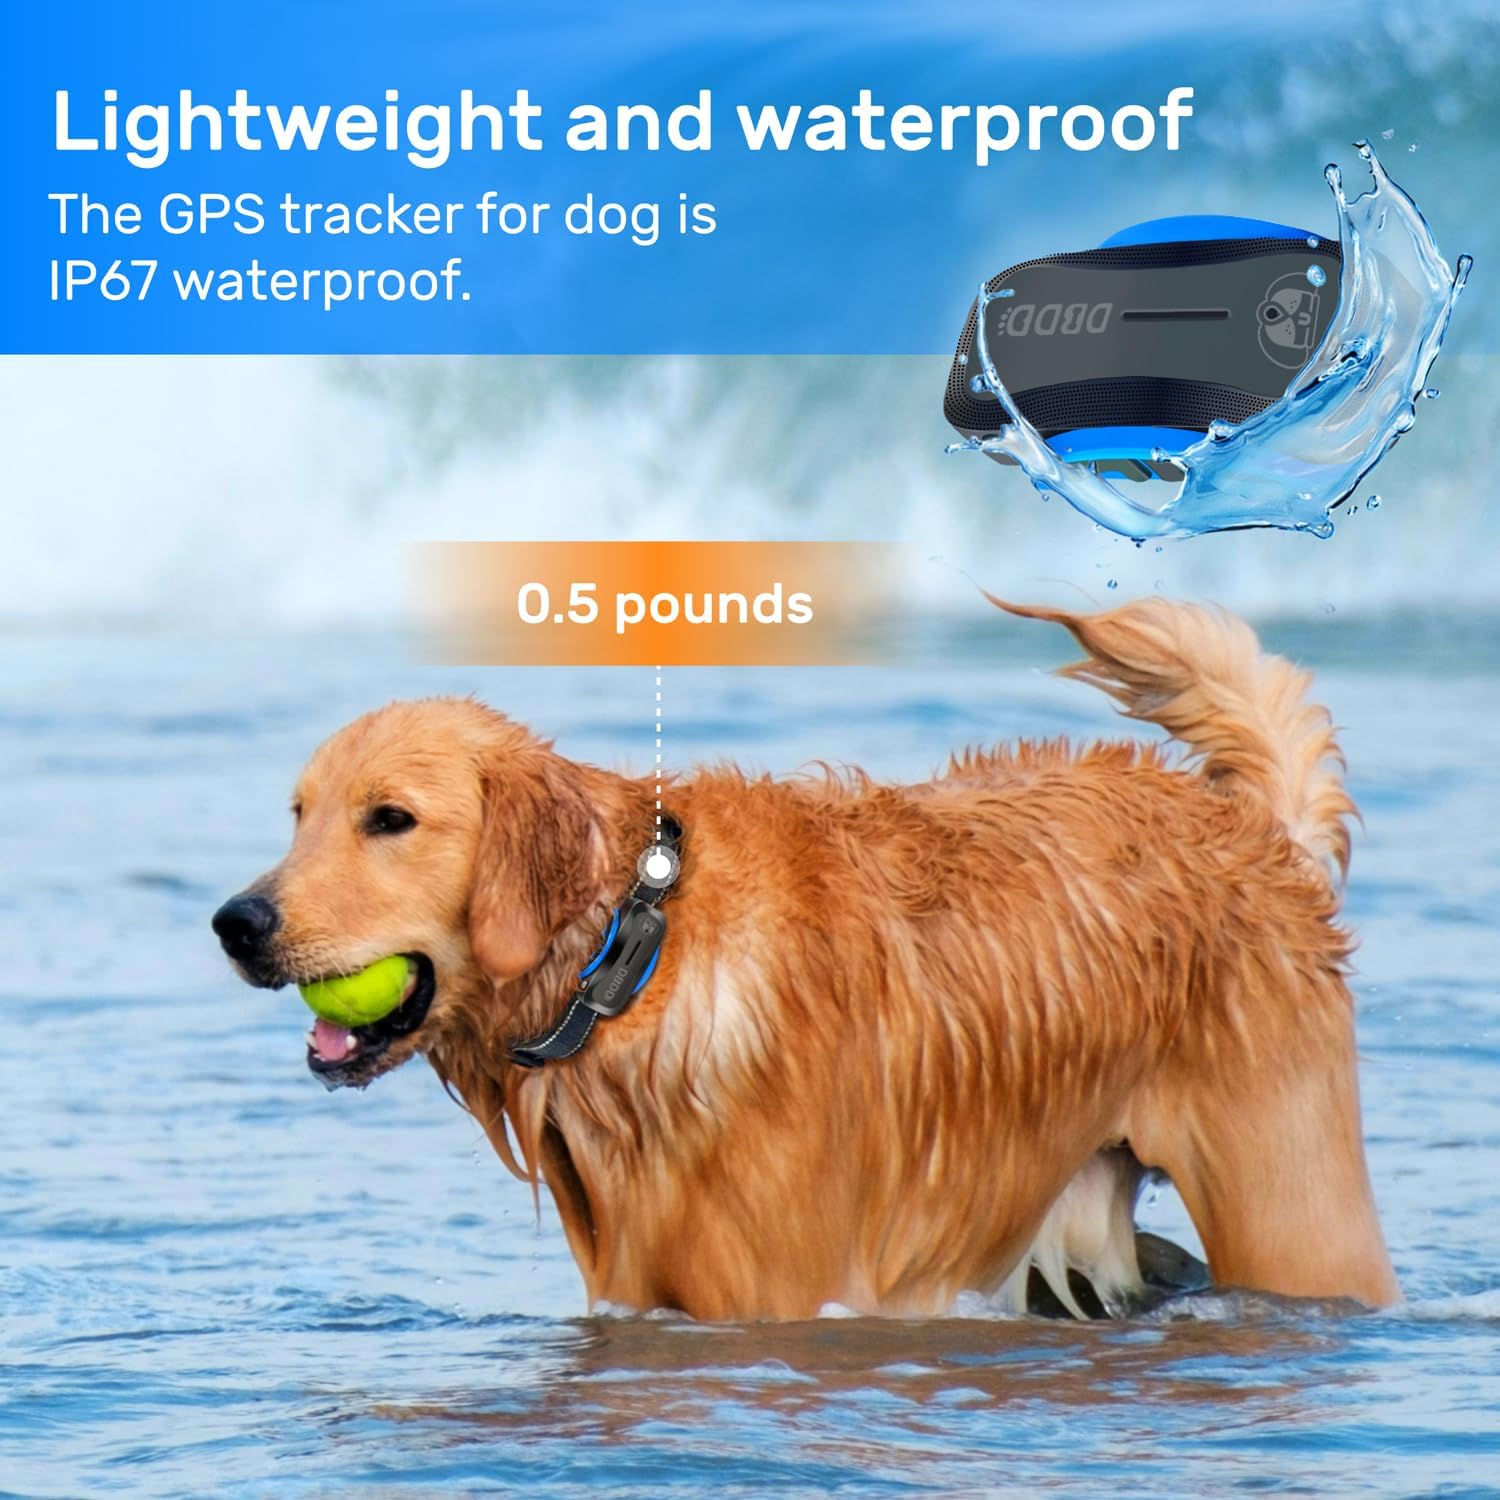
For enclosures, opt for waterproof cases if your dog frequently ventures outdoors in varied conditions. Additionally, lightweight materials reduce strain on your pet during extended wear.
### Assembly Process
#### Step 1: Mounting the GPS Module
Begin by attaching the GPS module to the microcontroller using appropriate wiring connections. Follow the manufacturer's guidelines closely to ensure proper alignment of pins and sockets. Secure all connections firmly to prevent disconnections during use.
#### Step 2: Programming the Microcontroller
Programming forms a crucial part of setting up your tracker. Depending on whether you're using Arduino or Raspberry Pi, download the corresponding software development environment (IDE). Write a program that initializes communication between the GPS module and microcontroller, then sends location data via Bluetooth or Wi-Fi to your app.

Here’s a simple pseudocode example for Arduino:
```cpp
#include
#include
TinyGPSPlus gps;
SoftwareSerial ss(4, 3); // RX, TX
void setup() {
Serial.begin(9600);
ss.begin(9600);
}

void loop() {
while (ss.available() > 0) {
gps.encode(ss.read());
if (gps.location.isValid()) {
Serial.print("Latitude = ");
Serial.println(gps.location.lat(), 6);
Serial.print("Longitude = ");
Serial.println(gps.location.lng(), 6);
}
}
}
```
This basic script reads GPS coordinates and outputs them through the serial monitor. You can expand functionality by integrating wireless transmission capabilities.
#### Step 3: Testing the System
Once assembled, test the system indoors first to confirm correct operation. Check for accurate readings and stable connections before moving outside. Gradually increase distance and complexity of environments to simulate real-world scenarios your dog might encounter.
### Incorporating Dog Training
A significant advantage of creating your own dog tracking system lies in its potential integration with dog training routines. With continuous monitoring, trainers gain valuable insights into how effectively commands are followed and where improvements may be needed. For example:
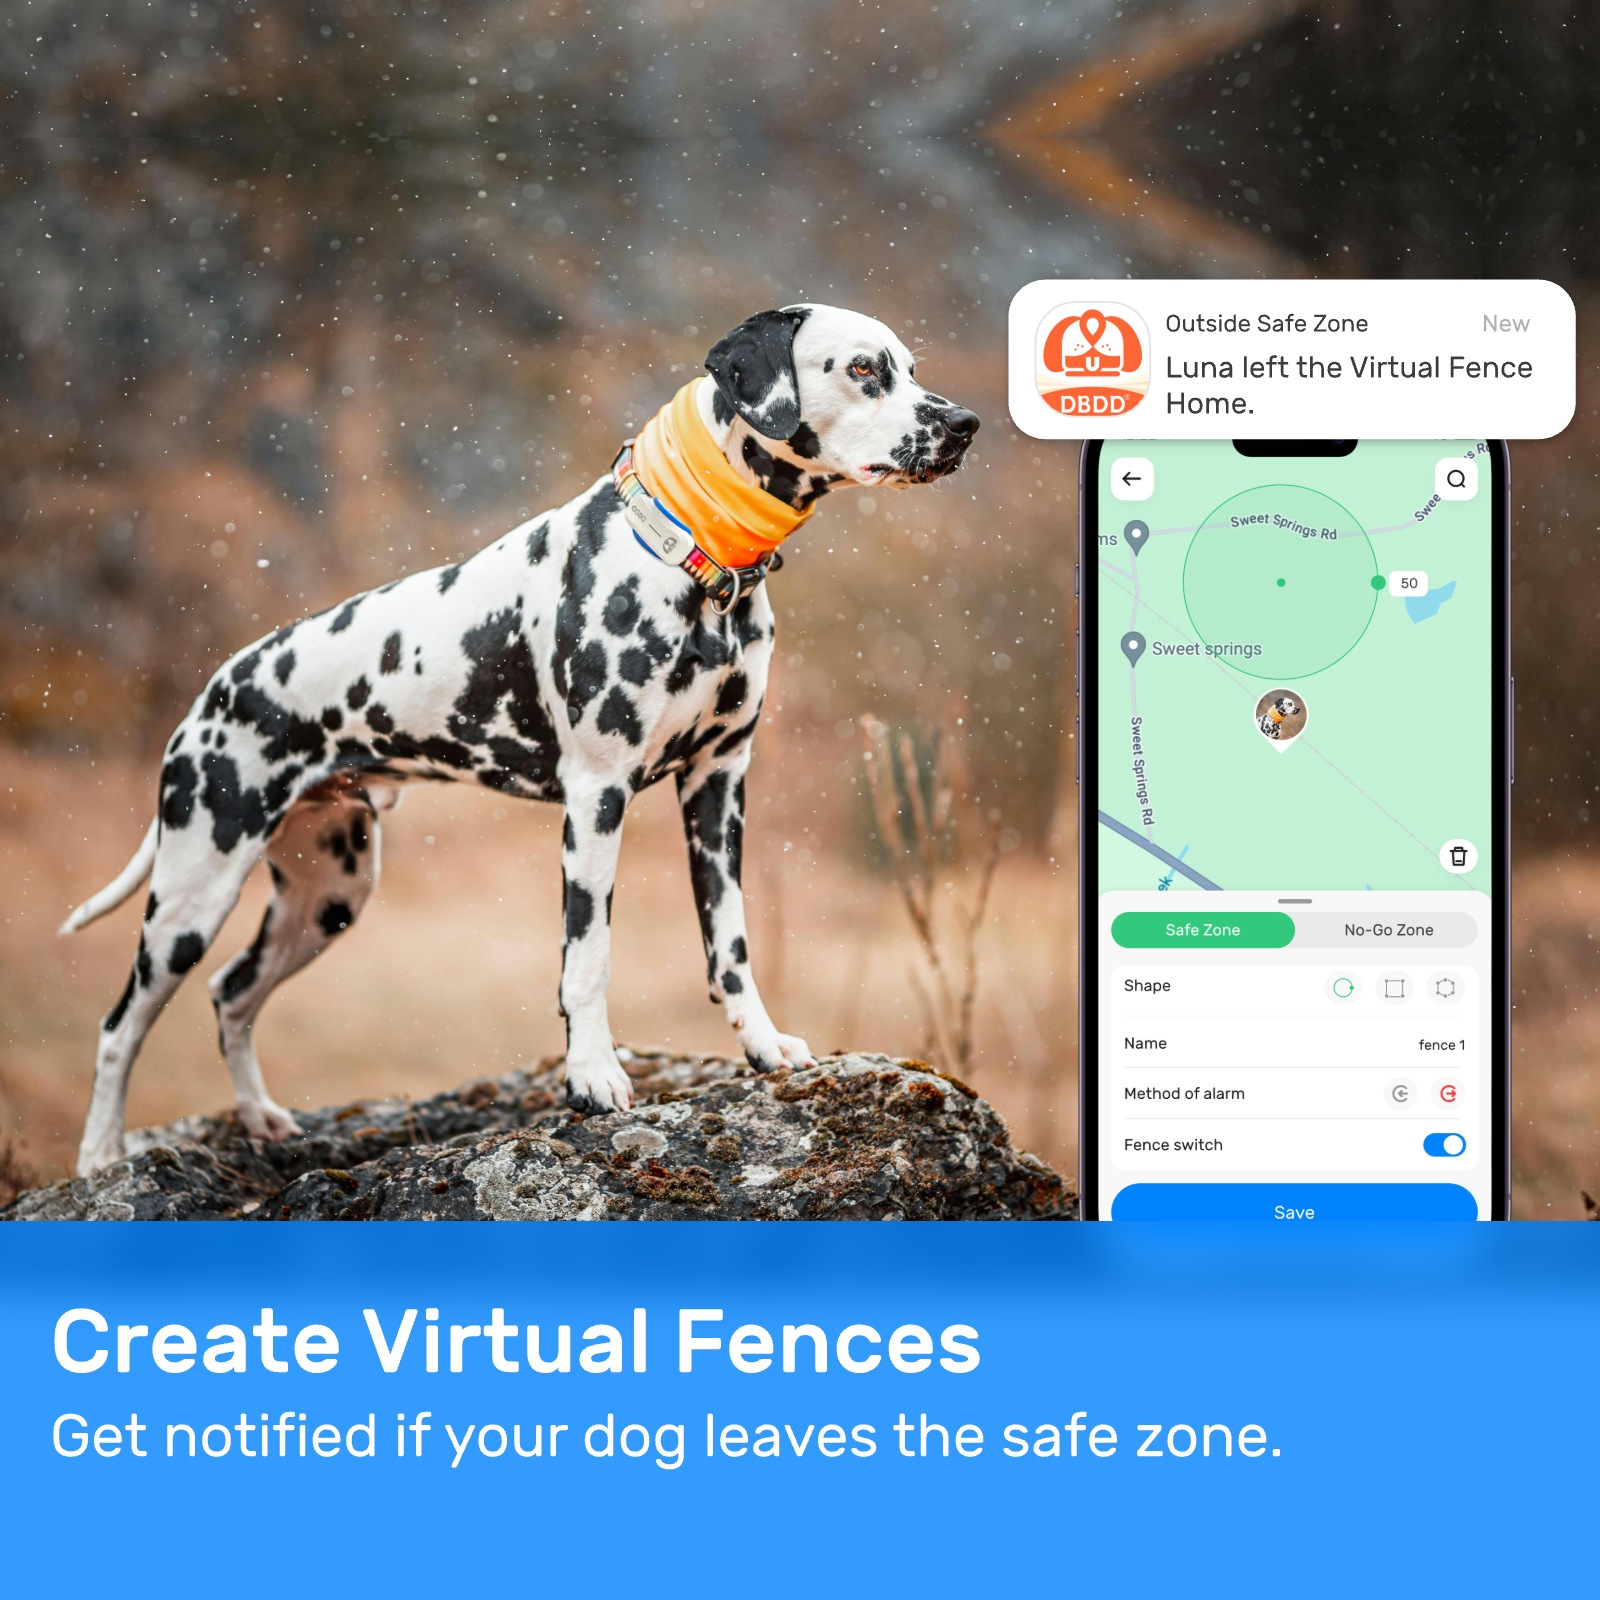
- **Boundary Training**: Use geofencing features within your app to set virtual boundaries around safe zones. Alert notifications inform you when your dog crosses these limits, reinforcing boundary awareness during walks or playtime.
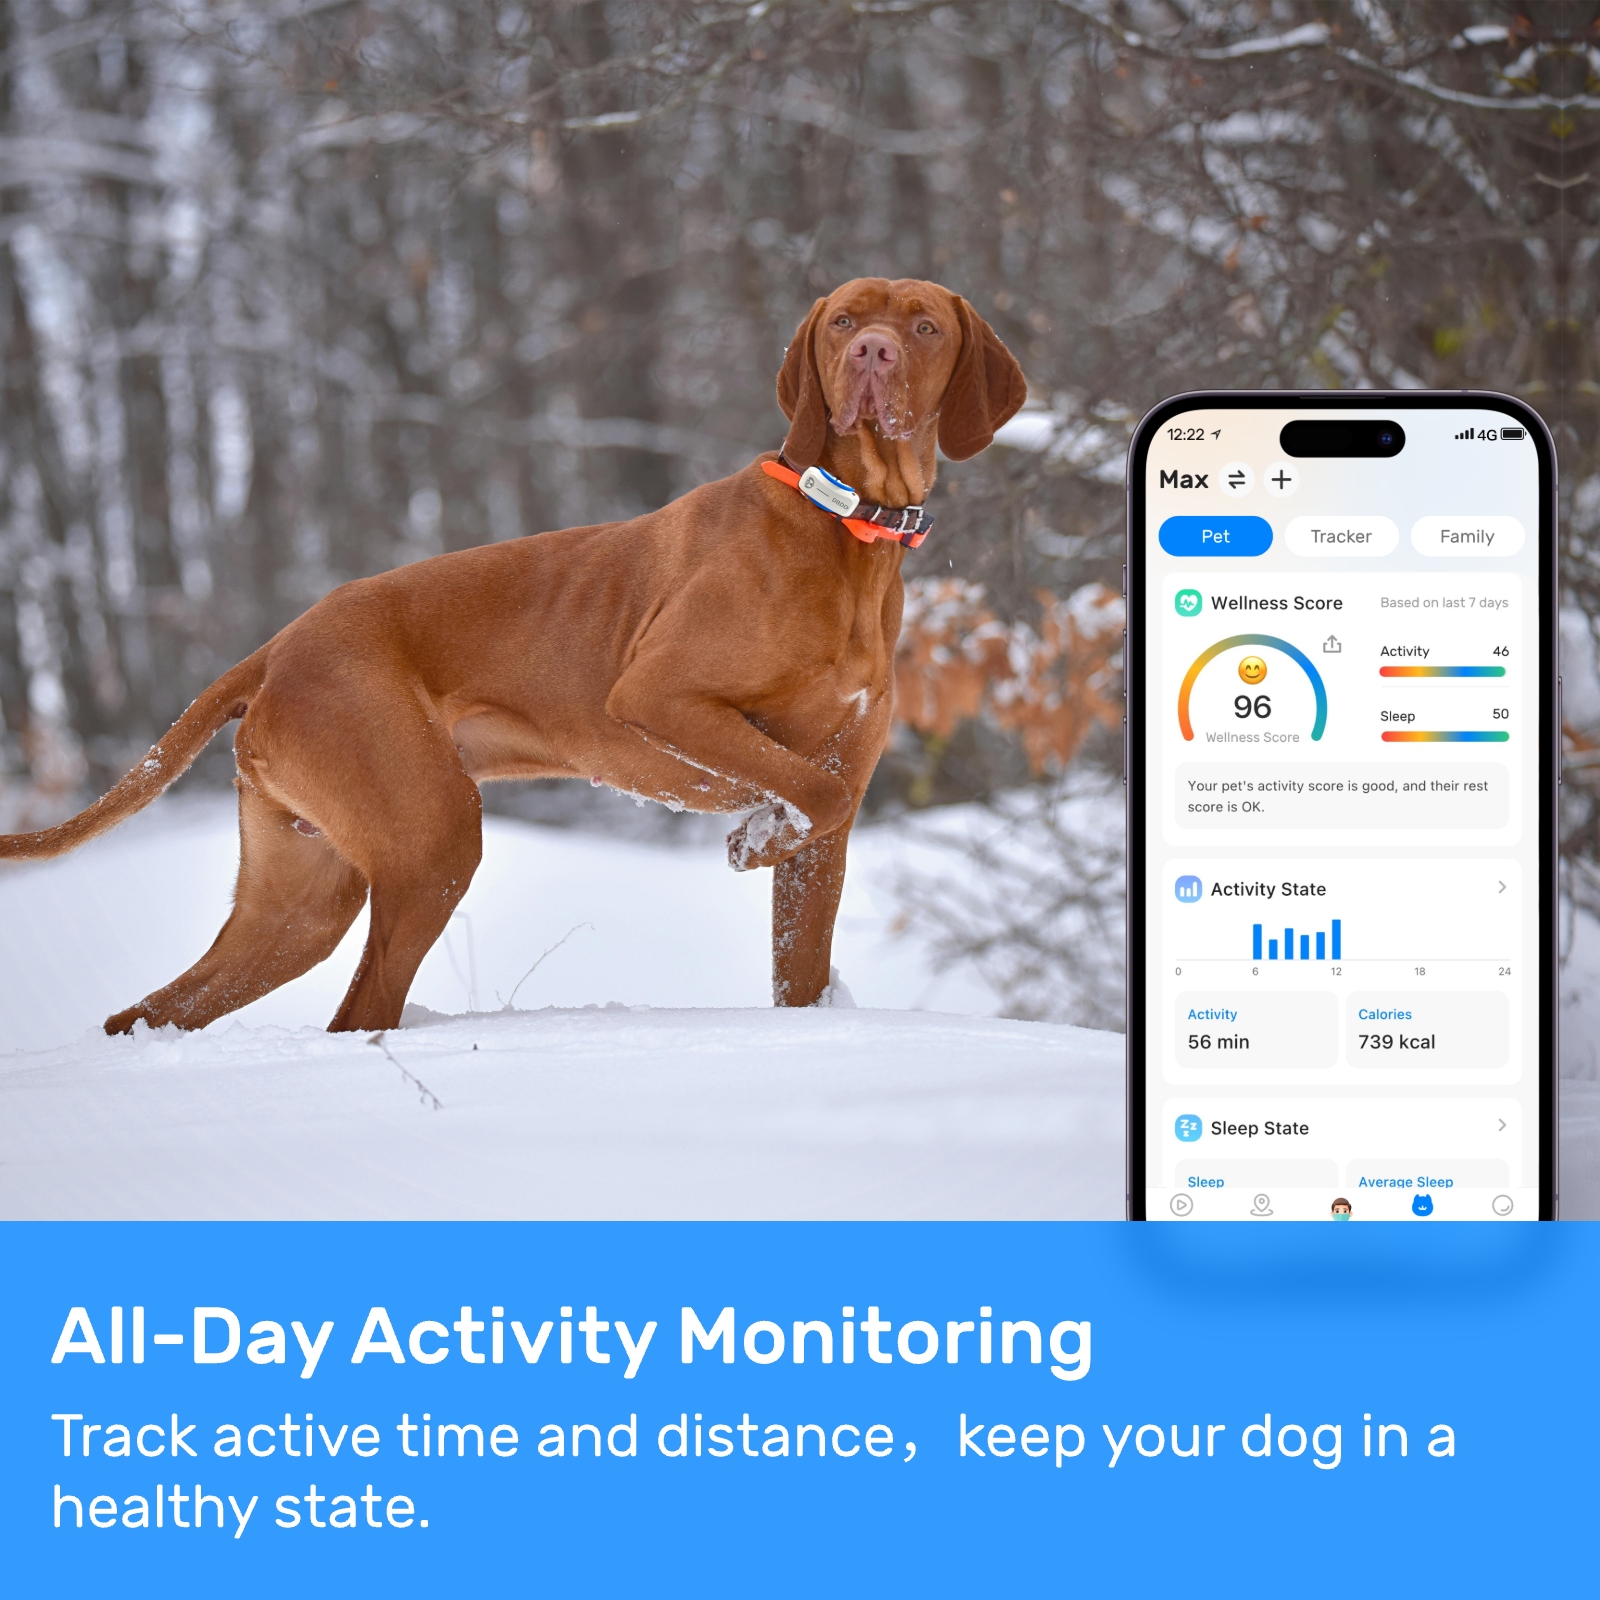
- **Activity Monitoring**: Track daily exercise levels to ensure adequate physical activity supporting overall health. Adjust training sessions accordingly based on observed trends.
- **Behavioral Analysis**: Analyze movement patterns over time to identify habits or preferences influencing behavior. Tailor training strategies targeting specific behaviors identified through tracked data.
### Safety Considerations
While designing your DIY dog tracking system, prioritize safety above all else. Ensure the device remains comfortable for prolonged wear, avoiding irritation or discomfort. Regularly inspect straps and fasteners for signs of wear or damage. Also, make sure batteries are securely housed preventing accidental ingestion hazards.
Additionally, always maintain line-of-sight supervision whenever possible regardless of reliance on technological aids. No system replaces human vigilance entirely; they serve as supplementary tools enhancing rather than replacing traditional methods.
### Troubleshooting Common Issues
Even meticulous planning sometimes leads to unforeseen problems. Here are some common issues along with solutions:
- **Poor Signal Reception**: Occurs due to obstacles blocking satellite signals. Try relocating antennas away from obstructions or switching to models offering better sensitivity.
- **Short Battery Life**: If batteries drain quickly, review power management settings within your code optimizing efficiency. Alternatively, upgrade to higher capacity batteries compatible with your design specifications.
- **Connection Failures**: Intermittent connectivity often results from loose wires or incorrect pin assignments. Double-check solder joints and reverify wiring diagrams against component datasheets.
### Future Enhancements
As you become more familiar with your DIY dog tracking system, explore opportunities for enhancement. Consider adding sensors measuring temperature, humidity, or heart rate providing comprehensive health monitoring alongside positional tracking. Develop machine learning algorithms analyzing collected data predicting potential issues before they arise.
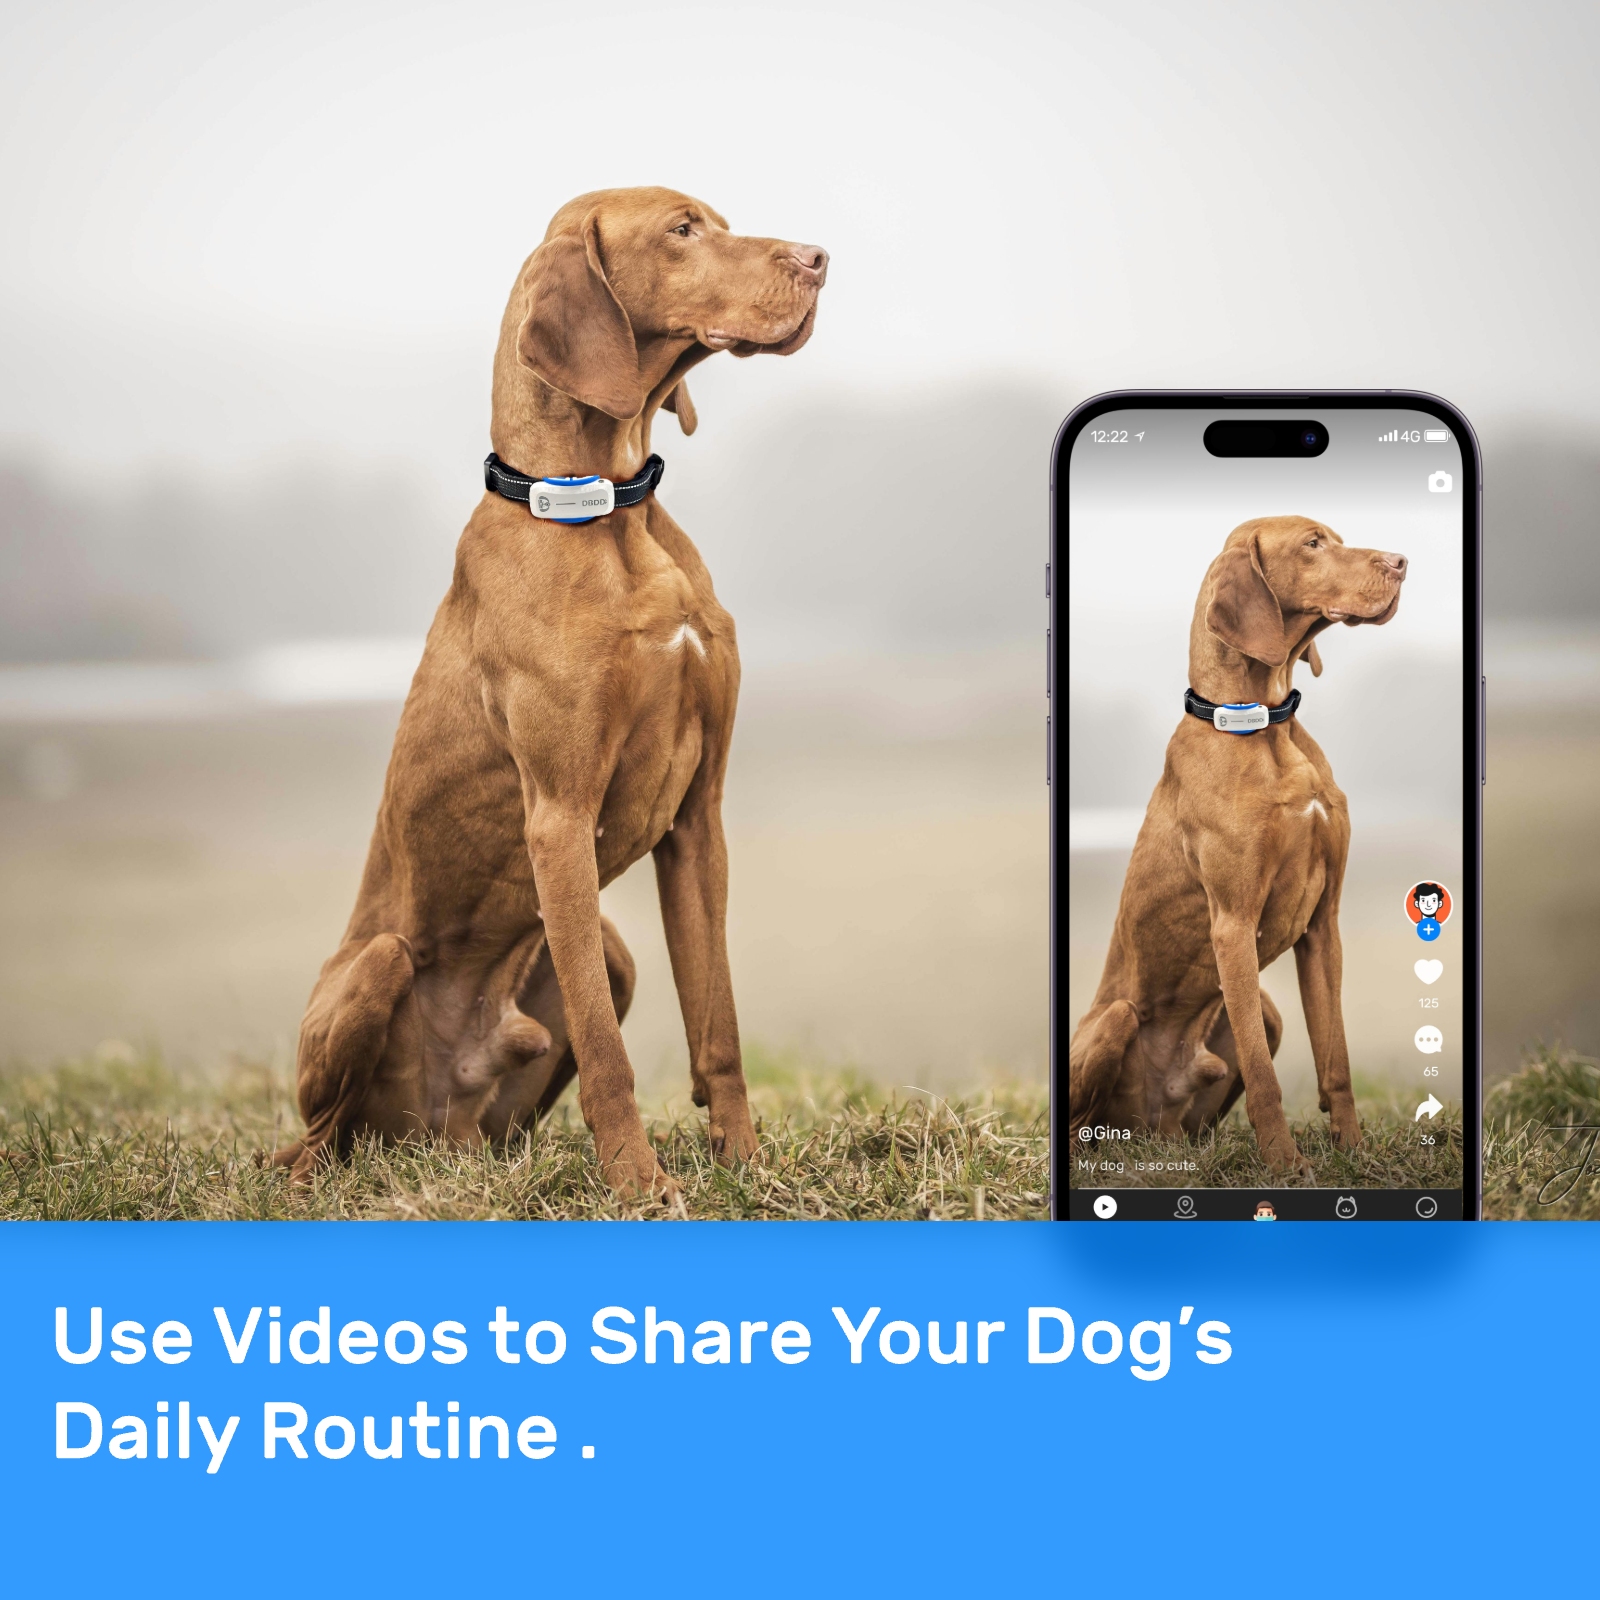
Furthermore, investigate cloud storage options enabling long-term archiving and sharing capabilities facilitating collaborative efforts among multiple users involved in same dog's care or training process.
In conclusion, constructing a DIY dog tracking system represents both a practical solution for safeguarding pets and an educational journey exploring modern technologies applicable beyond mere surveillance purposes. When thoughtfully incorporated into existing dog training practices, these systems contribute significantly towards achieving optimal outcomes benefiting both owner and canine companion alike.
Update Time:2025-05-15 06:42:53

Correction of product information
If you notice any omissions or errors in the product information on this page, please use the correction request form below.
Correction Request Form


